The marketing tools within Vision allow your team to plan and create campaigns.
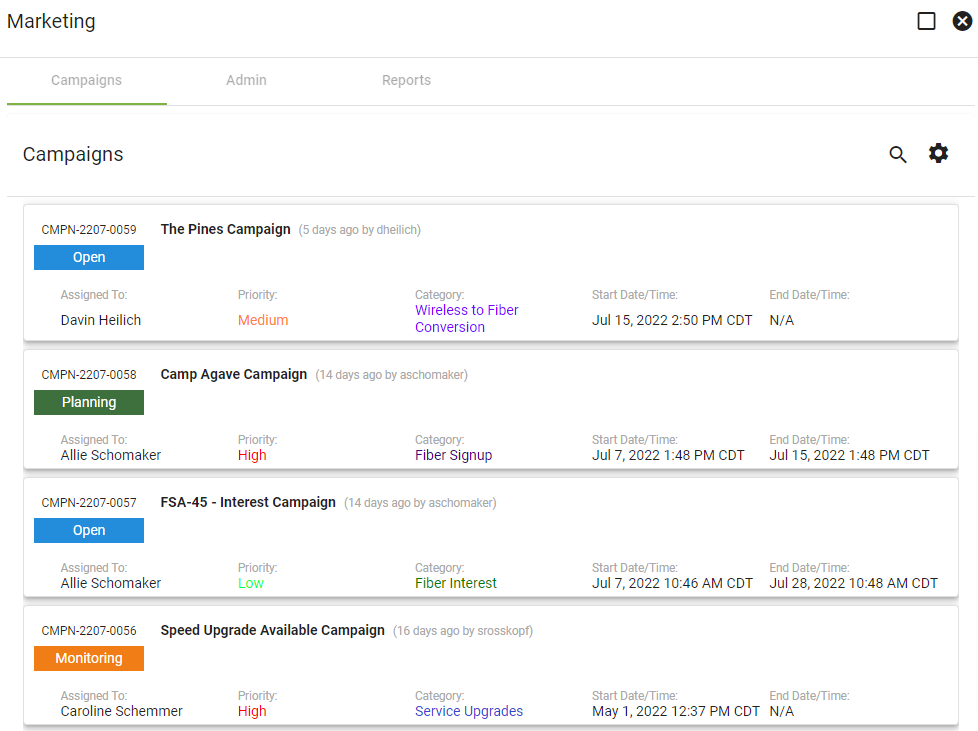
Marketing campaigns are meant to be organized, strategized efforts to promote a specific company task, such as promoting new fiber installs where available.
Being familiar and comfortable with new marketing releases in Vision will help your business scale forward in the telecom industry.
Vision wants your marketing campaign goals to be measurable and formatted in a familiar format based on how you are already operating in the software.
The new tools and features continue to enhance marketing campaigns. Keep reading below to learn more. Be sure to reach out to the Support Team with any and all marketing questions!
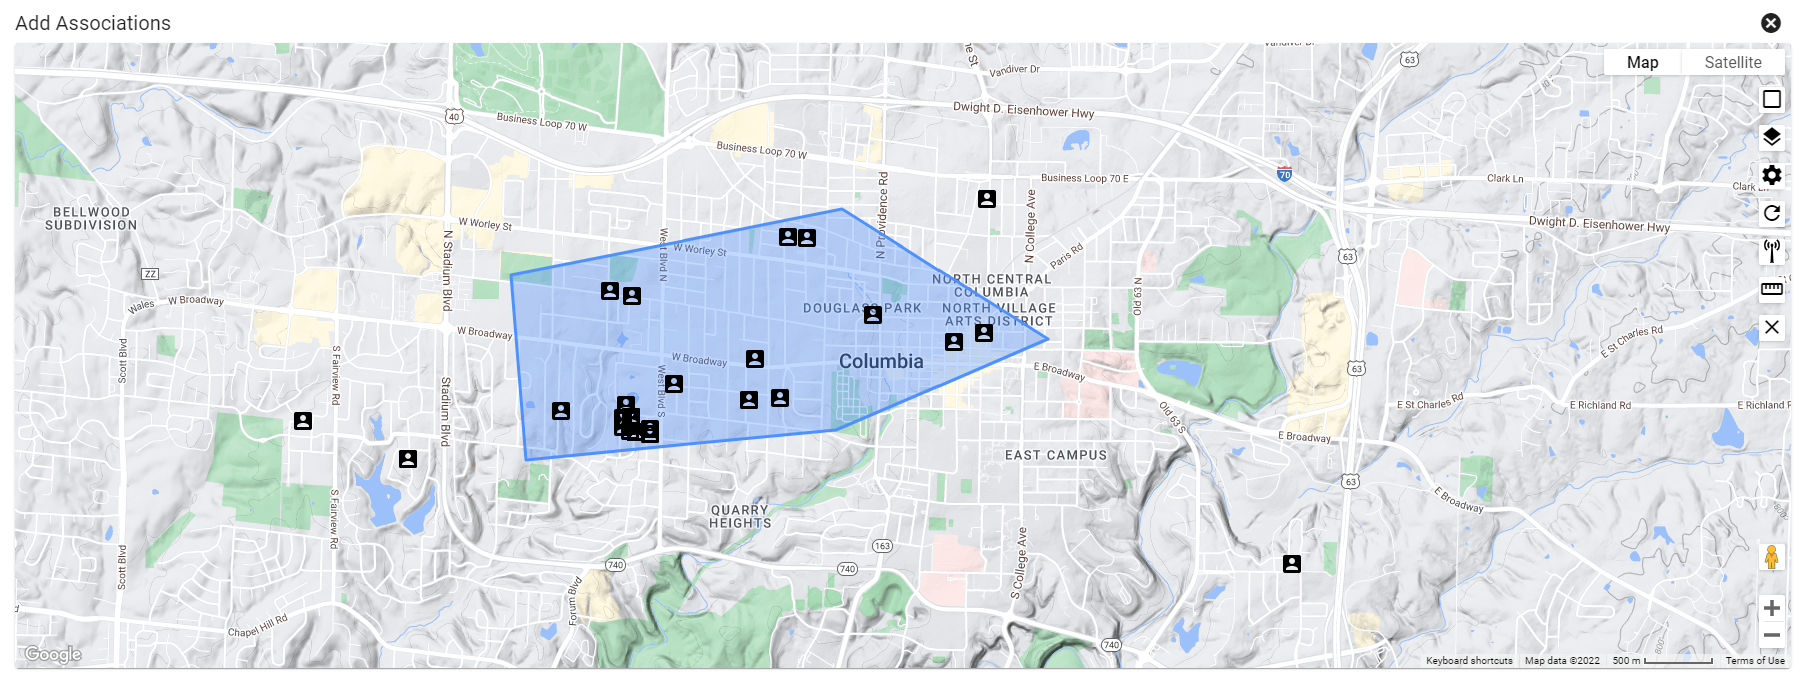
Adding subscribers to a campaign based on a shape on the map is a simple way to make sure you are including the correct service area to a campaign.
When you are on the specific marketing campaign page, select the Add Associations From Map icon. From the base map, click on the toggle map layers icon and select the subscriber tab from the drop-down menu. Check Show Layer and choose which data to display on the map. Then click DISPLAY ON MAP. The selected subscribers will display on the map. Use the Select Data Objects Tool (lasso tool) to highlight and select addresses within an area. Then, select ADD TO CURRENT CAMPAIGN.
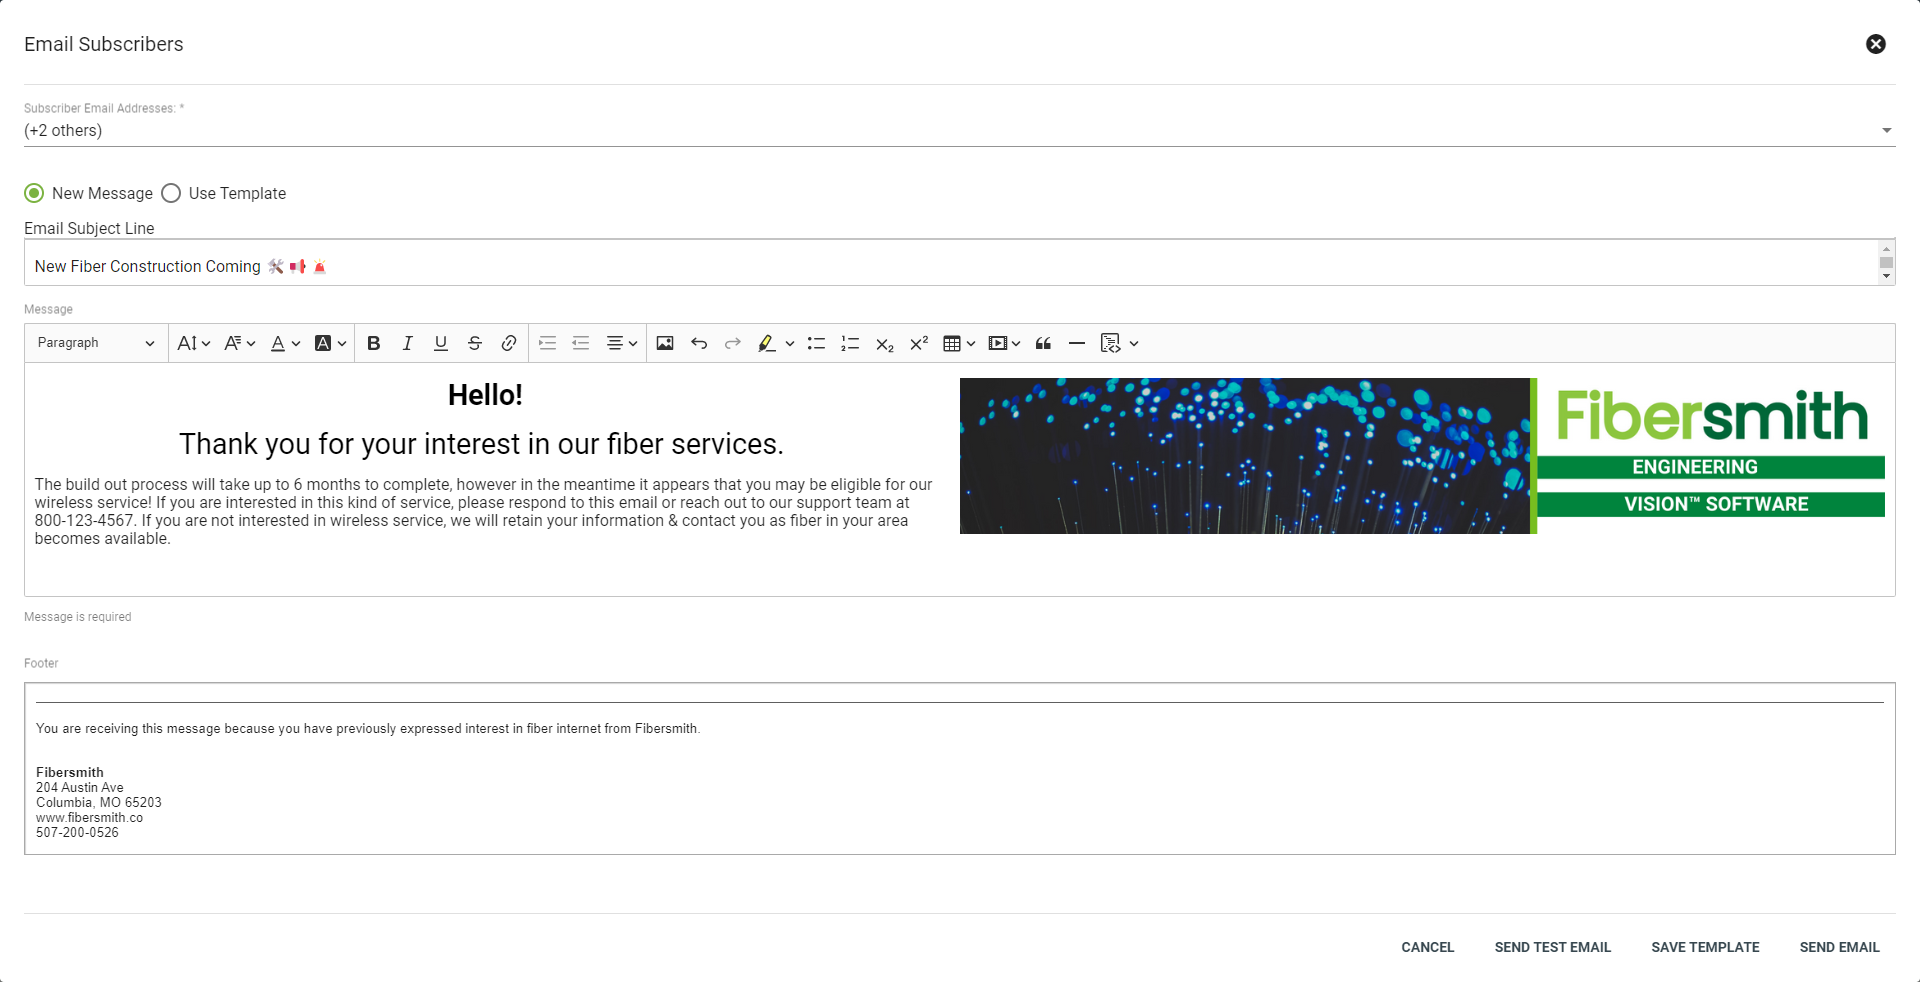
When creating an email, subscriber variables (#subscriberfirstname) can be added to customize the emails with the subscriber’s name.
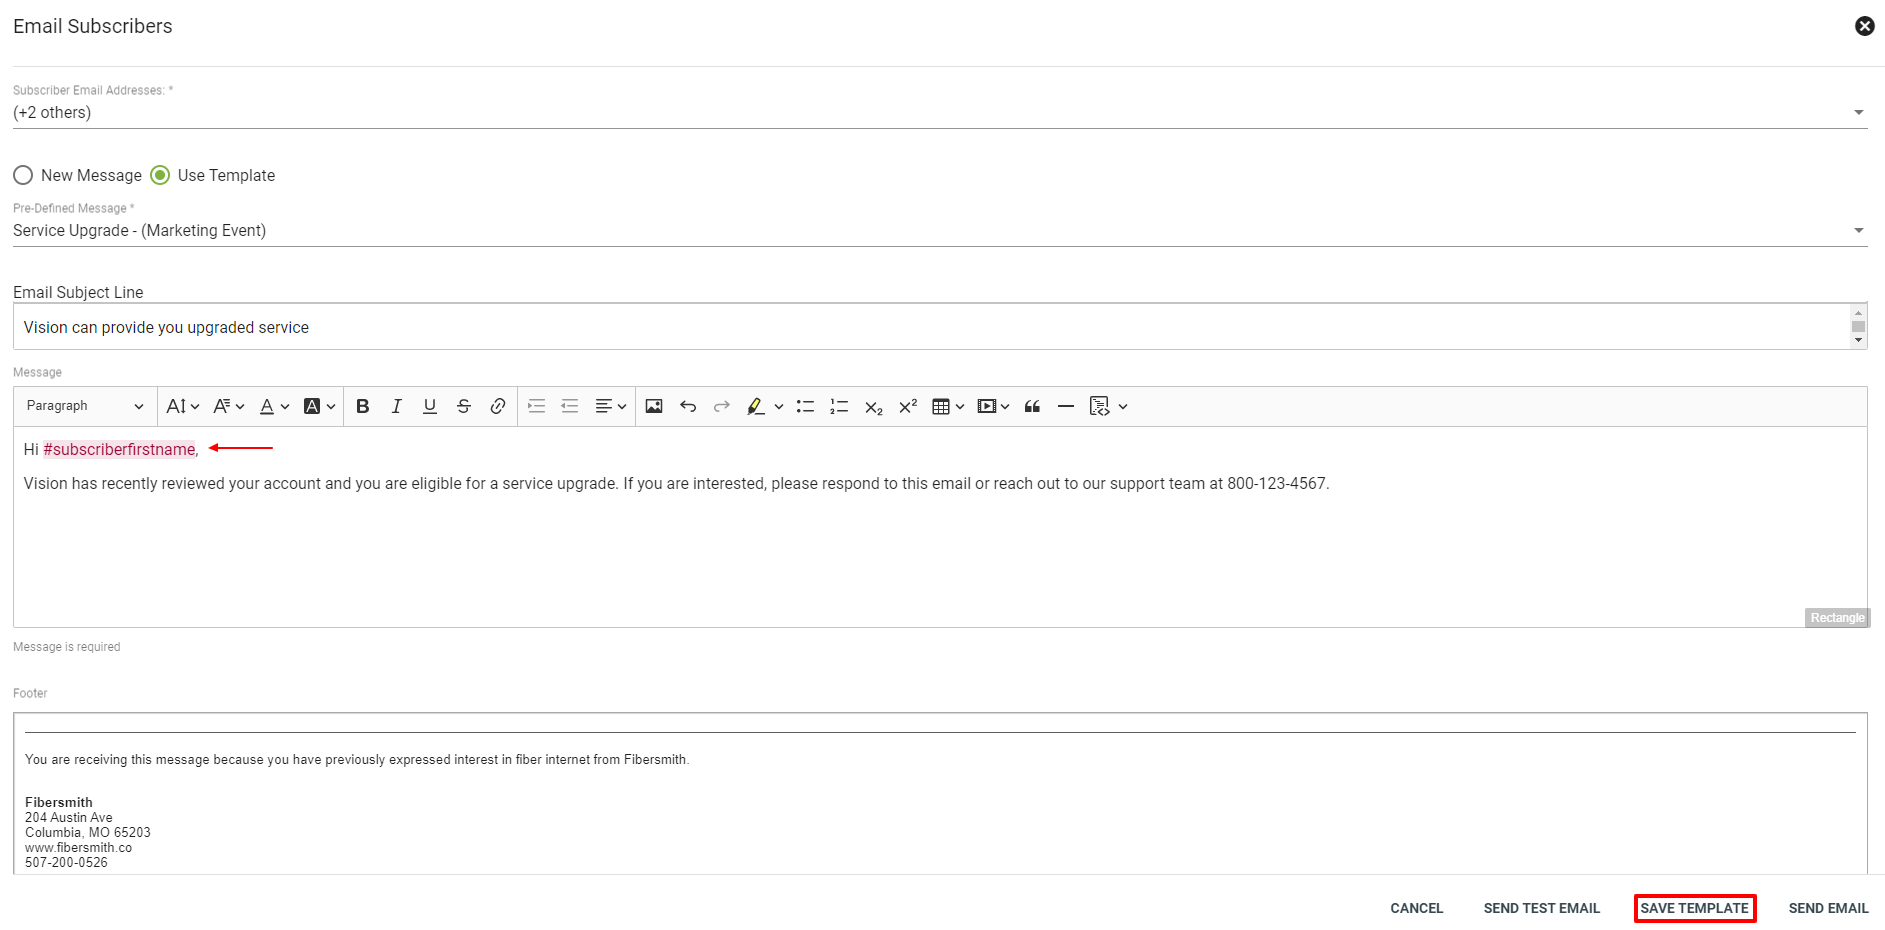
An email footer is added to all marketing campaign emails and is only customizable through the admin interface.

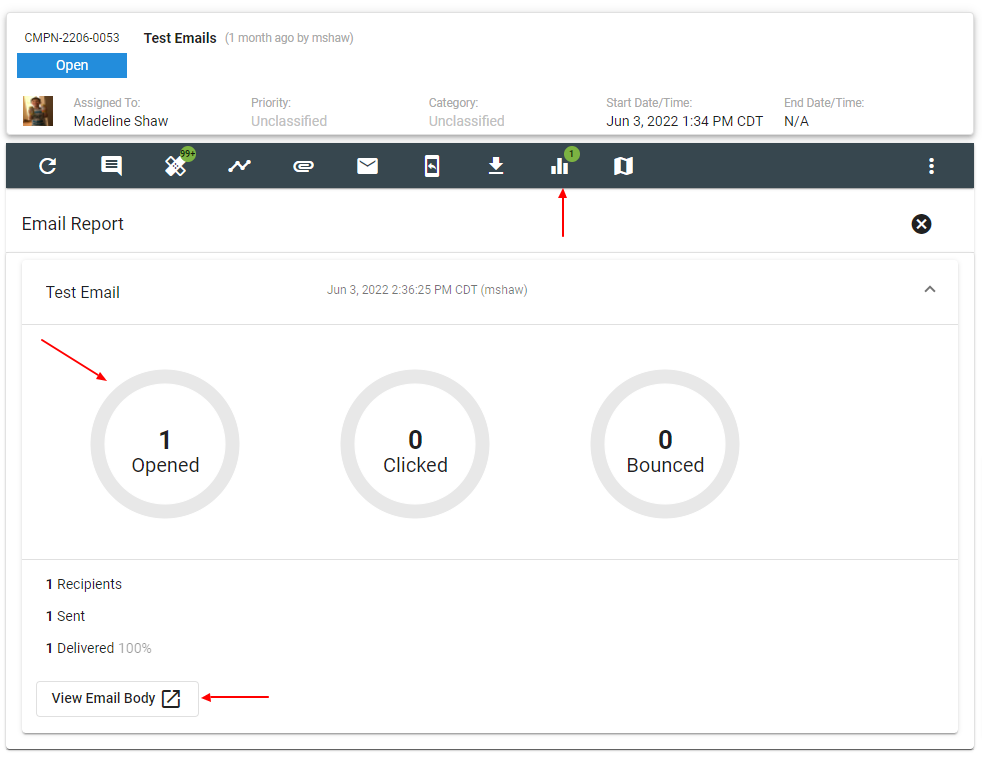
When you are on the specific marketing campaign page, select the Email Report icon. Here you can view the email reports from a campaign. Click into the specific email and then you can view the associated reports. There will be data for how many associated subscribers opened and clicked the email. You can also view how many emails bounced. Underneath that data, you can view the original email body.
You can now customize your marketing emails with emojis. There is now emoji compatibility within the subject line. Let your marketing campaign emails stand out and help capture your targeted audience’s attention.
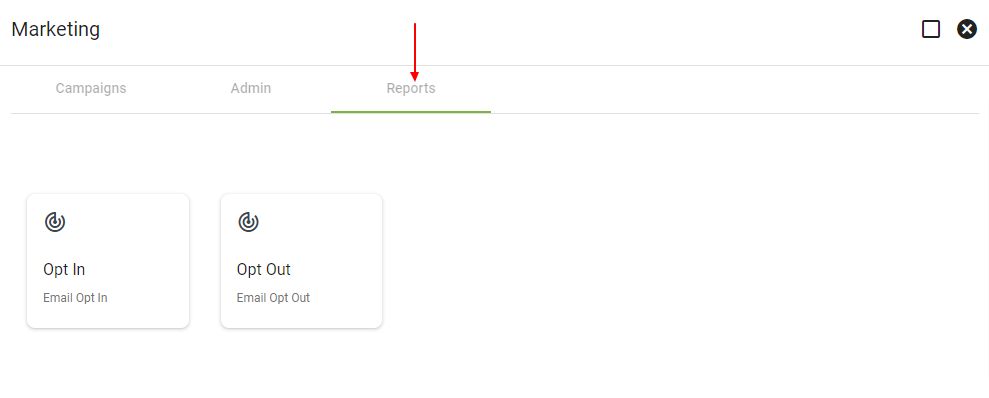
The Email Opt In and Email Opt Out boxes display the users that have opted in or out for marketing communications. Displayed is the subscriber’s email, a link to their account summary page, and the Opt in or Opt out date. A subscriber will not be added to a marketing campaign if they have opted out of marketing emails. The Email Opt In and Email Opt Out boxes only apply for marketing emails, not billing, or network notifications.