Training Curriculum
The foundation of Vision is location based. Everything from a subscriber to hardware is stacked on top of a location. Based on your role, you are involved in different cycles of learning. Software transitions can be complex; however the Support Team is here to lead your team into the transition. We will help build processes and best practices within the system. Listed below are outlines of training sessions the Support Team facilitates. Training will fluctuate based on need, and each training will build upon the next. Practicing these skills will be built into the training and we highly recommend spending time in the system on these touchpoints. The training courses are meant to facilitate questions and that steers us to understand what topics to address next.
The following outline is meant to be a guide as to what will be covered over the course of training. Topics listed will be covered in the corresponding sessions. At the start of the implementation process it is beneficial to have a basic understanding of training and what curriculum will be covered. This allows participation to be engaging and valuable for each employee in attendance.
Key Training Support Items:
Homework- For the course of the training, create a test subscriber in the system. If you use your info as a test subscriber account, we will error out the account later. Practice taking action in the system such as, adding a ticket adding notes in the ticket and assigning a user. This will also be a great way to follow along during training.
The Support Center- Refer to the Getting Started Guide while you are getting acquainted with the system. Take note that navigating the Support Center is set up like the software.
Point-of-Contact- Your company’s Vision POC will be your go to for day to day questions and assistance.
Support Emails- Refer back to support emails sent out during your training and transition period.
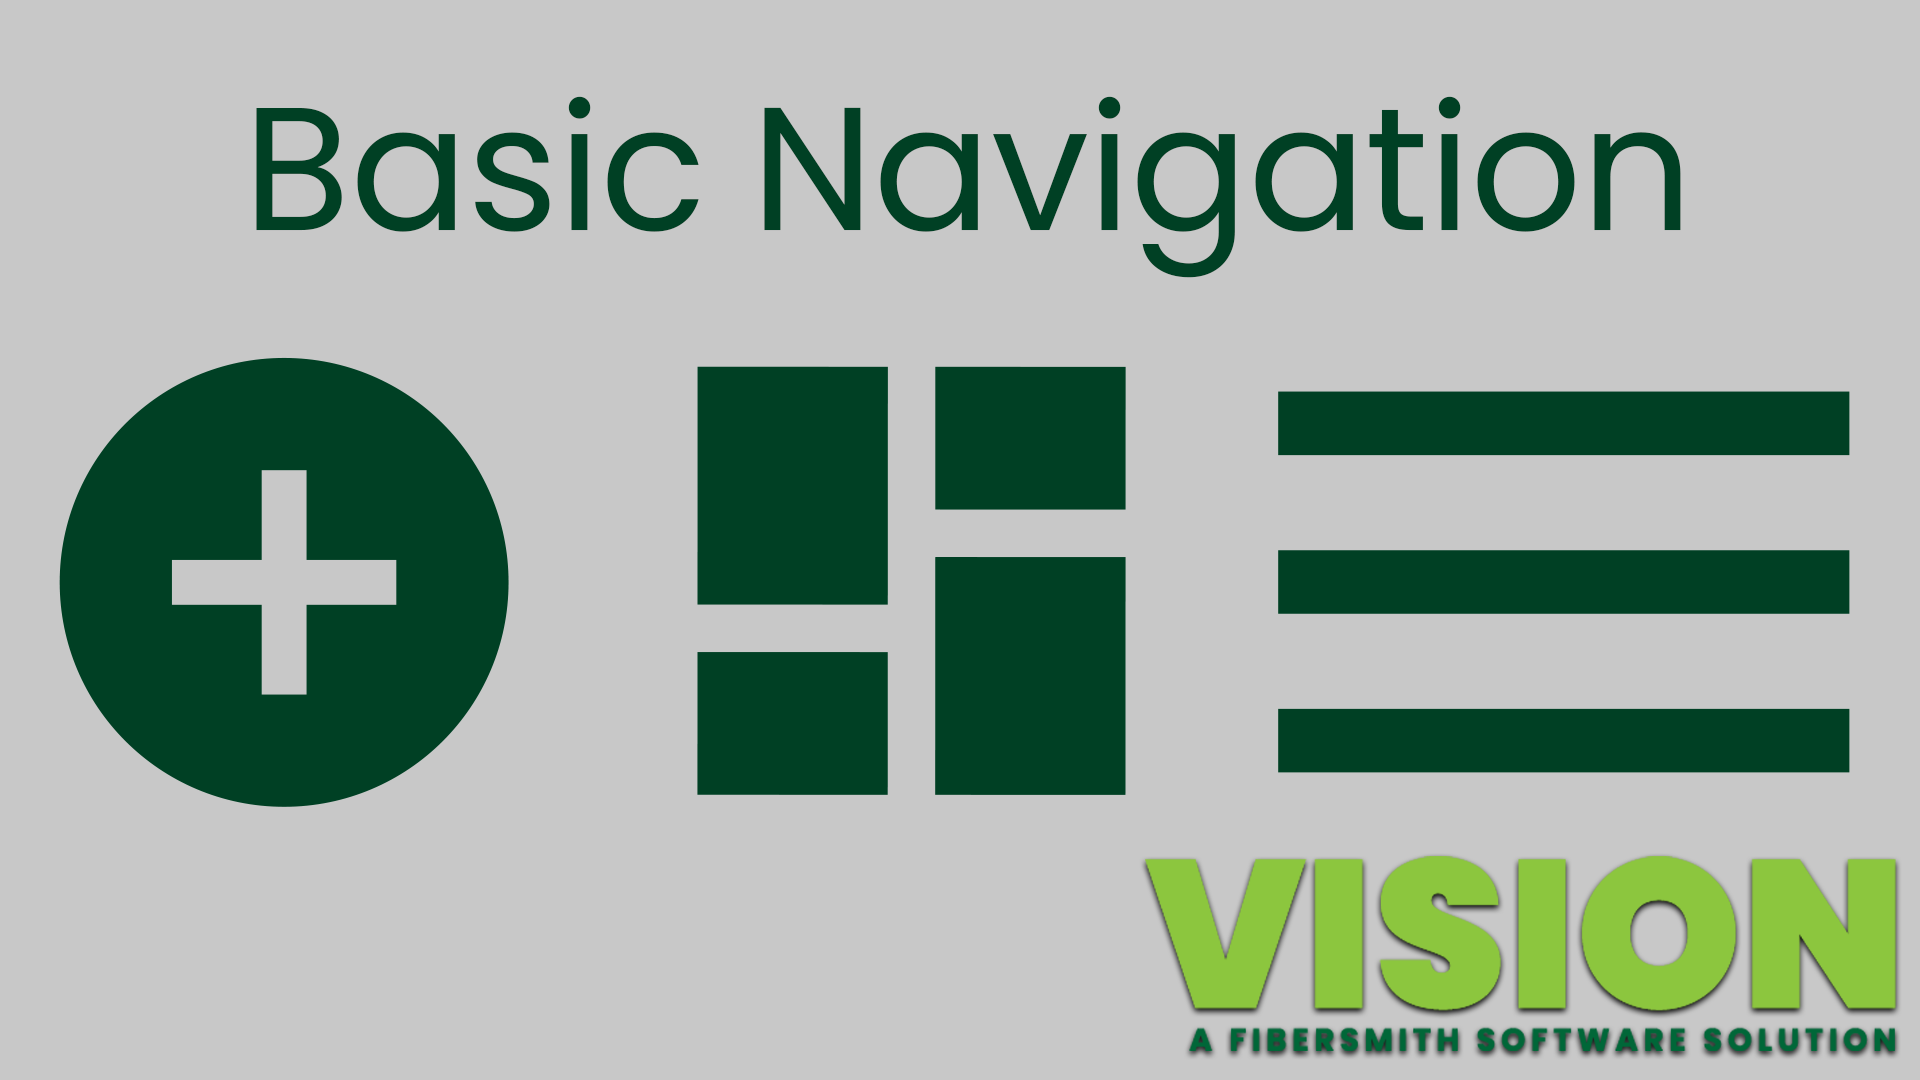
Every tool in Vision is going to become more familiar as you work in the system. Vision is designed to be clickable. As a tip, you can always right click to open a page in a new tab, and you can always click the back button. If you would like to watch a video going over the layout of Vision check it out here.
- How to use the Search Tools- Search for Subscribers, Payments, Addresses, Invoices, or Hardware
- Assigned Tickets/Tasks
- Dashboard- Depending on your user permissions, you will have visibility to certain dashboard cards. Opportunity for additional Dashboard cards with specific categories.
- Subscriber History- Quick links to the previous 10 accounts you have visited.
- Notification- New Tickets and Tasks.
- 3-Dot Menu
- Help- Displays help based on the page you are on. Links to support documentation.
- User Settings- Data Settings, Change Password, Change Dashboard Settings, Search Preferences
- Reset Home Page
- Main/Hamburger Menu- Subscribers, Calendar
- Floating Action Button (FAB)- Allows you to take action on a page. (Ex: Add a Ticket)
- Map
- Measuring tool- How long is the fiber drop from the road to the house?
- Street view
- Line of Sight Tool- Search Address, Drag and Drop Pin
- Satellite View
- Layers
- Vision is location based. Everything in the system is built on top of a location. The system wants to ingest a good clean address from google and USPS. It will not allow dup address such as using Rd. verses Road.
- As we import addresses we make sure they are rooftop pin locations.
- Add a Subscriber via the Map- Line of Sight Tool.
- Add Subscriber via the Dashboard.
Subscriber Account Overview
- Gear Icon- Change Summary Cards Displayed on a Subscriber Account. Saved changes will display on all accounts.
- Subscriber Status- Current, Delinquent, Lead, Past, Error
- Billing Amount
- Street View
- All Tab- View all action on the account.
- Services
- Invoices
- Payments
- Tickets
- Calendar
- Notes
- Contacts
- Attachments
- Locations
- Tags
- Portal- Where you can RESEND VERIFICATION the email to the subscriber.
- Reports
- FAB- Take Action on the Account Page
- Quickly add a ticket from the Dashboard. Enter Subscriber name first.
- Tickets can be added without using a preset template-
- Ticket Priority- High, Medium, Low- (Ex: Internet Outage- High)
- Tickets replace traditional notes. Anytime someone calls in, you need to open a ticket. You then record notes into the Ticket. Tickets can be reported off of and show historical data. Drive everything into this ticketing interface.
- Assign Ticket Category
- Assign Ticket to Vision User
- Assign a Due Date
- Dynamic Workflow- If a customer calls in and reports their service is down, you will add a Ticket and open a Dynamic Workflow within that Ticket. Through that workflow you are troubleshooting with the customer. Then you can choose to schedule a dispatch task.
- There are a couple of ways to add a payment. One, from the dashboard you can click on Take a Payment. Then type in the subscriber and click submit.
- The second way to add a payment is from the Subscriber Account Page. Click the FAB then click the Take Payment button.
- Choose a Payment Type.
- You have the option to save the payment method and/or set up a recurring payment.
- From a Subscriber Account click the FAB then click the Add Service button.
- Can choose to change the existing package or add a new package.
- The Shopping Cart will only show available offers for that location in their service area.
- Tickets assigned to me- Daily- sort by due date- work my tickets- open ticket put last notes in, close ticket, refresh and ticket in gone
- Search within Tickets assigned to you- (Ex: Subscriber or Internet Issue)
- Person Icon in the Overflow Menu will direct you to all Tickets and Tasks assigned to you and your group.
- Number of Tickets per page can be changed. The system loads 5 tickets at a time by default to keep load times quick.
- You can view Tickets and Tasks assigned to your group if you have completed your Tickets and Tasks for example.
- Vision is mobile friendly, you do not need to download a separate app. You can reach your tickets and tasks straight on your phone.
If you would like to watch a video about how to add a subscriber, service, and payment check it out on our Youtube Page or click the image below.
- As part of the transition we import addresses and will want to make sure that the location pin in on the rooftop.
- Practice adding a Subscriber via the Map via the Line-of-Sight tool.
- Practice adding a Subscriber via the Dashboard
- When verifying an address click on the address match, do not skip verification.
- We only want to create one clean address. An MDU will have a unique location.
- Onboarding Customers and Leads uses the same process. Both will be a Subscriber in the system and have different Subscriber Statuses.
- From a Subscriber Account click the FAB then click the Add Service button.
- Practice adding a Service on an existing account.
- The Shopping Cart will only show available offers for that location in their service area.
- Understanding an Interest Package, and that it will capture data, leads, and will send automated emails.
- Once a Service is added, that will kick off an automated Workflow associated with that Service.
- Practice adding payments. There are a couple of ways to add a payment. One, from the dashboard by clicking on Take a Payment. Then type in the subscriber and click submit. The second way to add a payment is from a Subscriber Account Page and click the FAB and then the Take Payment button.
- Choose a Payment Type.
- You have the option to save the payment method and/or set up a recurring payment.
- View where past Payments are and Payment receipts.
- View Recurring Payments.
- How do I take a payment? If you are processing a check you follow the same path and then enter the check number and amount.
- Subscriber Account > FAB > Take Payment
- If a stack of checks needs to be processed in mass, the following section of Vision will be helpful:
- Operations > Billing > Check Processing
- How do I edit a customer’s email address on their invoice?
- Subscriber Account > Services > Click into Current Service > Edit Invoicing > Add or Deactivate Email Address> COMFIRM
- Changing a Subscriber’s name quickly can be done by clicking into their name on top of their Subscriber Account page. Make changes and click UPDATE.
- Adding Contacts- Click the FAB and click the Add Contact button. This does not mean that if you add a contact that those contacts will receive the invoices. To edit invoices click the services tab and click on any of the services. Then click on the mail icon in the upper right-hand corner to edit the invoicing information. You can select emailed or mailed invoice. You can add additional email addresses, just be sure to set that address to be set to active.
- How do I add a portal user?
- Subscriber Account > FAB > Add Portal User
- How do I resend their verification email?
- Subscriber Account > Portal Tab > Click on Correct User > Click EDIT (Lower Right Corner) > Click RESEND VERIFICATION
-
Other Commonly Asked Customer Service Questions
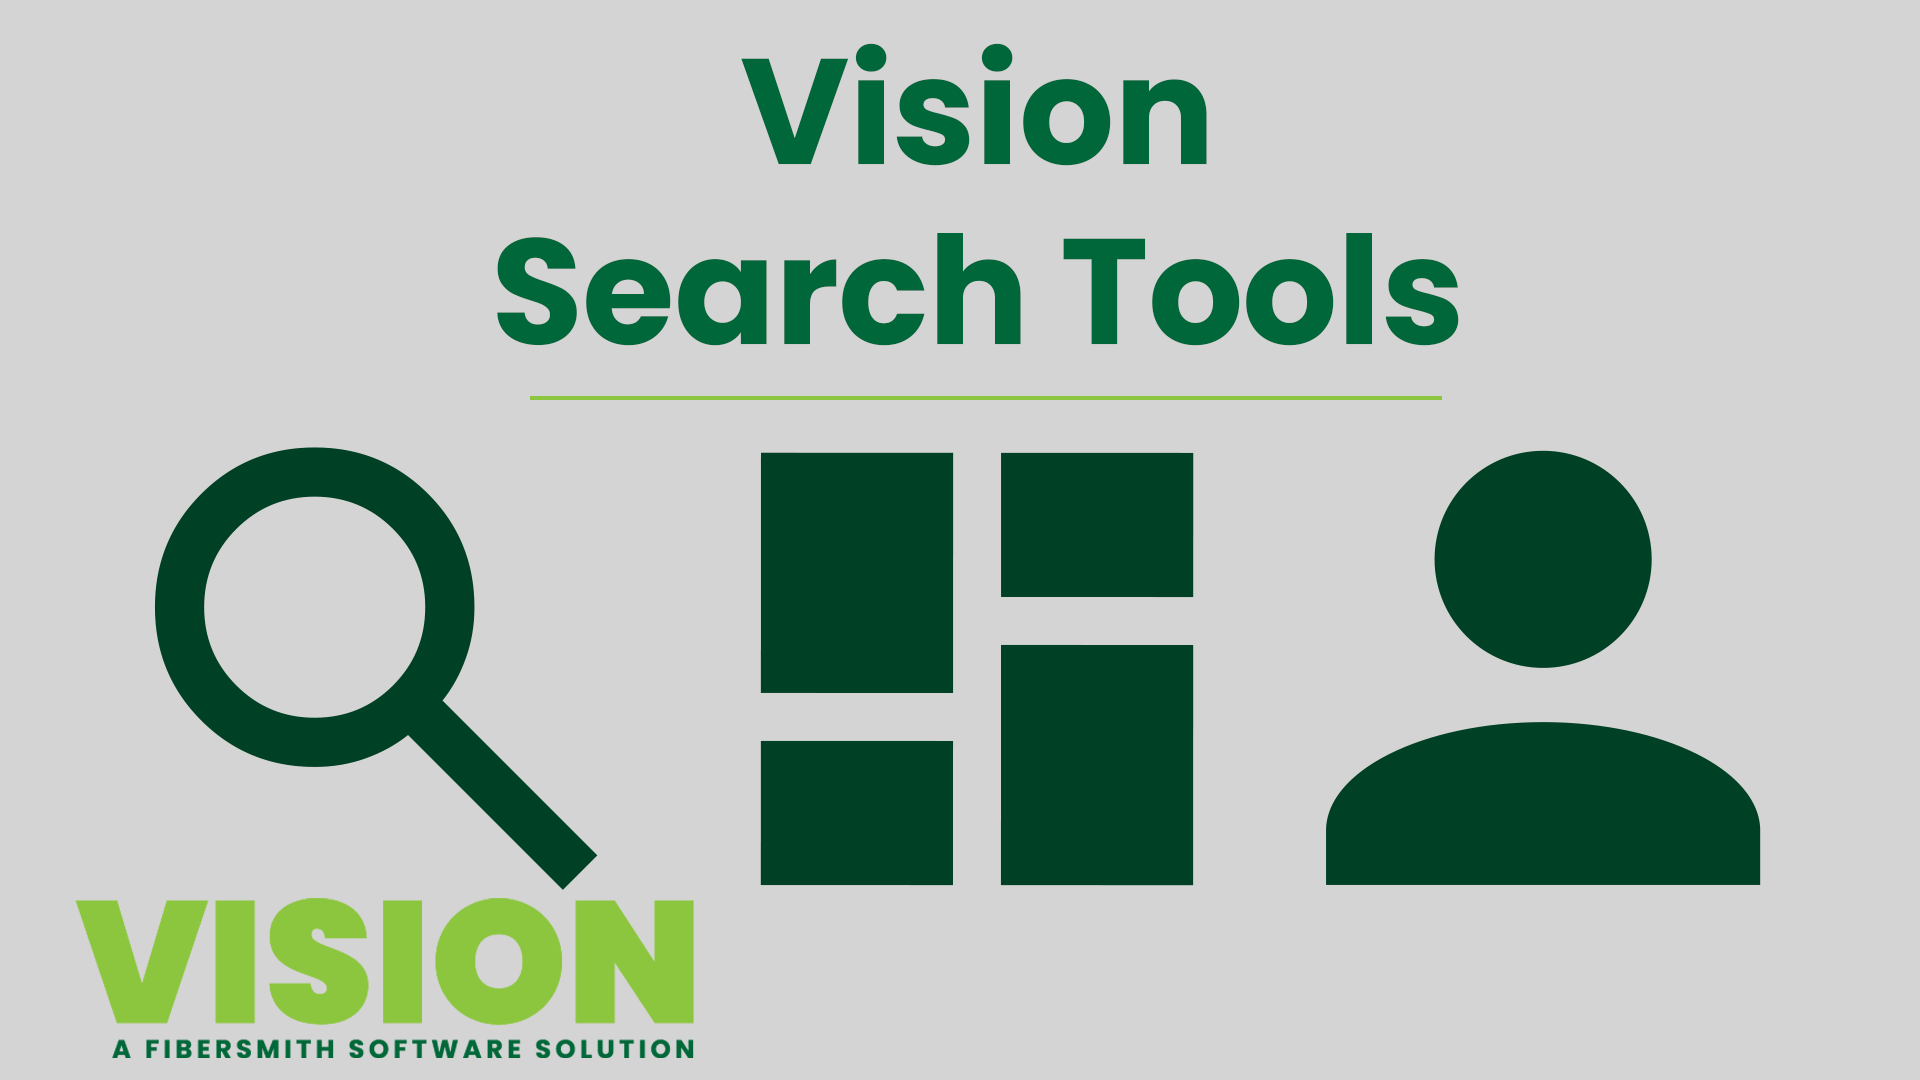
In Vision there are a couple ways to search for data, including the super search and dashboard search tools.
The top header  Super Search returns results for many data points in the system such as addresses, subscriber name, subscriber IDs, contact information, invoices, tickets, hardware, circuits, warehouses, vendors, purchase orders, manufacturers, IP addresses, workflows, and more.
The Dashboard search field labeled Search Subscribers will search specifically for subscriber information, such as names. This can be found on every user dashboard.
Vision lets you edit your personal search standards in User Settings. Those settings will be saved going forward unless you updated your selections. These settings will improve your Super Search results.
The advanced search  icon allows you to narrow your search by choosing from page-specific categories: Subscribers, Locations, Tickets, Hardware, Circuit Segments, Circuits, Users, Warehouses, and more.
The search tools are helpful when looking for a subscriber or equipment is easier with every piece of equipment is inventoried through the system to make tracking and knowing where everythings is better.
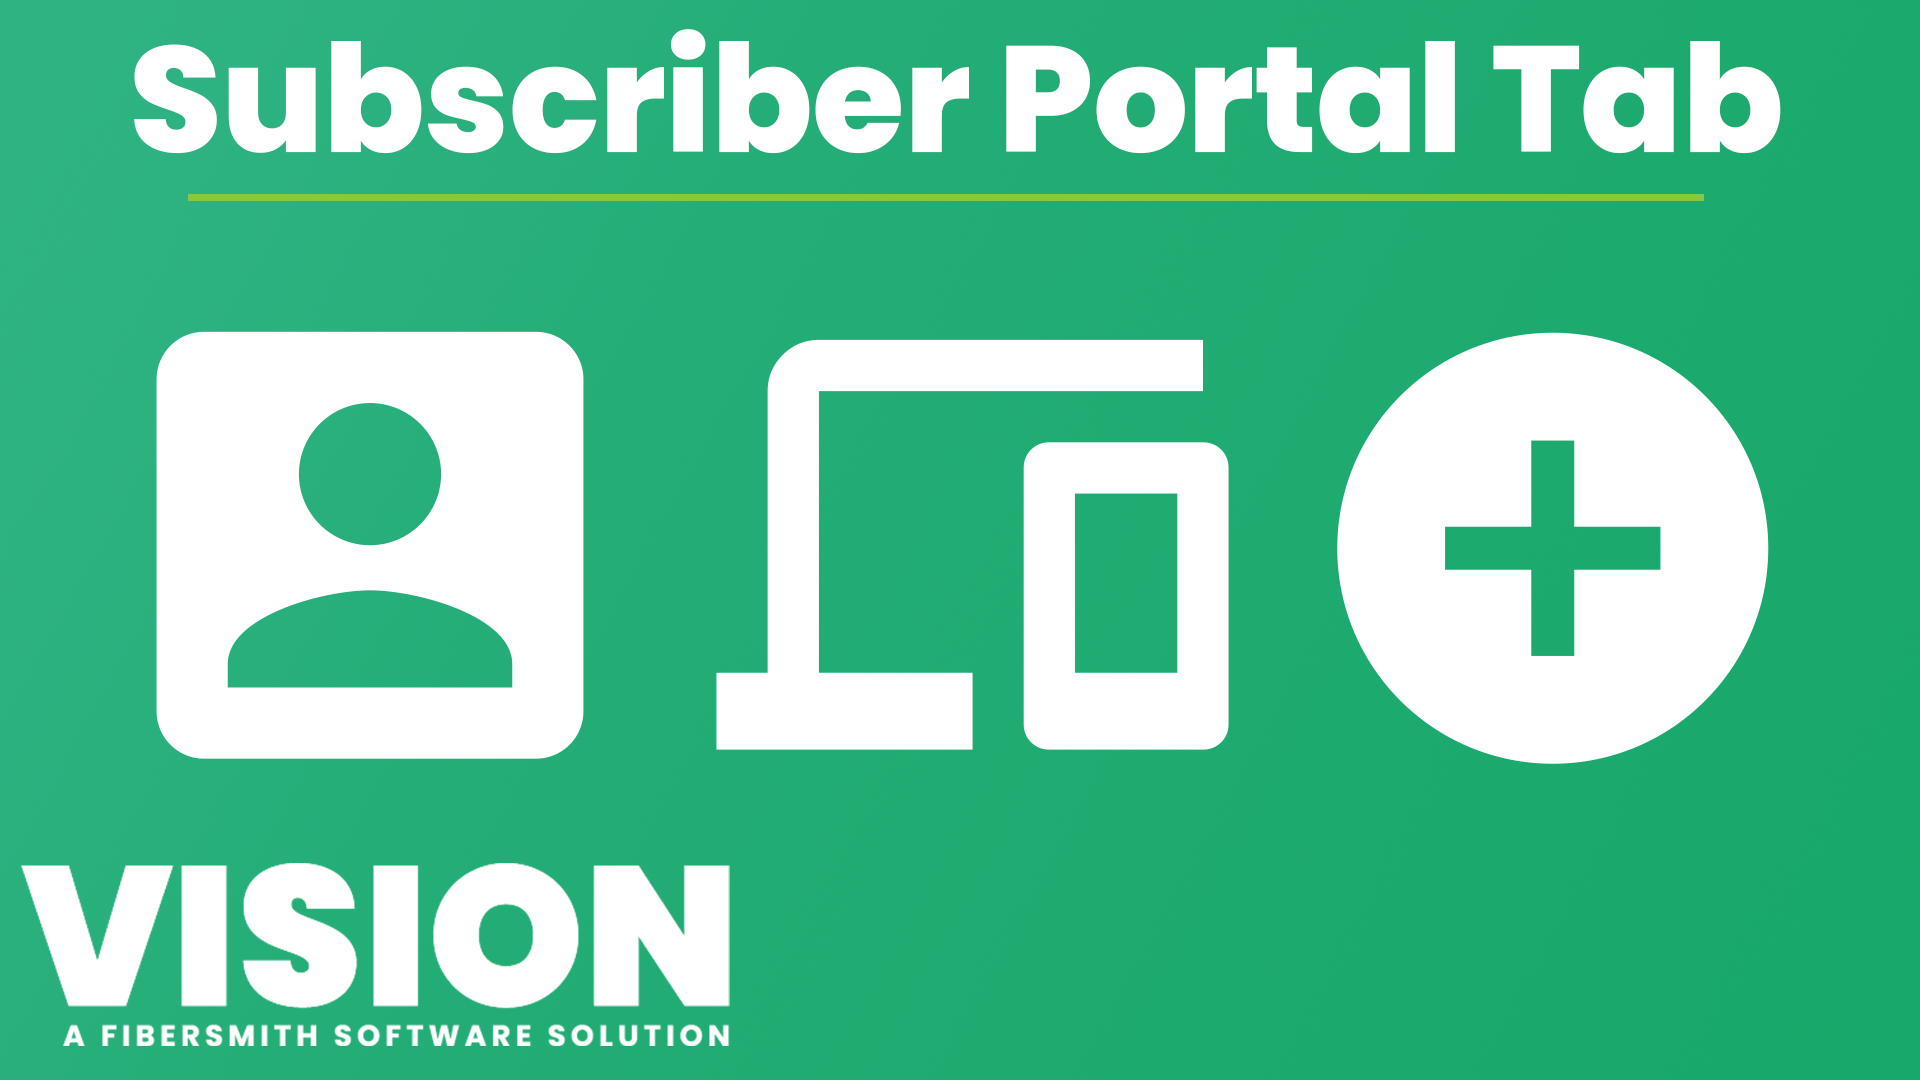
The Subscriber Portal is a secure online site where a subscriber can log in to manage parts of their account including payments, services, contact information, tickets, etc.
The Portal is built to be a slimmed-down version of Vision’s internal system to speed up the ease of navigation and to avoid the need for representatives to learn a new or different site.
It is designed to be mobile friendly/mobile-first. Subscribers do not need to download a separate app on their device.
Your Portal site is set up to match your branding styles, color, and include your logos.
To watch a video about the Subscriber Portal and to get a better understanding of the tasks the port can do check it out below.
![]()
Any update made on the account by the subscriber in the Portal, such as payments, service changes, contact information, etc. is marked as a record on the Subscriber’s Account history under the ALL tab.
Under Network Events we added an event named New Subscriber Transition. Within that event we added your subscriber portal information, URL, and helpful screenshots in case you need a reference.
- Main Menu > Network > Events

- From a Subscriber’s Account click the FAB and click the Add Portal User button.
- Portal Tab > Click User > Edit > RESEND VERIFICATION
Actions from the Subscriber Portal:
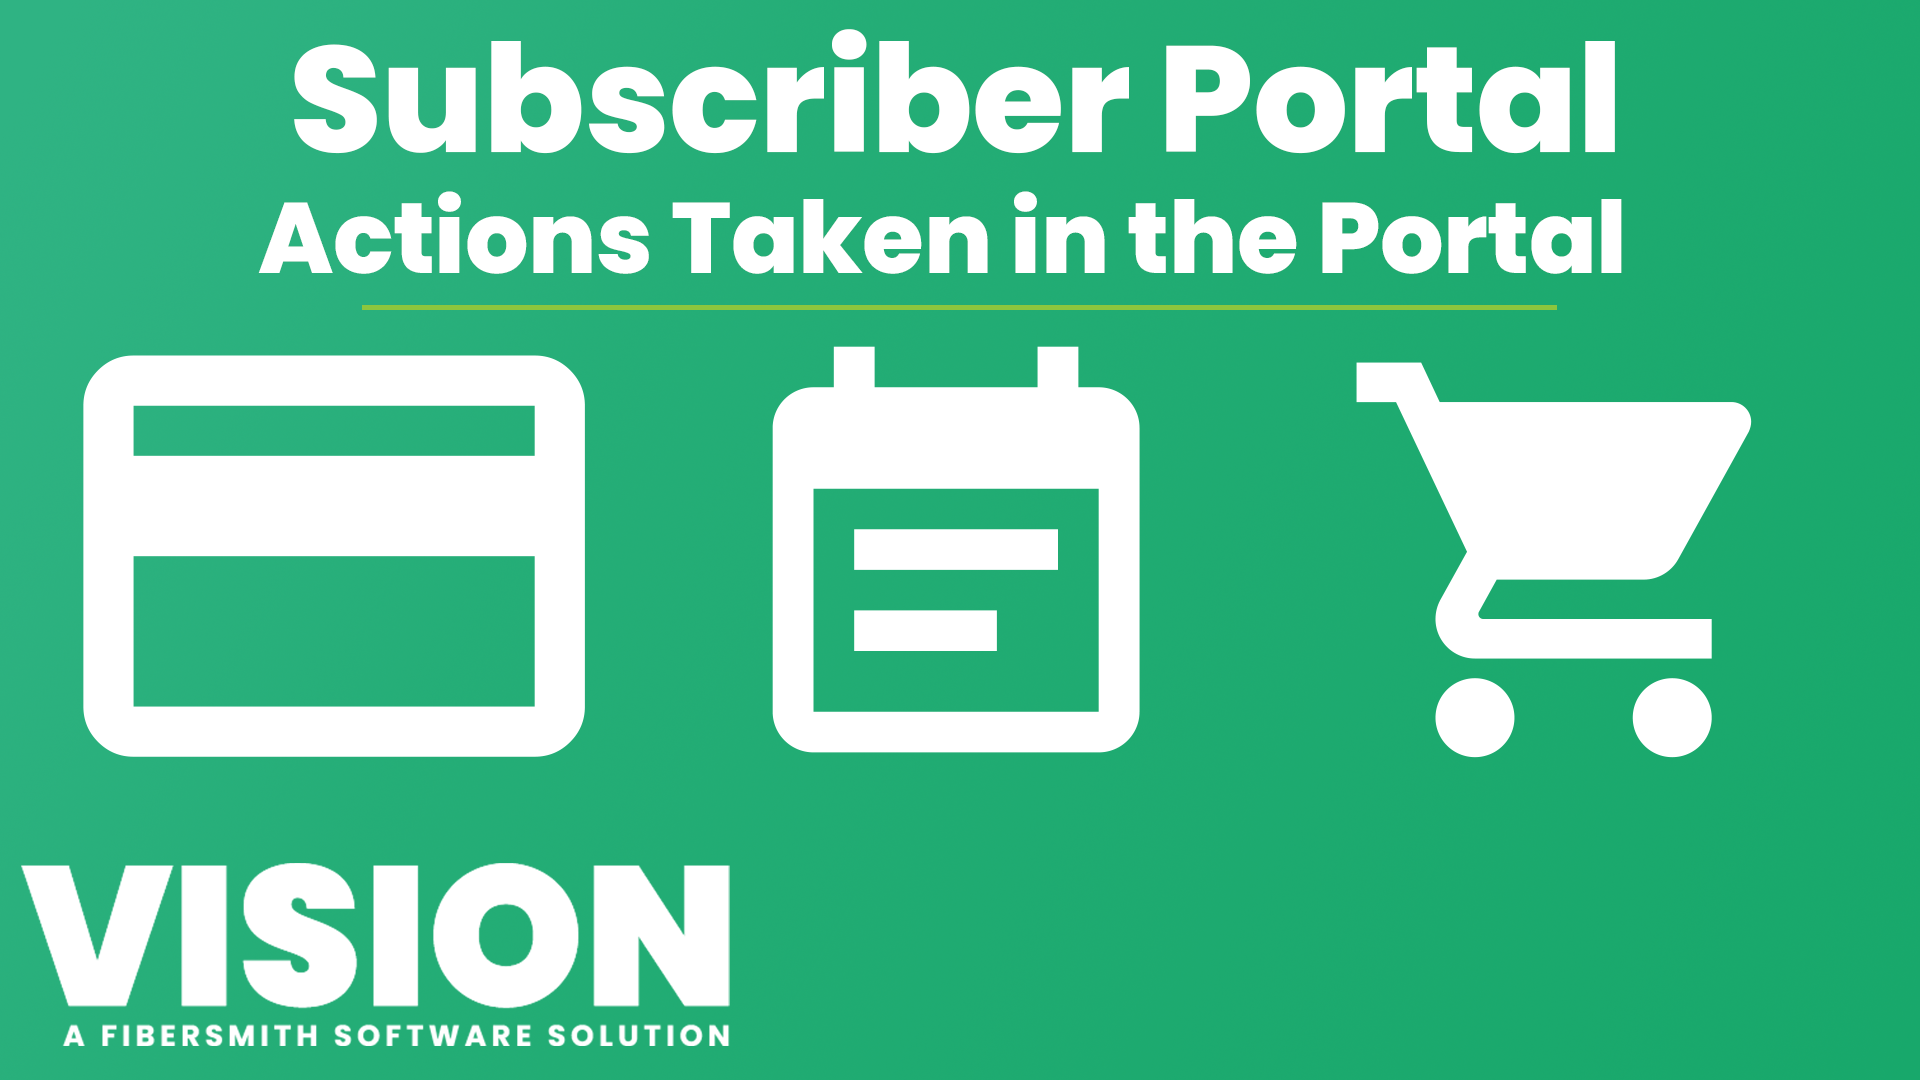
- Reset Password
- Subscribers click "Don't remember your password?" and then enter the email associated with the login.
- They will receive an email with a link to enter a new password. Once they enter a new password they will be taken to a screen that informs them that the reset was successful.
- Change Password
- Click on the 3-Dot Menu and then select User Settings to change your password.
- Portal Home
- The main home page of the Portal displays the subscriber's name, subscriber ID, along with the current balance, and due date.
- The FAB appears in the lower, right-hand corner of the page. Click to expand: Make Payment, Add Phone Number, Add Email Address.
- The Calendar is displayed on the home page as well.
- The gear icon appears if the subscriber has multiple accounts. It allows a subscriber to switch between multiple accounts without the need to set up additional logins.
- Calendar
- A calendar is available for subscribers to view several types of event items related to their account. (Public Tickets Created, Invoices Due, Payment Receipts Created)
- Click on a calendar item to expand the event item details and to open a link for more information.
- Contacts
- Subscribers can add, edit, or delete contact information related to their account. To add a Contact, click on the FAB.
- Invoices
- Subscribers can access a list of invoices charged to their account through the Portal. Click on the Main Menu and then select Invoices.
- Payments Receipts
- Subscribers can access a list of payments applied to their account through the Portal. Click on the Main Menu and then select Payment Receipts.
- Recurring Payments
- Subscribers are able to manage recurring payment options to automatically pay future invoices on their account through the Portal. Click on the Main Menu and then select Recurring Payments.
- They can view the history of recurring charges, edit, add, or delete a recurring payment.
- Services
- Subscribers are able to view service packages billed and non-billable services of their account through the Portal. Click on the Main Menu and then select services.
- If a contract is on file or needs to be signed, the subscriber can view or complete the contract from the Services page.
- They can view the package item details, by clicking on the package line.
- Tickets
- If a ticket note is marked as PUBLIC in the system, it would be recorded in Portal for the subscriber to read. To view click on the Main Menu and then select Tickets.
Portal Tab
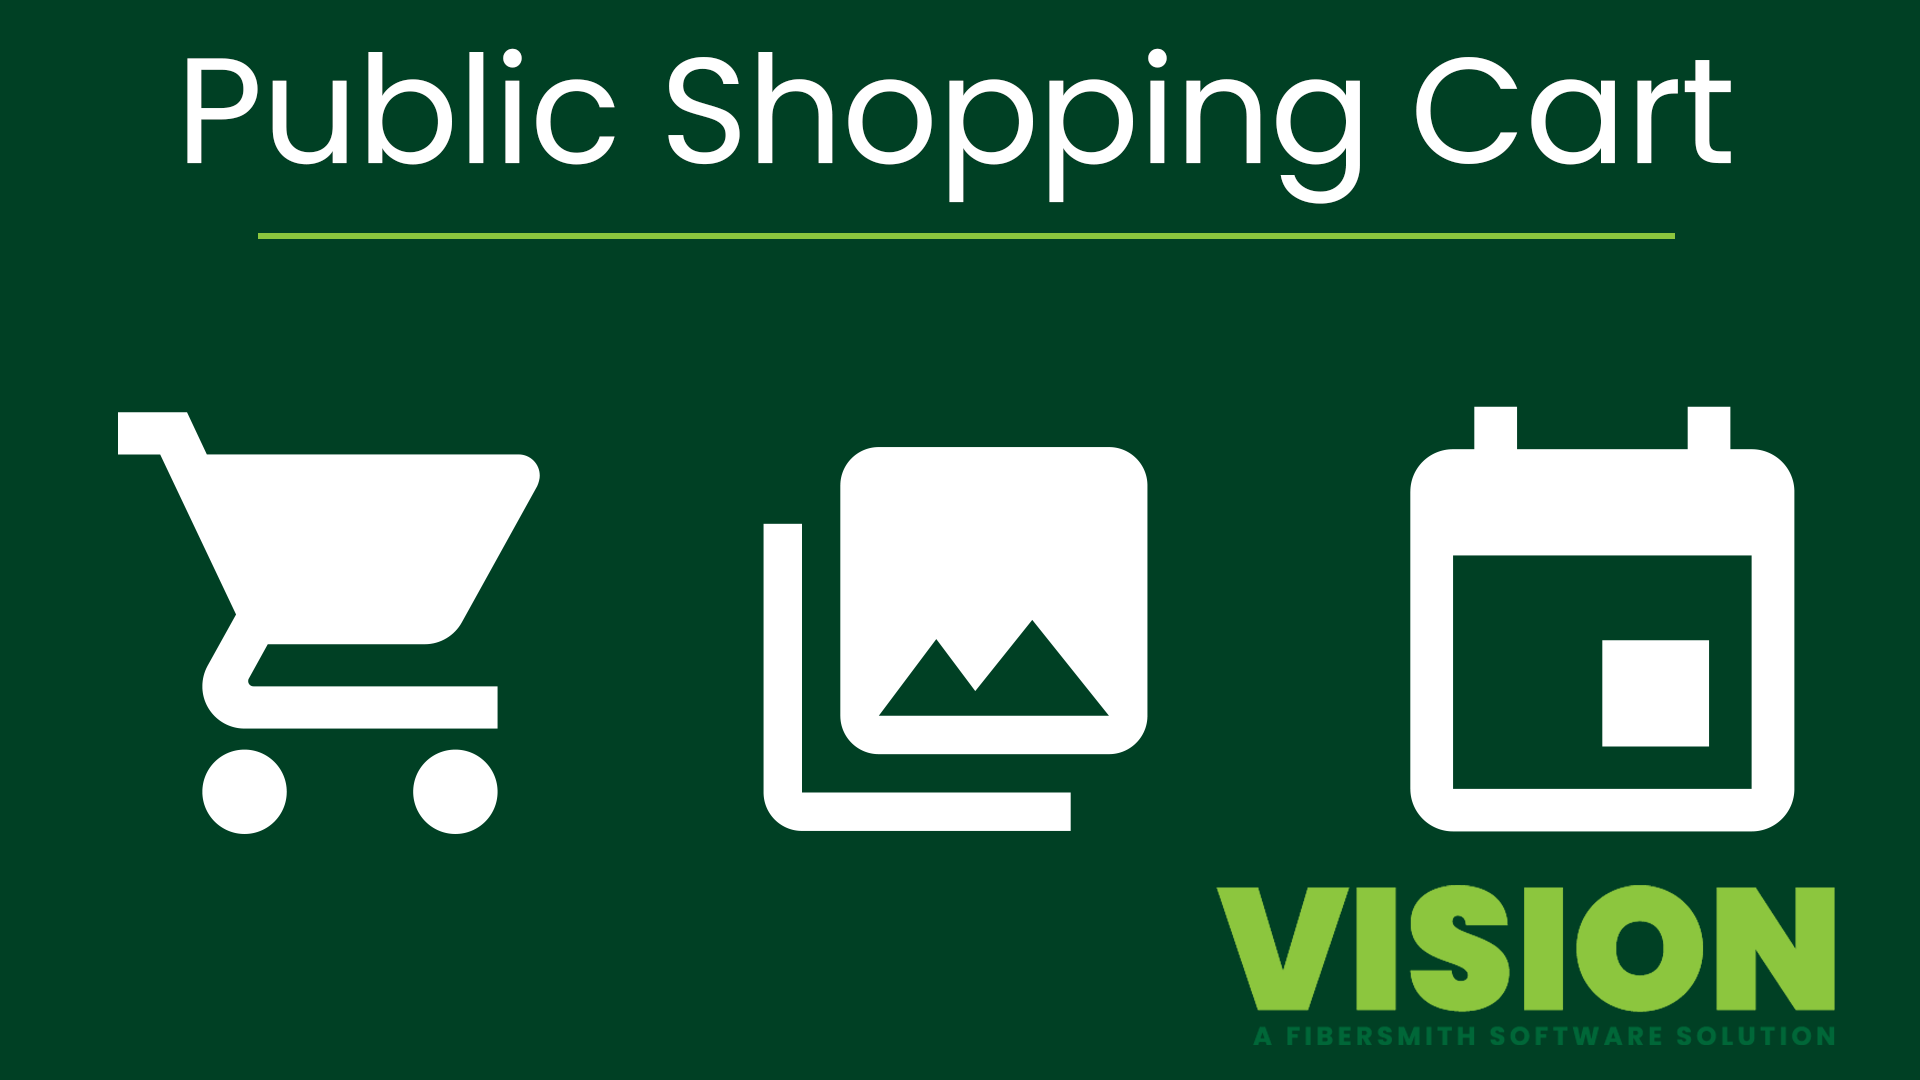
- Navigating the Public Shopping Cart
- Sign Up for Service Offering- Practice Entering Address
- Sign Up for Service Offering- Practice Dropping Point on the Map
- Scheduling Install Tool
- Create Username and Password for Subscriber Portal
- Interest Package Offers
Understanding Workflow Basics- Example Workflows
Processes Displayed on a Subscriber Account page
Viewing Tasks Associated with a Workflow
What is a task?
What is a field?
What is a function?
Working a Task
- View the tasks in the workflow that have been completed and those that have not been completed.
- Tasks are automatically fired off through workflows
- You can find tasks assigned to you on the Dashboard or by clicking on the icon in the upper right-hand corner.
- Click on the Workflow # to view more details
- Tasks are due date driven.
- While working a task you will see the start date, the due date, date completed, who the task is assigned too, past notes, and a spot to take new notes before completing task.
- Completed tasks will have a green check mark on the right hand side.
Working a workflow starts with proactively working your tasks. This will be a continuous learning cycle.
Scheduling a Dispatch
- Scheduling a dispatch can happen manually through the calendar on the subscriber account.
- Most commonly it will be fired off as a task in the workflow. For example, in a cancelation workflow or a new service activation workflow.
- When you open a trouble shooting ticket, you can launch a dynamic workflow within the ticket. This allows you to troubleshoot with the customer on the phone. If there is not a simple resolution, there will be a task in that dynamic workflow to schedule a dispatch.
- View/Edit Campaign
- Add Note
- Edit Associations
- Workflows
- Attachments
- Send Email
- Send SMS
- Email Report
- Add Associations from Map
- Add Post to Facebook
- Add Campaign
- Marking Campaign Reports
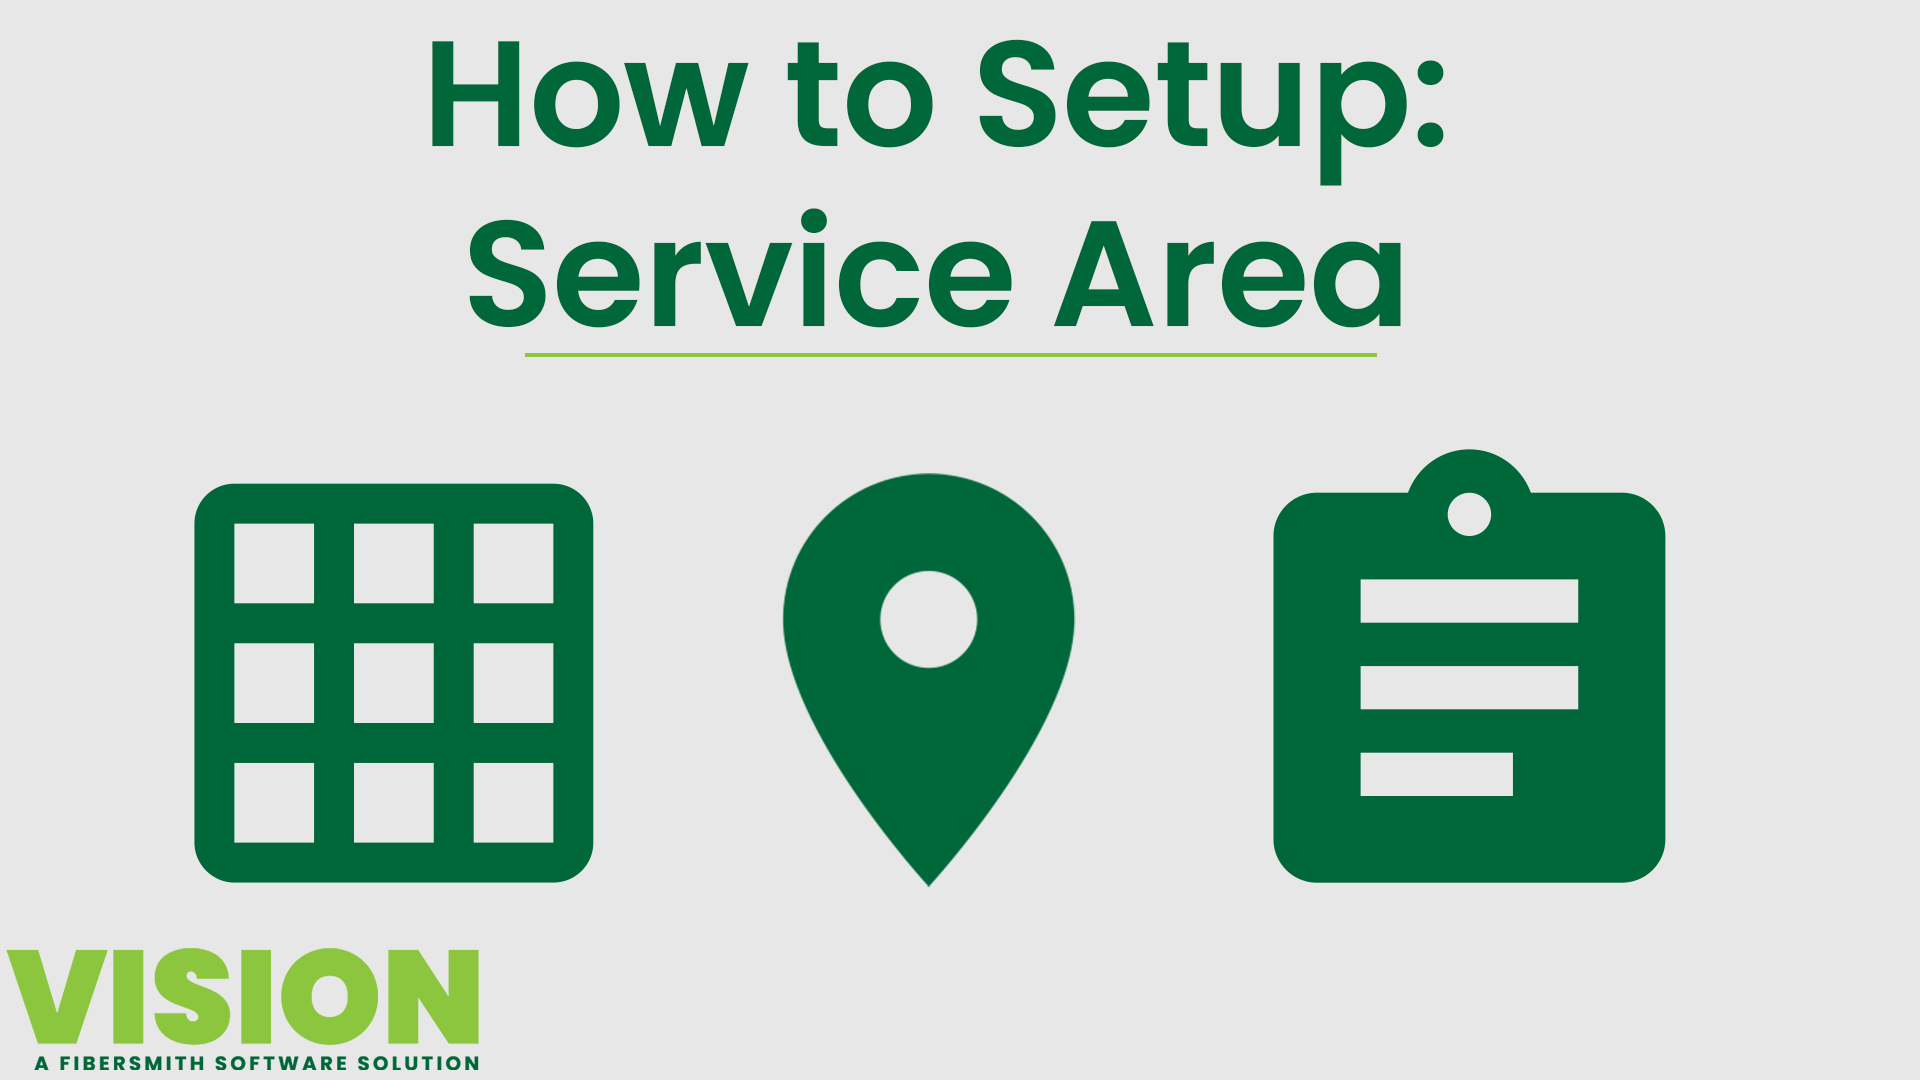
Service Areas are geographical areas defined by the service provider. Within each area, Service Offers are built to make available for purchase. All potential subscribers within the Service Area have the option to purchase these offers or sign up for interest packages in the Public Shopping Cart.
- View, Edit, Add
- View, Edit, Add
- View, Edit, Add
- View, Edit, Add