Learn the Basics
Learn how to navigate Vision using the repeating functions and icons across pages.
Icons help to visually designate available actions or information.
Logging In
Enter your login information, then select LOG IN.
Click on Don't remember your password? if you need assistance resetting your password.
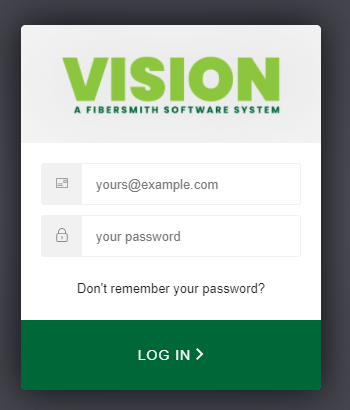
To bookmark Vision on your preferred web browser, make sure that the URL entered is yourcompany.fibersmith.systems.
Bookmarking the login page, rather than the dashboard page after login, will usually result in the following message. Make sure that your base URL is correct before trying to login again.
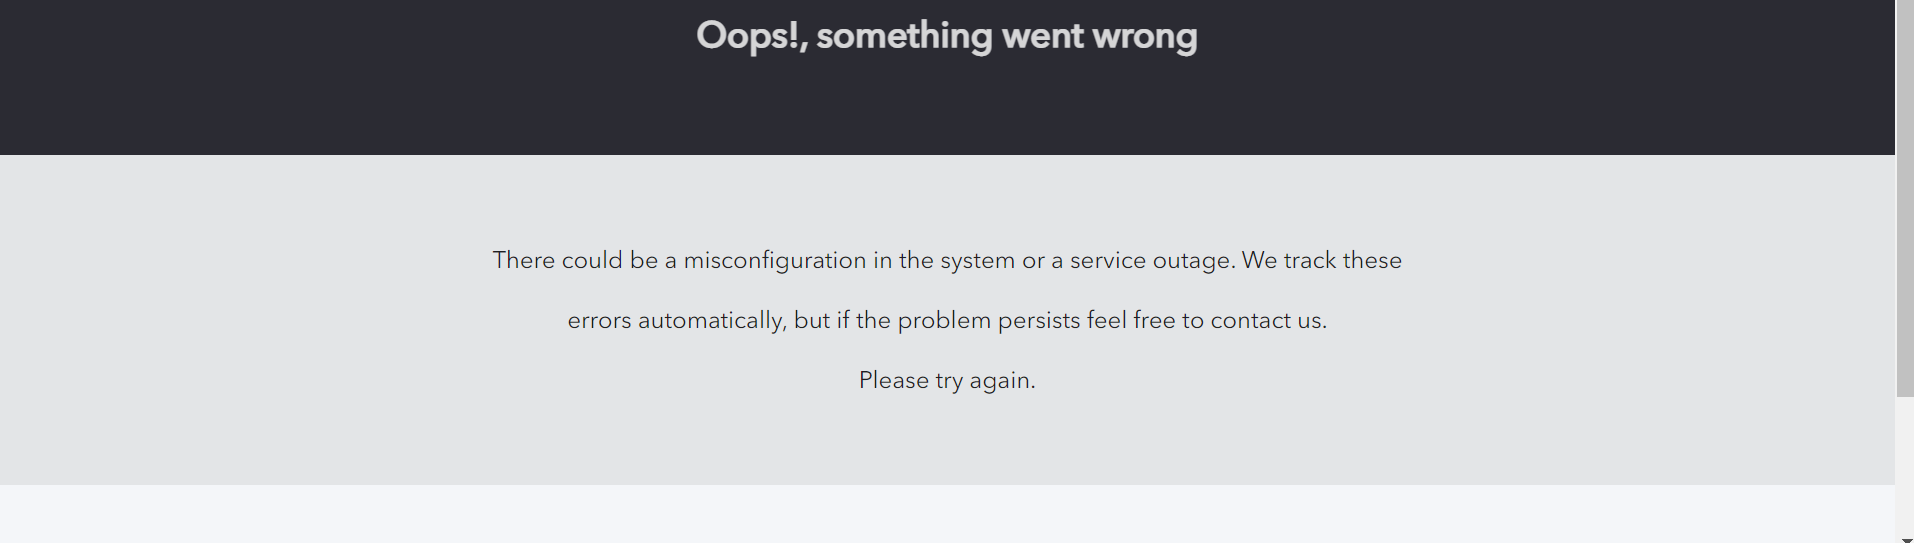
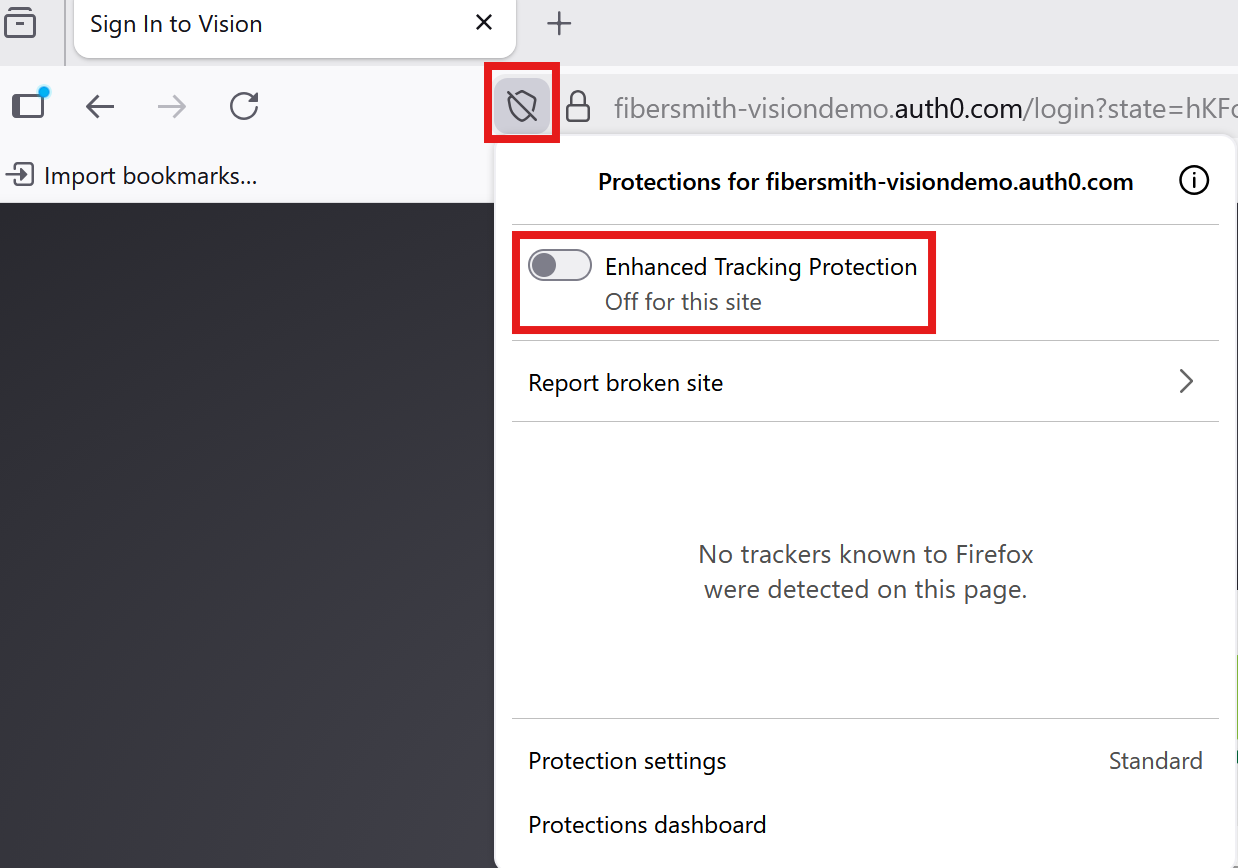
If you are using Firefox, turn off Enhanced Tracking Protection. Leaving it enabled can lead to being forced to log in frequently.
For more common issues with Logging In.
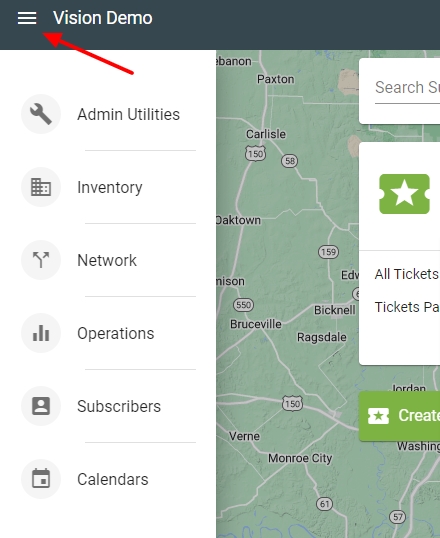
Menu
The 
The menu icon will be displayed across all pages and is always accessible in the upper lefthand corner, however, the options displayed under the menu will change depending upon the user's permissions.
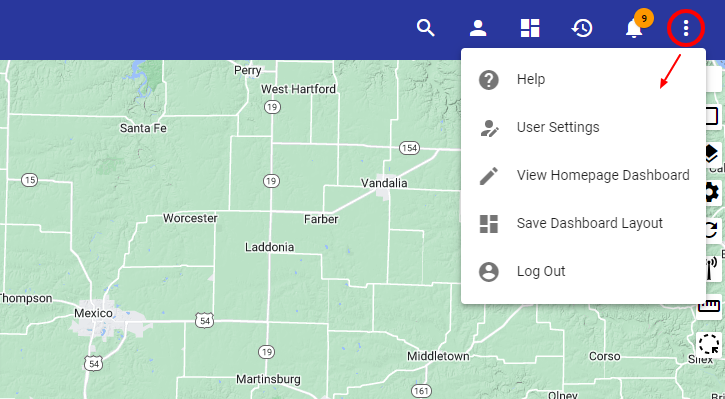
Overflow Menu
The overflow menu
Click on 
Click on the 
Select 

The 
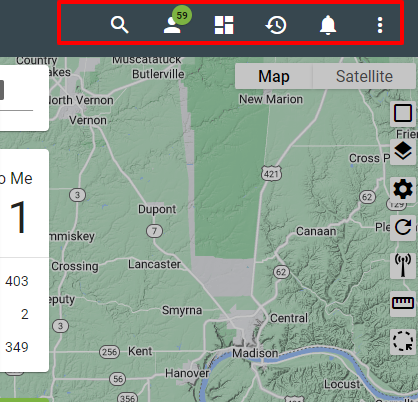
Header Navigation
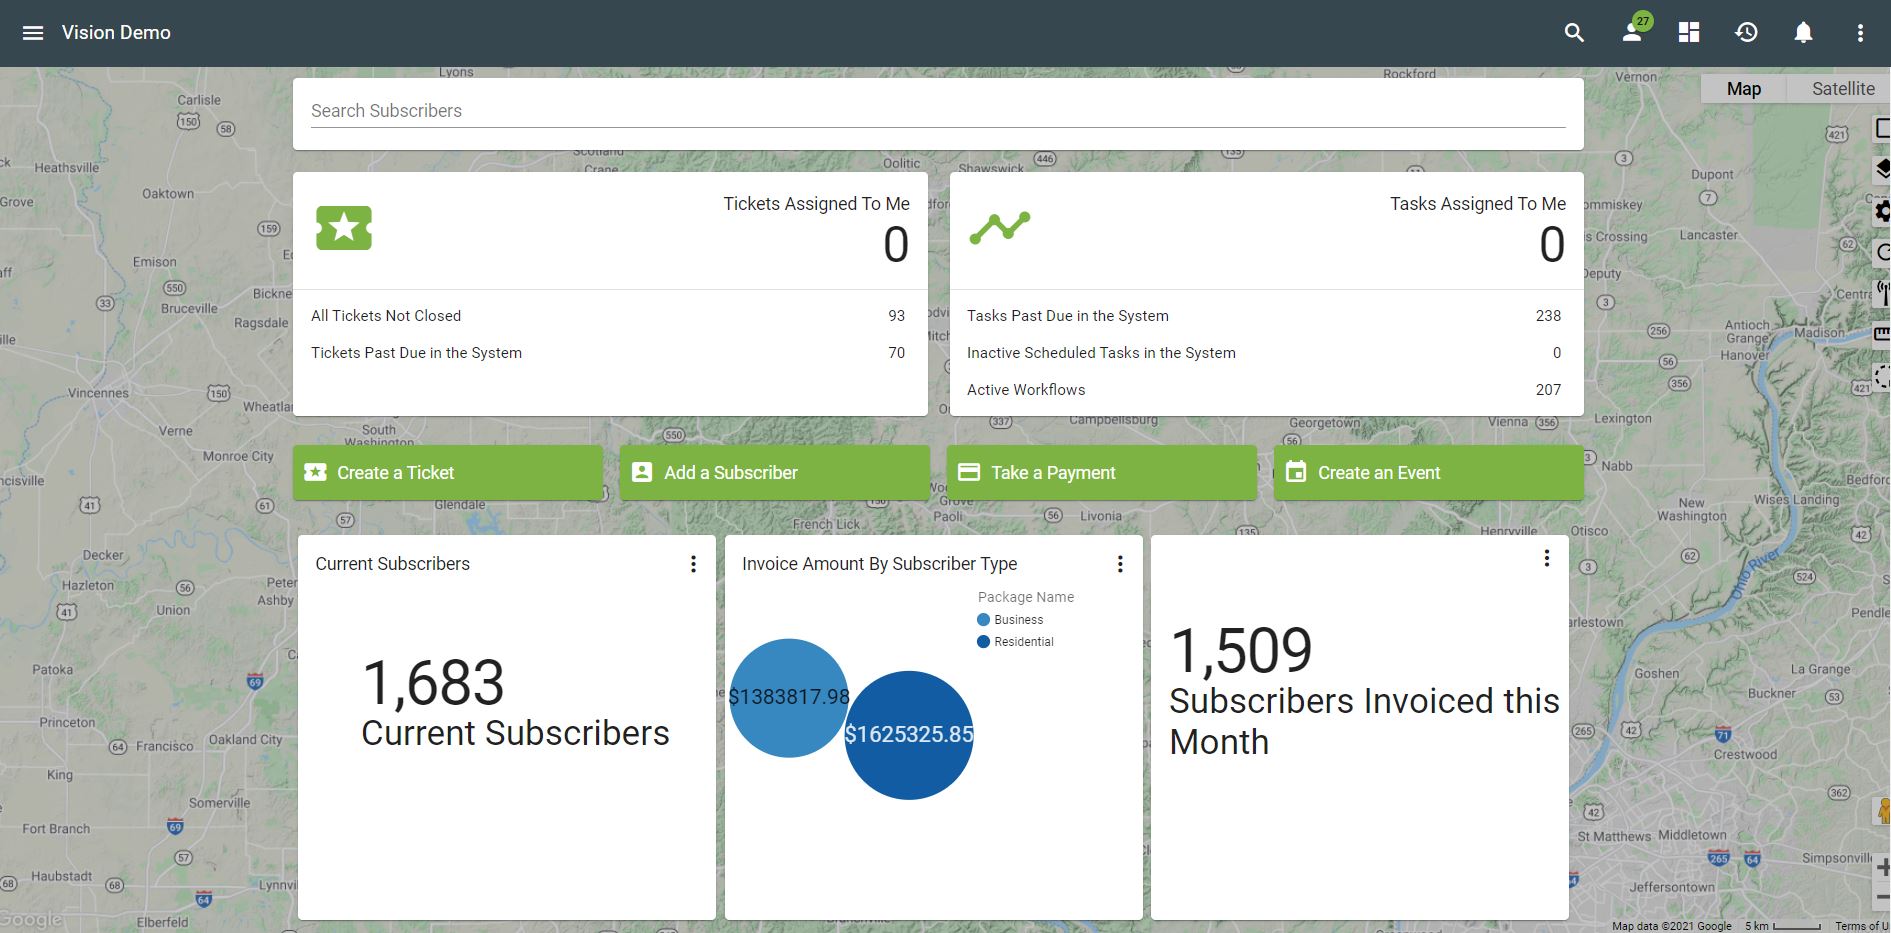
The header functions are featured on every page and are not Subscriber specific. The map icons control the information that is displayed on the base map. To learn more, visit the map layers page.
The search
The
Click on the 
The 
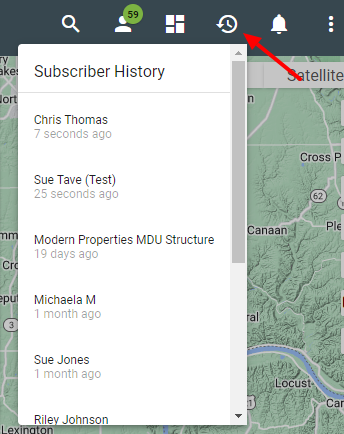
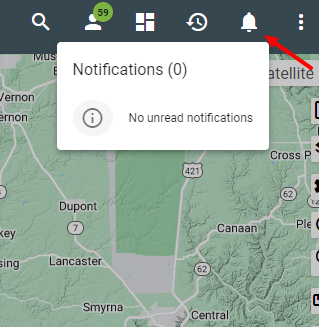
View new notifications under the
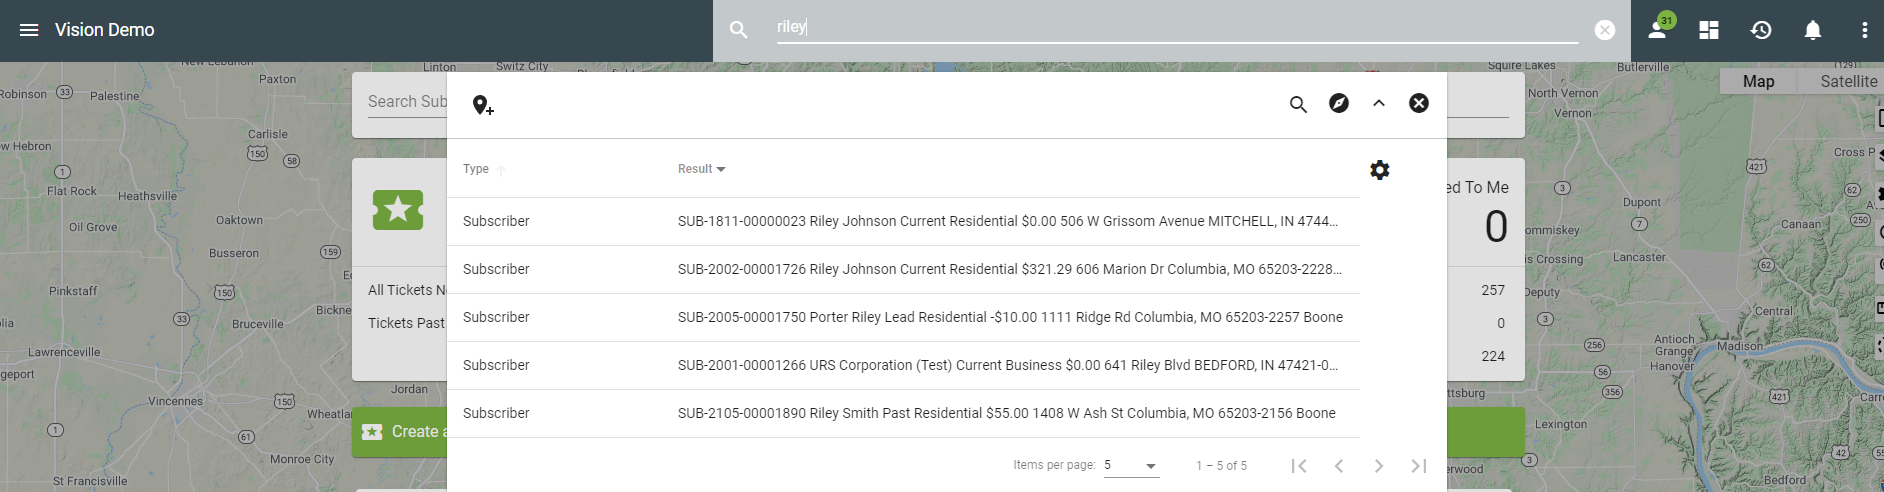
Search
The Super Search
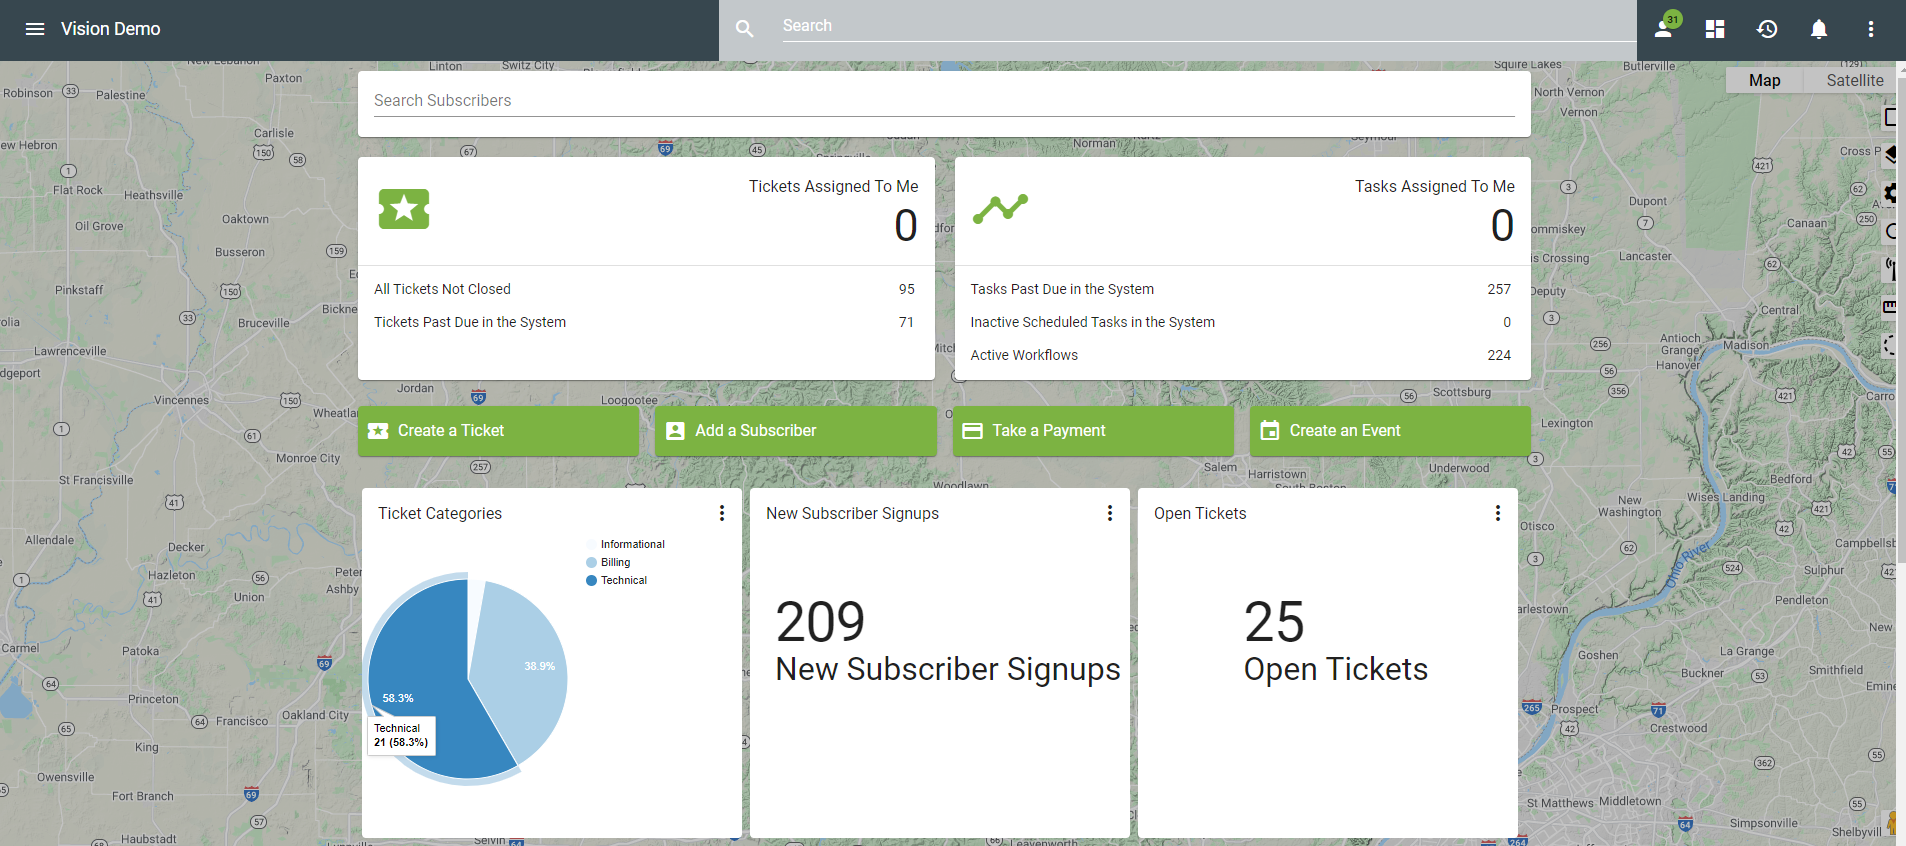
The search function on the dashboard entitled Search Subscribers will search for subscriber information.
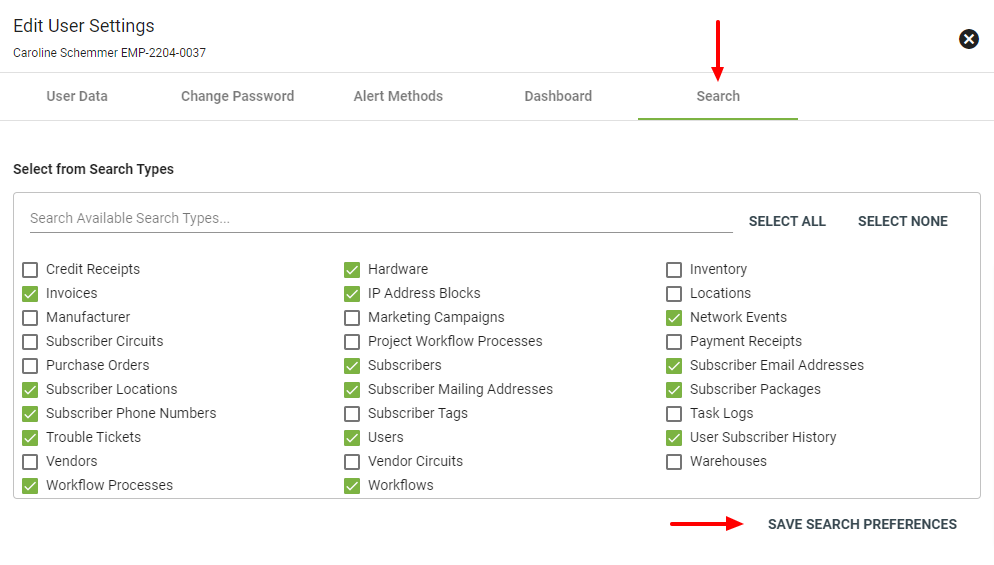
To improve your search results, you can edit your personal search standards in your User Settings. To set your search settings, go to the Overflow Menu or the 3-Dot Menu in Vision. Click on User Settings, then click on the Search Tab. Then you can select or de-select from the search types. Once you select your search preferences be sure to save your preferences. Those settings will be saved going forward unless you updated your selections. These settings will improve your Super Search results.
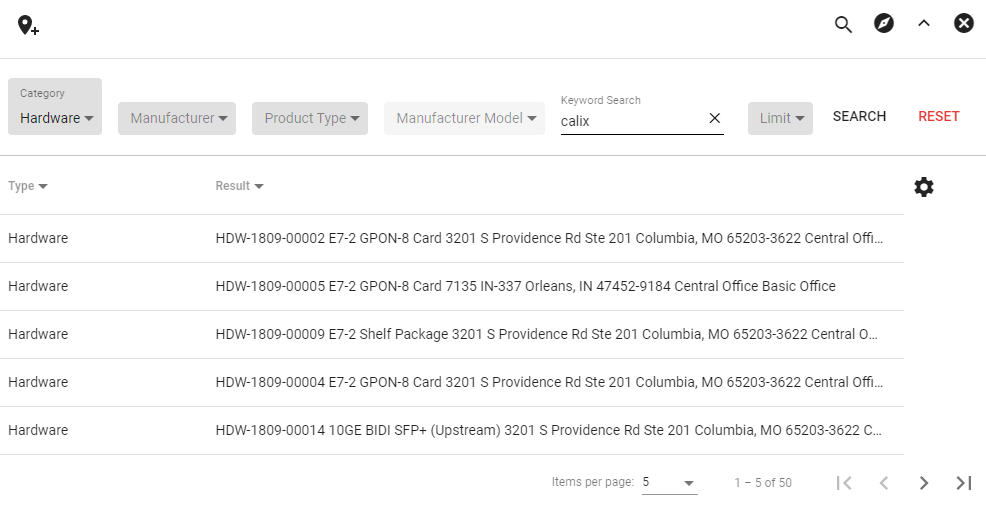
In Super Search, the advanced search 
Choose a search category from the drop-down menu.
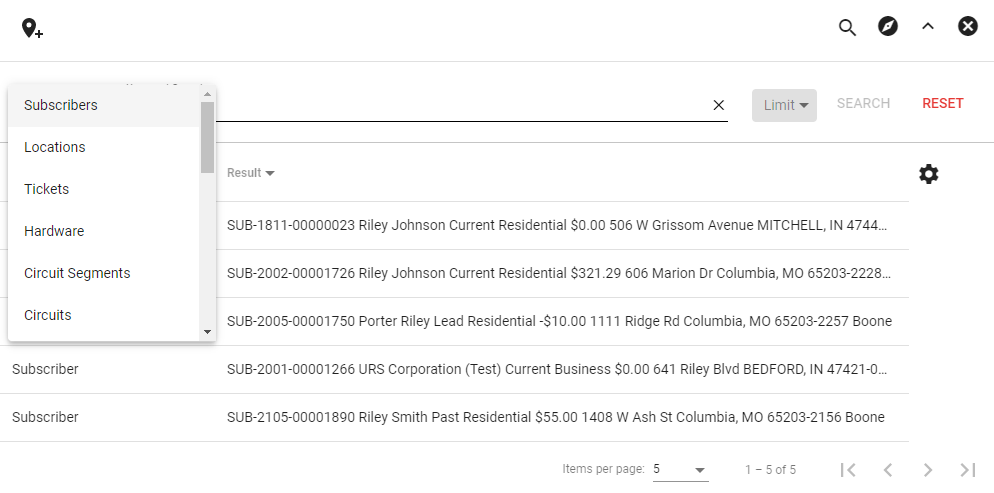
The additional filters will change based upon the selected category.
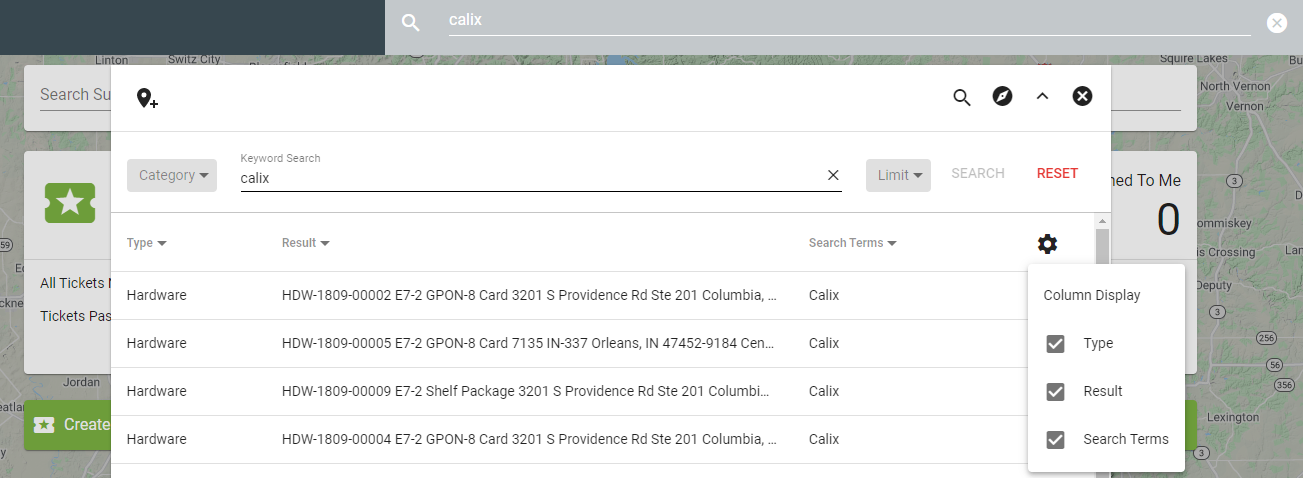
Click on the 
Filter and Sort
The
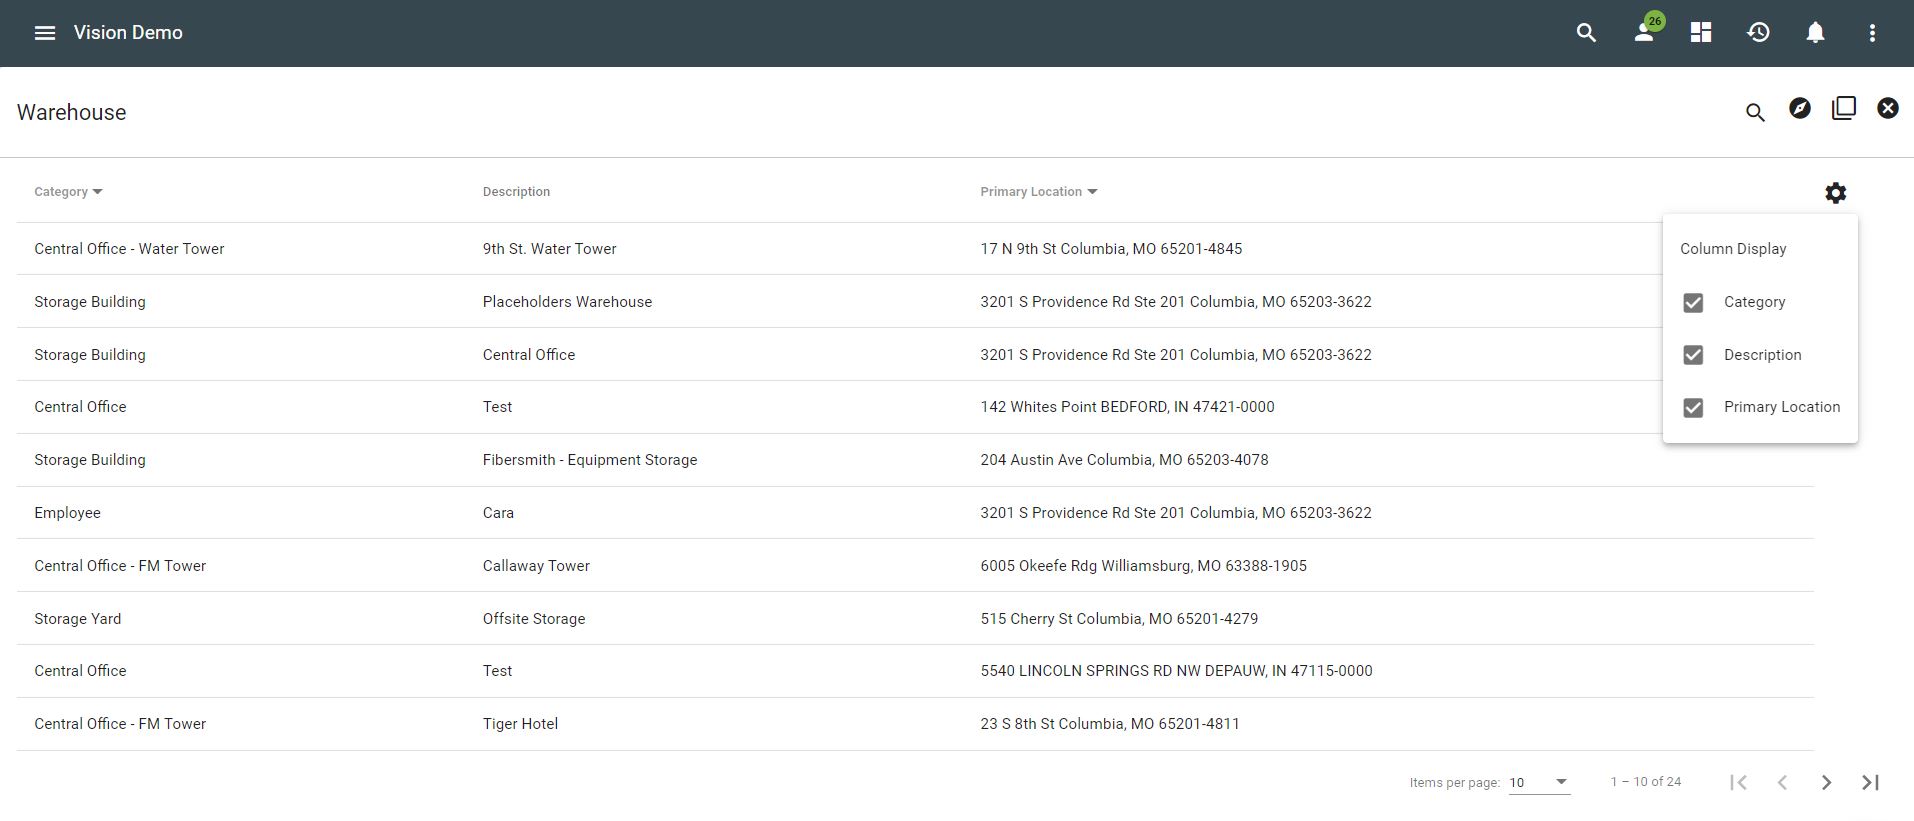
The 
The
Click on the sort arrow (shown next to DUE DATE) next to a column to change the order in which the information is displayed.

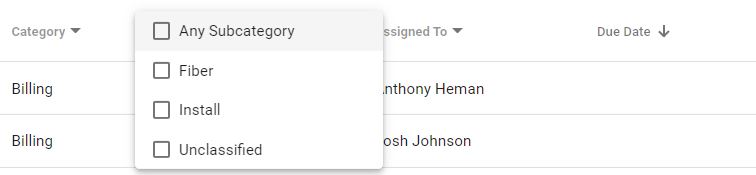
Click on the dropdown arrow (as seen next to SUBCATEGORY) to filter what information is displayed.
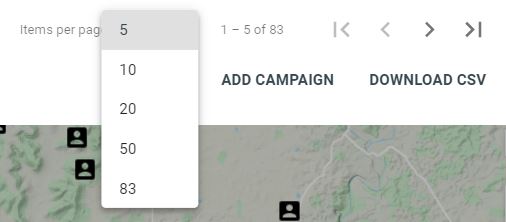
The ITEMS PER PAGE is displayed in the bottom righthand corner of each page containing a list of items.
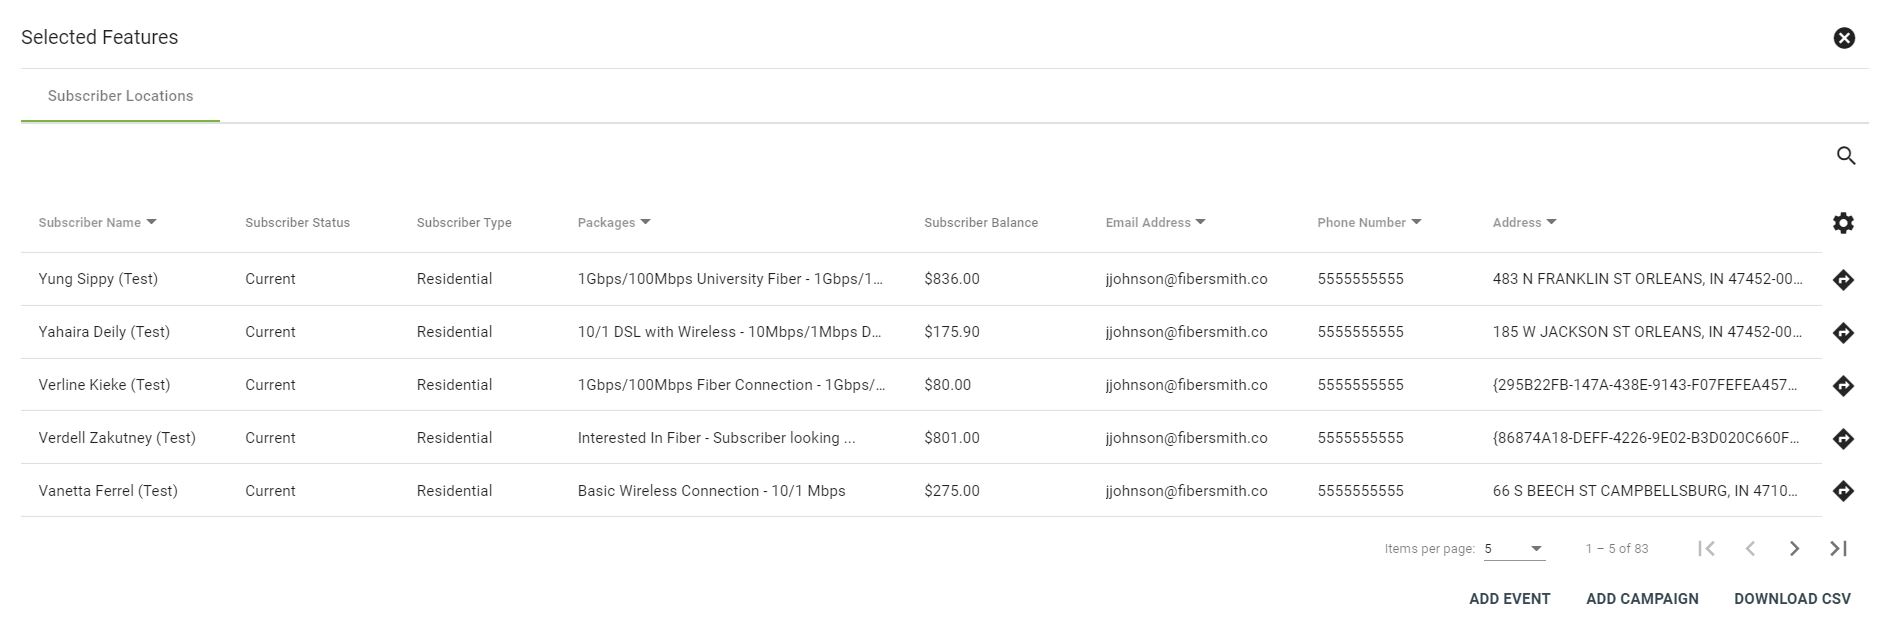
This is a quick way to see the total number of results from a search, like the number of Subscribers, tickets or addresses.

Click on the dropdown menu to make changes to the number of items displayed.
Floating Action Button (FAB)
The Floating Action Button 
Subscriber Account
Click on the
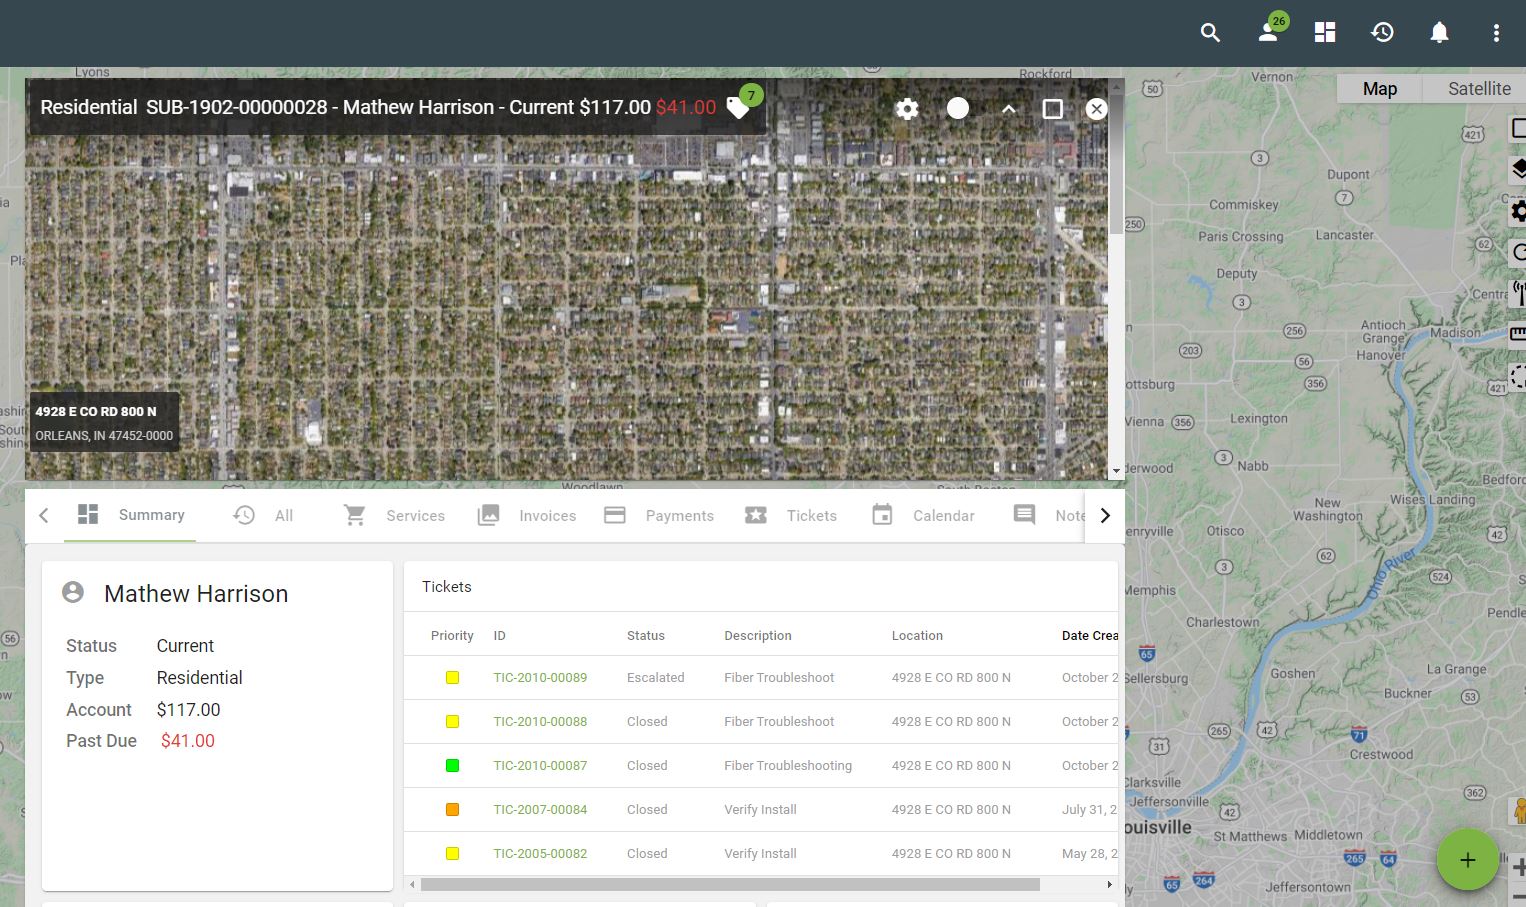
For example, when viewing a Subscriber, the
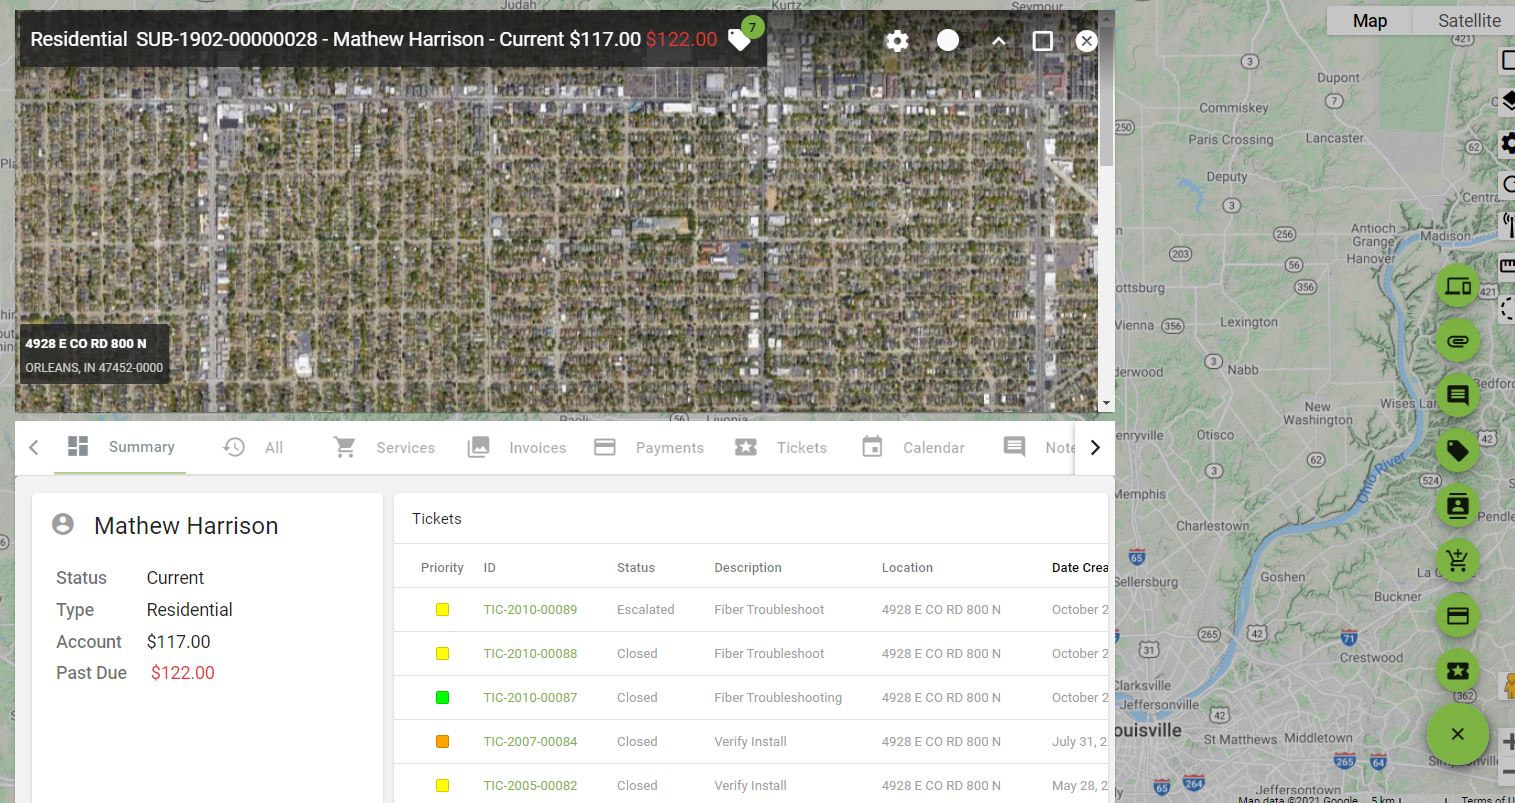
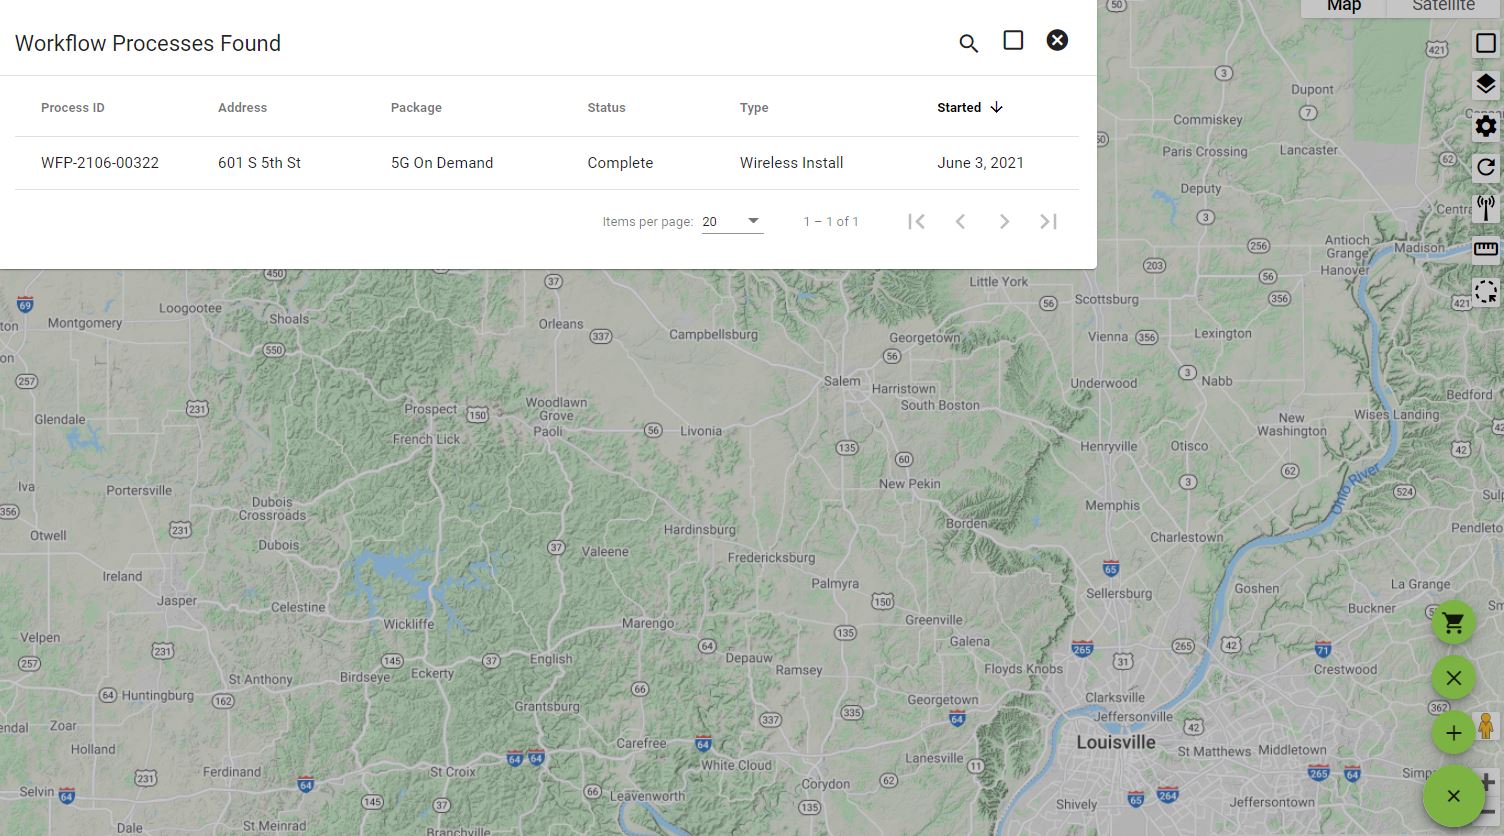
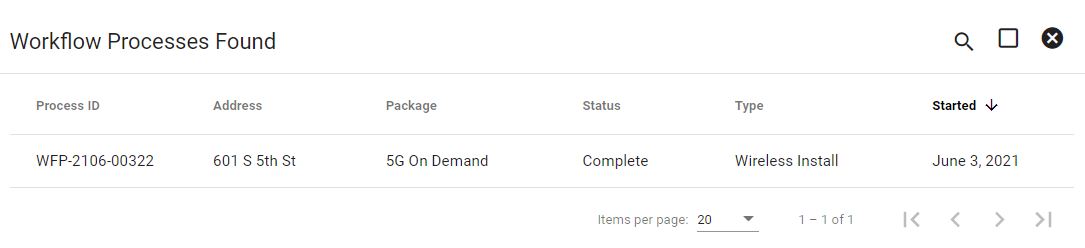
Change Workflow Process
Make changes to a completed Workflow under the Services tab. Click on the black 

TIP: Select the SHOW HIDDEN box to view all Services.
View the Workflow status under the STATUS tab. Changes can only be made to Workflows that are shown as COMPLETE, rather than IN PROCESS.
Click on the
The 
The 
The