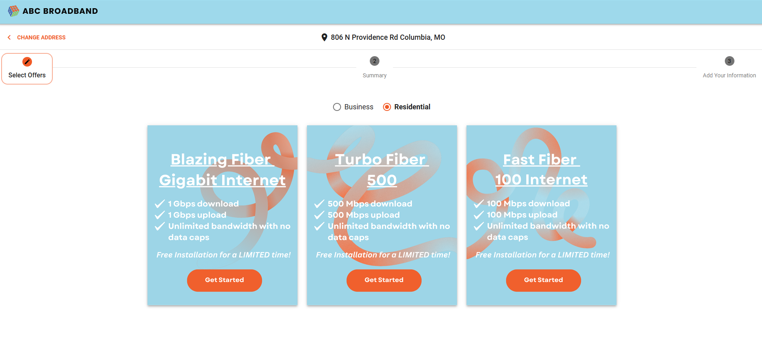

Cart Item Grouping is an option that allows you to organize service item options inside a single shopping cart offer instead of creating a separate offer for every possible combination.

For example, instead of creating separate offers for:
- Internet only
- Internet + phone
- Internet + TV
- Internet + phone + TV
- Internet + add-ons
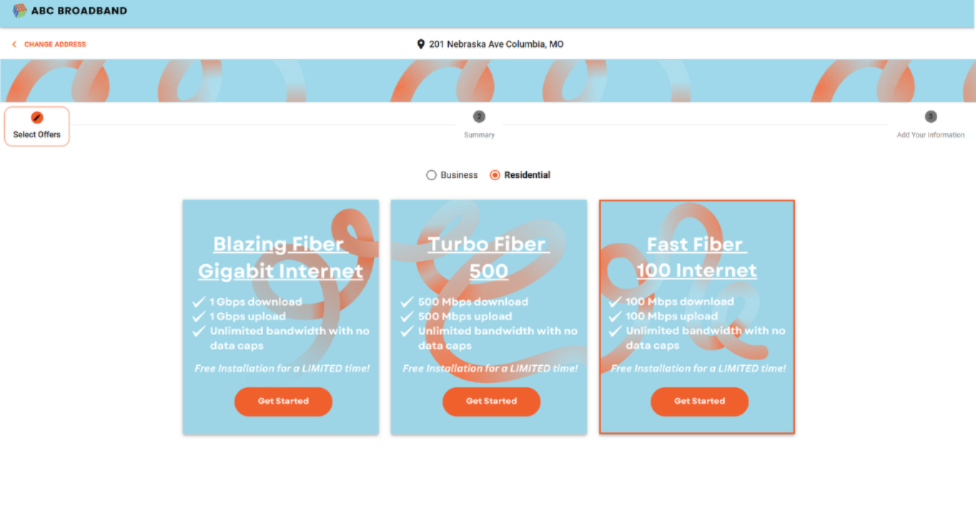
You can create one offer for the base package and allow the customer to choose from grouped service item options during checkout.
This is especially useful when building offers that include multiple service types, optional add-ons, equipment choices, or other configurable items.
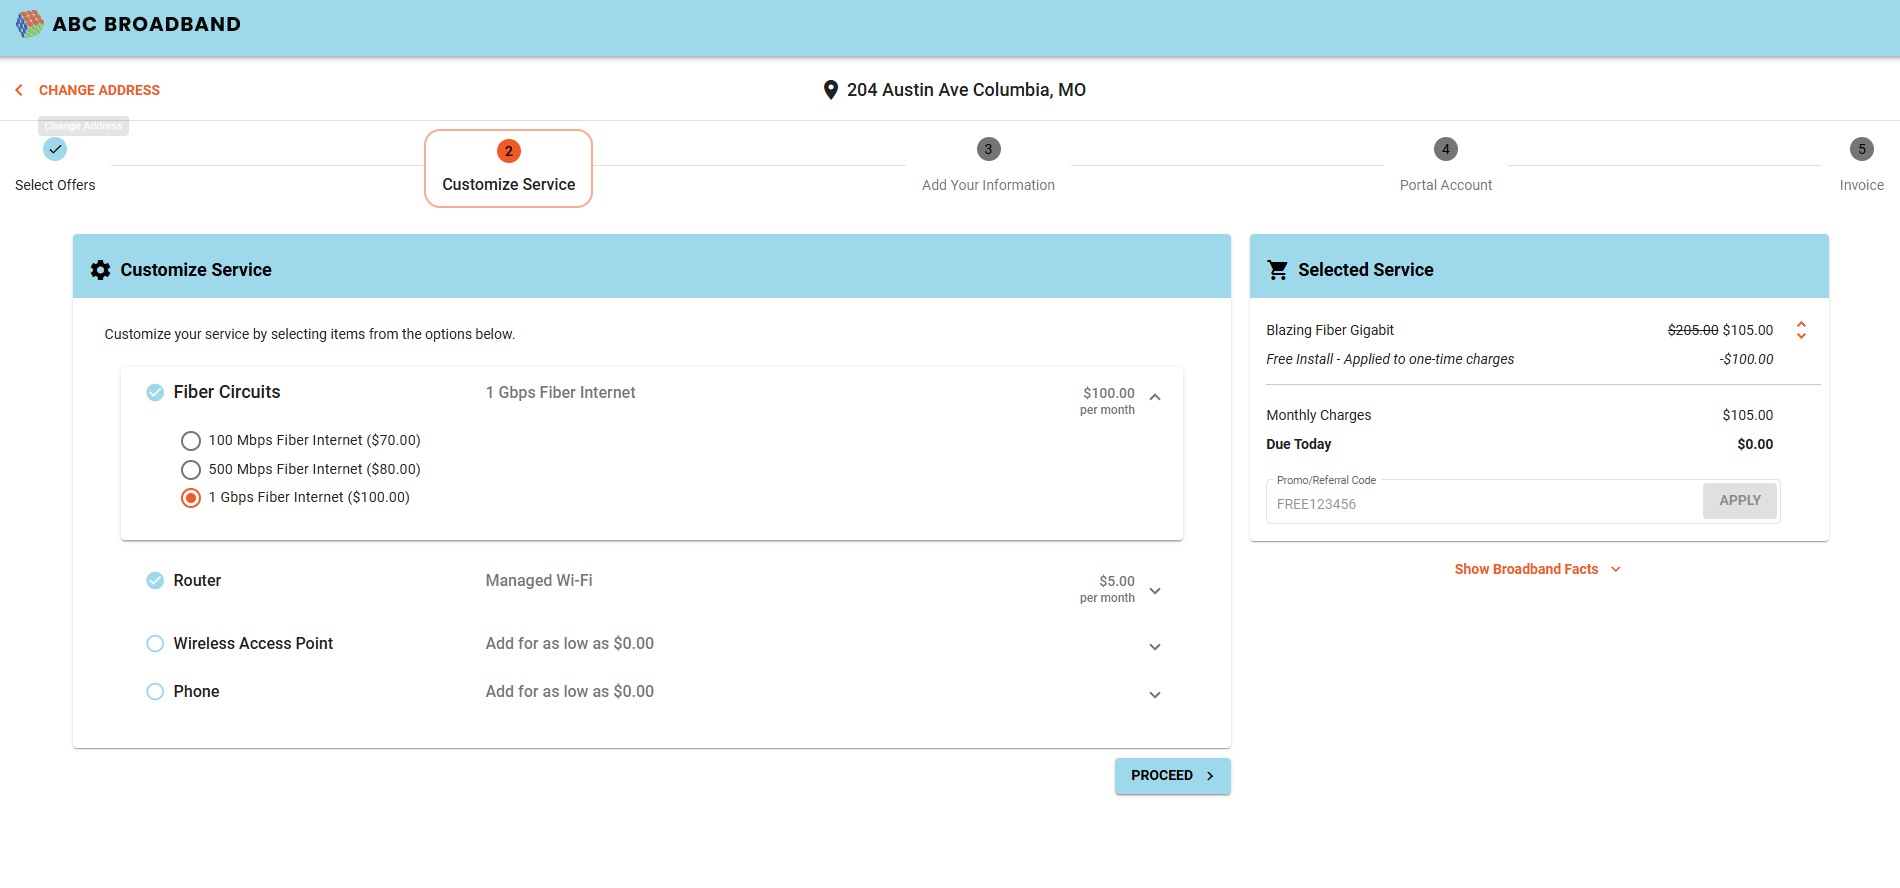
How Cart Item Grouping Works
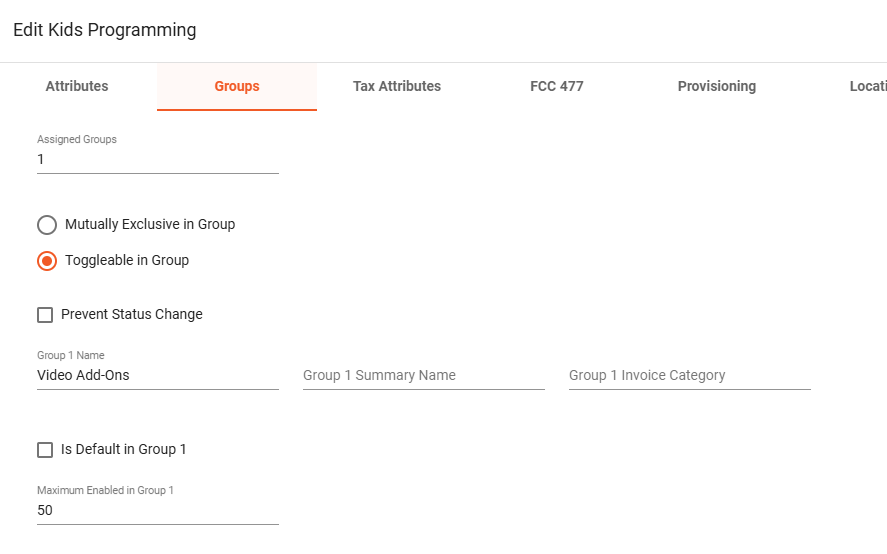
Cart item groups are set at the service item level.
When creating or editing a service item, you can assign it to a group such as:
- Internet
- Add-Ons
- Phone Line
- Video Channel Options
- Equipment
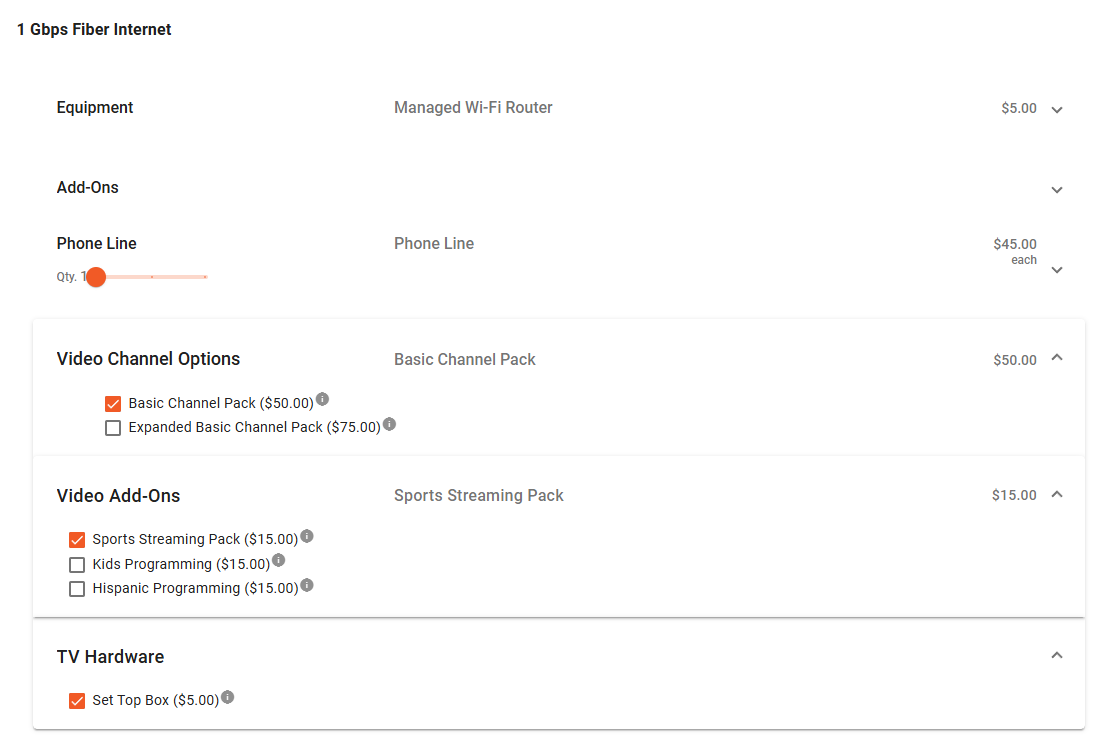
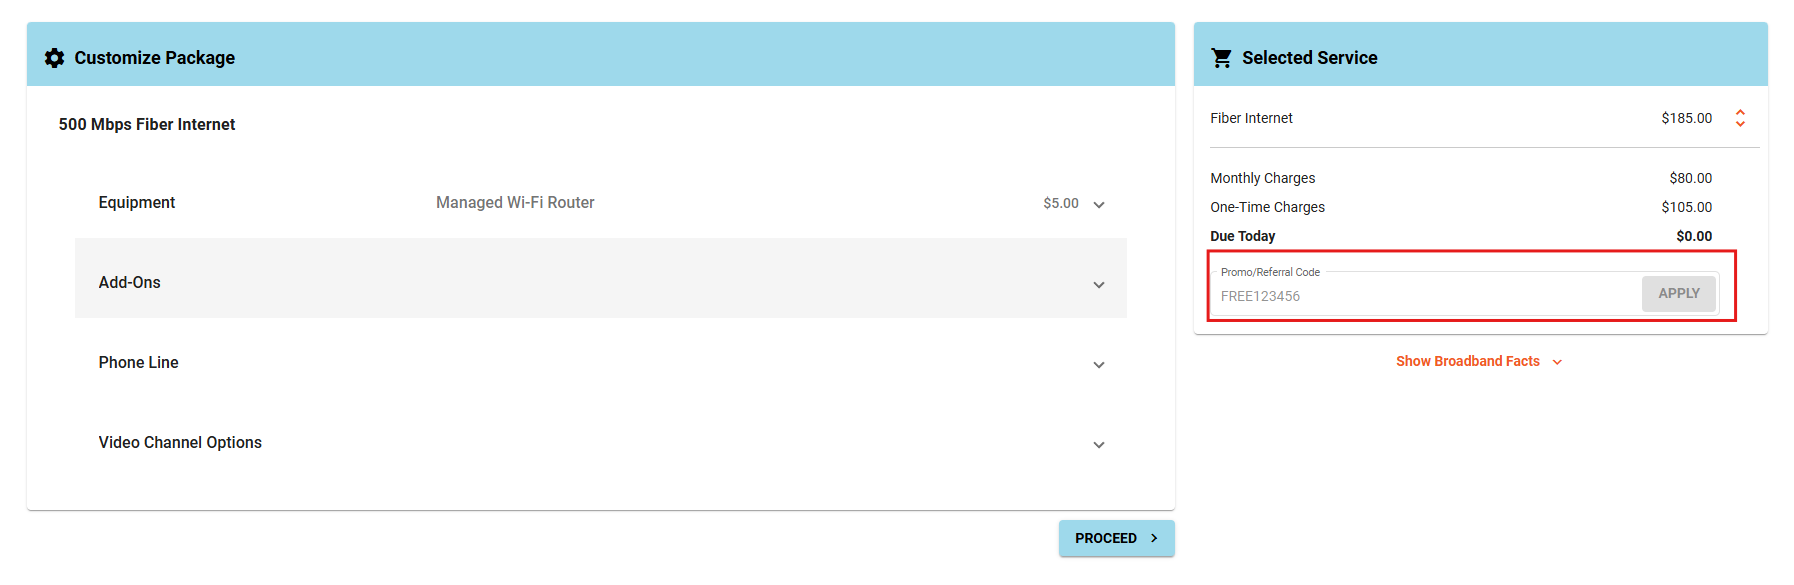
These group names are used to organize the items when the package appears in the shopping cart. If the package includes multiple service items, the cart will automatically sort those items into their assigned groups.
This gives the customer a cleaner checkout experience and makes it easier for them to review and customize their package.
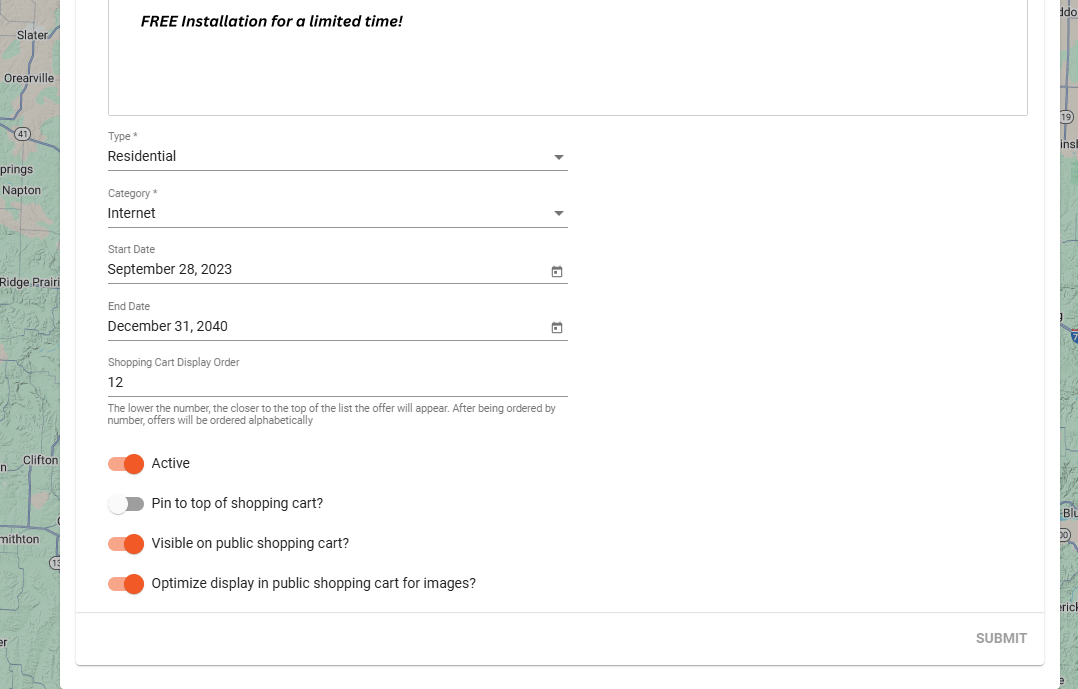
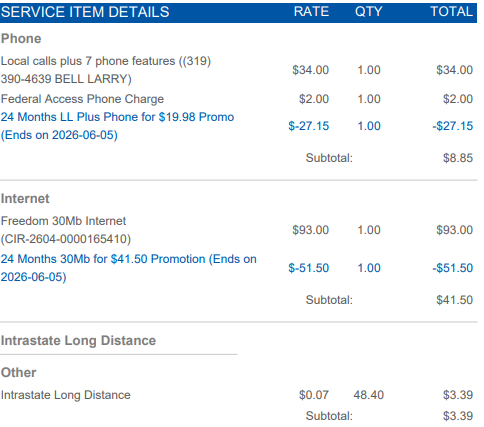
Using Groups on Invoices
When setting up service item groups, you also have the option to carry those groups over to invoices.
If enabled, the same grouping structure used in the shopping cart can also appear on the customer’s invoice. This helps keep charges organized and easier to understand, especially when a package includes several service items, add-ons, or one-time charges.
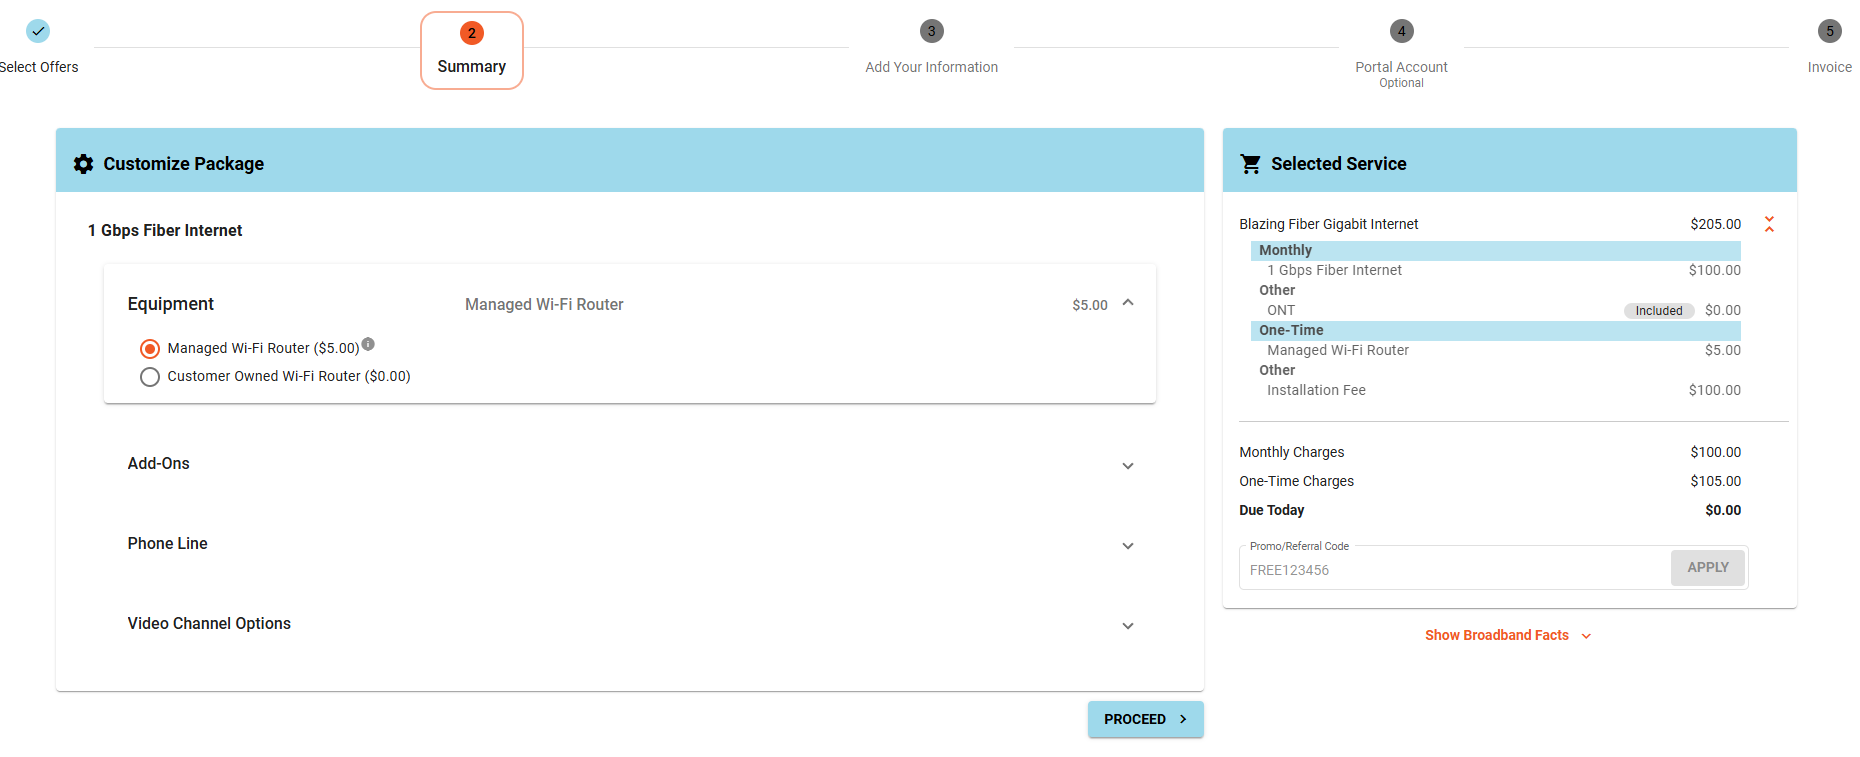
Building a Package with Grouped Items
After service items have been assigned to groups, you can create a package that includes all of the possible items a customer may choose from.
For example, a package may include:
- A base internet service
- Optional Wi-Fi equipment
- Phone line options
- TV or video options
- Add-on services
- Installation or one-time charges
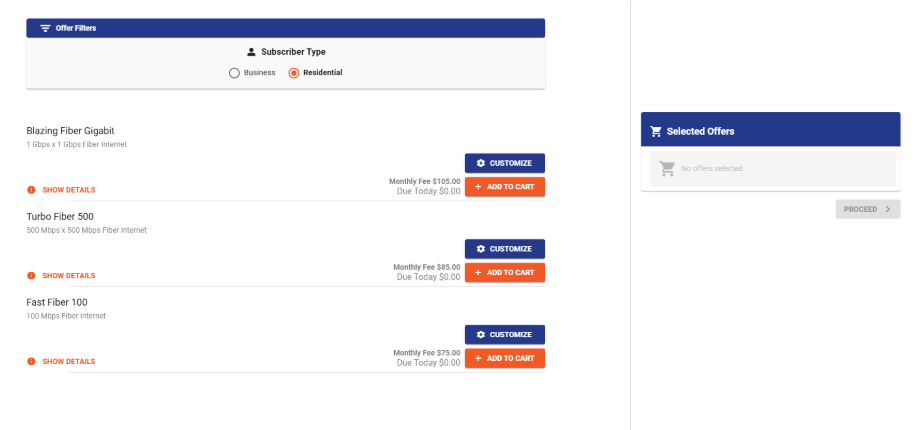
When that package is attached to an offer and displayed in the shopping cart, Vision will automatically place the service items into their assigned cart item groups.
This allows one package and one offer to support multiple customer selections without needing to create a separate offer for each possible combination.
Why Use Cart Item Grouping?
Cart Item Grouping helps keep the shopping cart easier to manage for both administrators and customers.
For administrators, it reduces the number of offers that need to be created and maintained. Instead of building a new offer for every combination of internet, phone, TV, equipment, and add-ons, you can build one flexible offer with grouped choices.
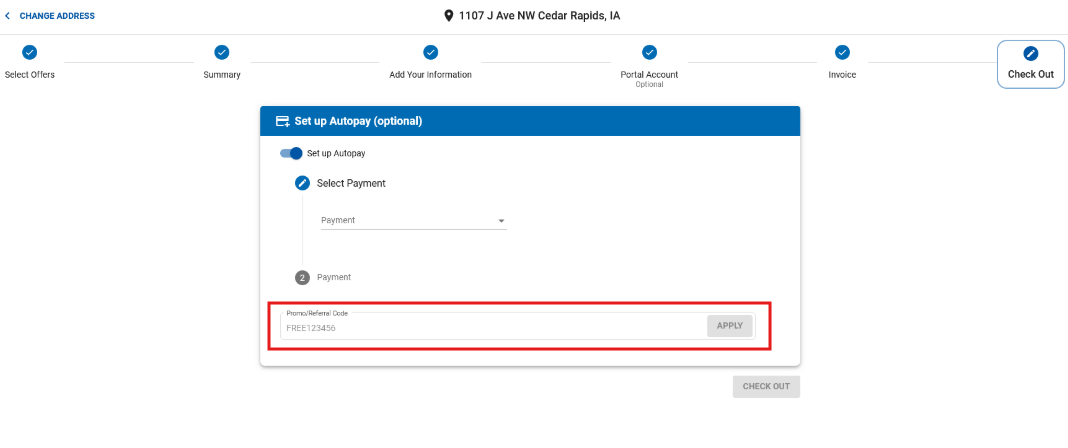
For customers, it creates a clearer checkout experience. They can review the base service, choose optional items, and see charges organized by category before moving forward.