Webhooks
Quick Links
If you are looking for more information on available variables, visit our Webhook Reference page.
What Webhooks Are
Webhooks are a simple and efficient way to enable real-time communication between systems. They work by sending an HTTP request from a source system to a destination system when a specific event occurs—automatically and without polling. This request often includes a payload of data relevant to the event. Unlike standard API calls, which are typically initiated by a client requesting data or triggering an action, webhooks are pushed from the source system and usually involve one-way data delivery.
How Webhooks Work in Vision
In Vision, webhooks function more like dynamic API interactions rather than traditional one-way webhooks. In Vision’s workflows, webhooks can handle the response from the receiving system and trigger different actions based on the outcome. For example, if the response indicates a failure, Vision can automatically retry the webhook or run a fallback function. If the response is successful, the returned data can be used to perform follow-up actions or drive further logic in the application.
How to Set up a Webhook to Send an API call
Setting up a webhook in your system allows your workflow to communicate with external services automatically. Here’s a step-by-step guide to configuring a webhook that sends an API call.
Step 1: Start in your Workflow Diagram
-
Open the workflow diagram where you want to add the webhook.
-
Create a new task in the diagram.
-
Define a new task type: give it a name, configure its basic properties, and add it to your workflow
Step 2: Configure the Webhooks Function
-
Click into the task you just created to open its settings.
-
Navigate to the Functions tab.
-
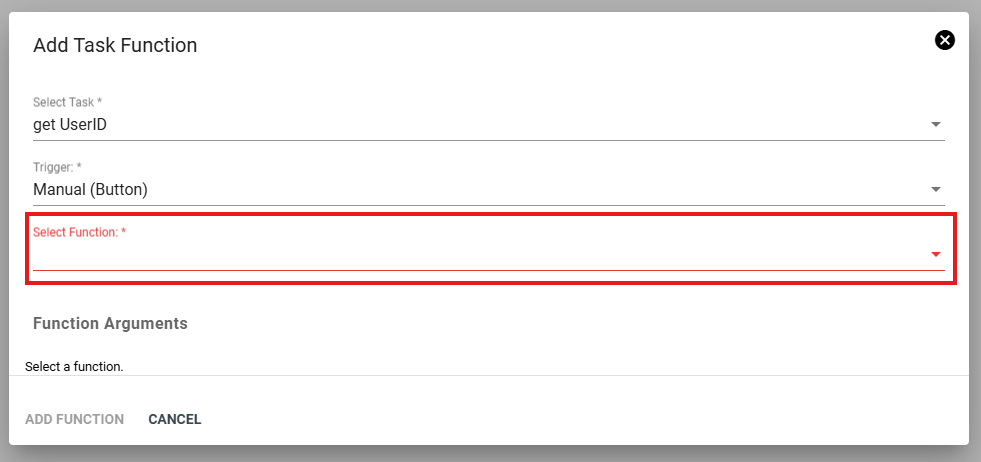
Click “Add New Function”.
-
Choose the event trigger that should cause the webhook to run (e.g., when the task is started, completed, overdue, or manually).
-
Click “Select Function” to proceed.
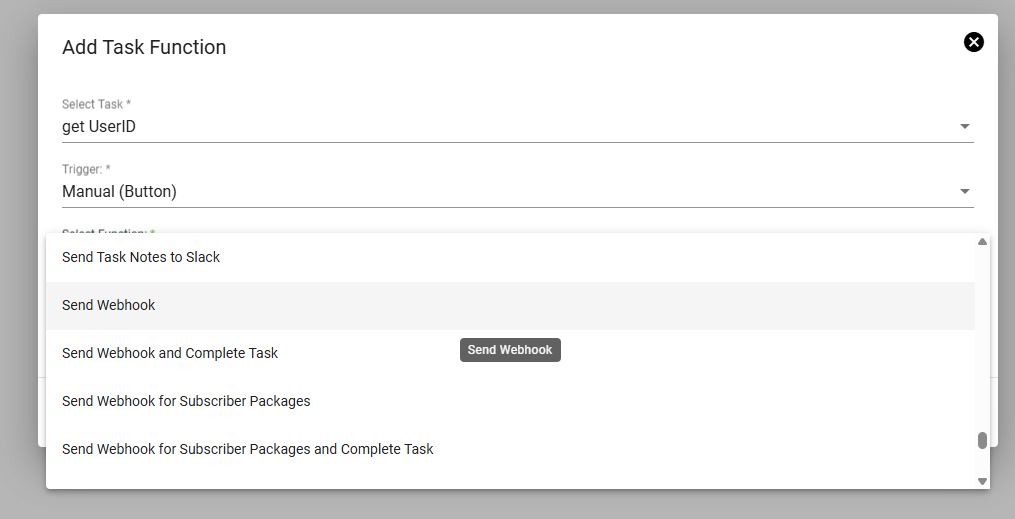
Step 3: Choose the Webhook Type
As you scroll down in the function setup, you'll see two webhook function options:
-
Send Webhook – Sends the webhook but leaves the task open.
-
Send Webhook and Complete Task – Sends the webhook and then marks the task as completed.
Choose the option that best suits your use case.
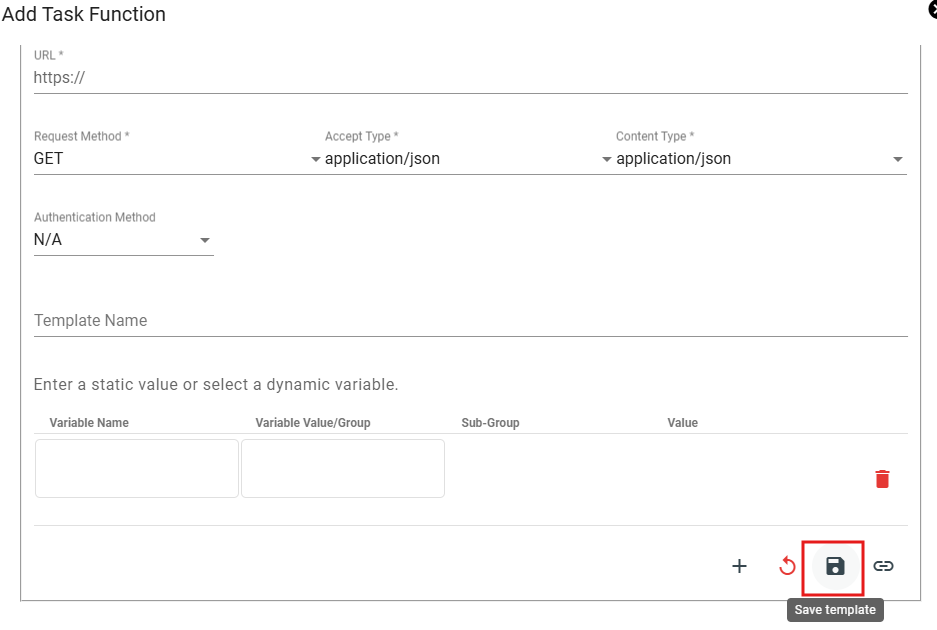
Step 4: Enter Webhook Details
- You’ll now be prompted to enter the arguments for the webhook.
- Start by providing the URL of the external service you want to send or retrieve data from.
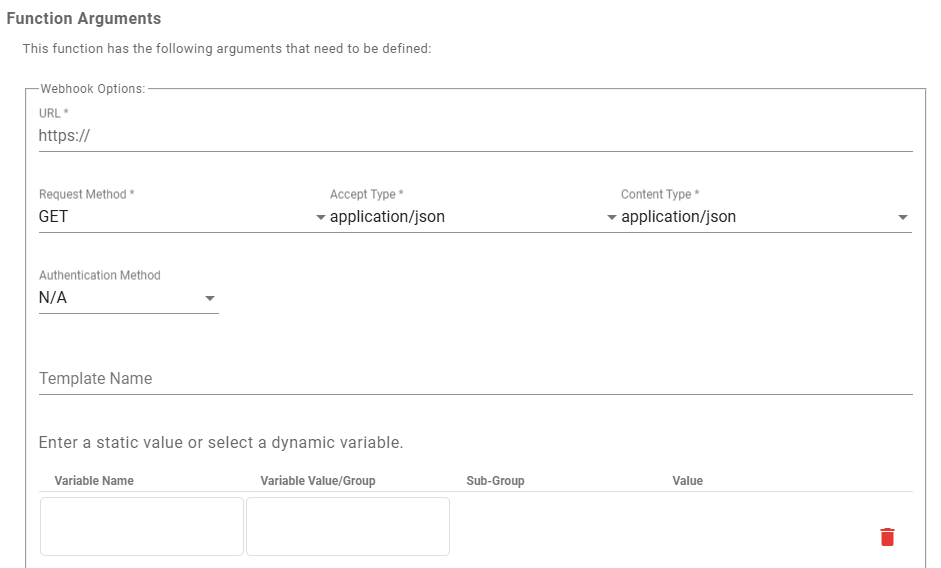
-
Configure optional settings based on your needs, such as:
-
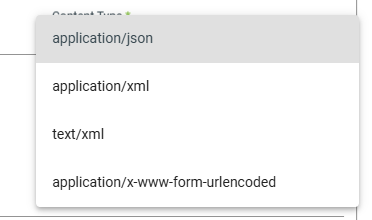
Content Type (e.g., JSON, form-encoded)
-
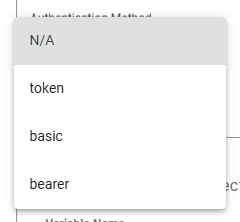
Authentication Method (e.g., Basic Auth, Bearer Token)
-
- Optionally, give the webhook a template name to save and reuse it in other workflows.

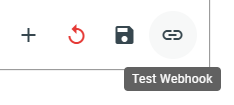
- At the bottom of the menu, there's an optional feature to test your webhook before saving it. Note that dynamic variables won't autofill during the test, as the workflow page doesn’t have access to this data. As a result, the test may not return accurate information and could fail.
Step 5: Choose between GET & POST
When configuring your webhook, you'll choose either the GET or POST method depending on what you need the webhook to do. Both methods have different use cases and setup formats within the system.
GET Specific Parameters
The GET method is designed to retrieve information from a specified URL.

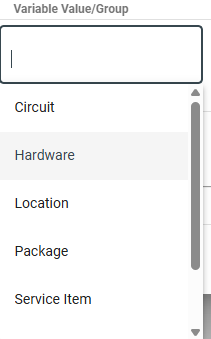
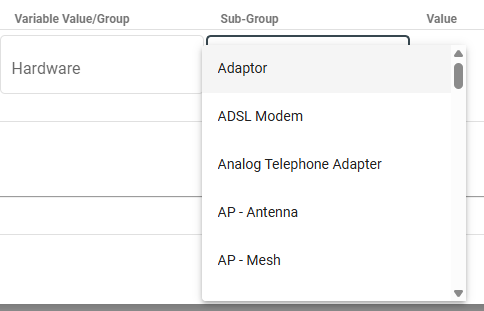
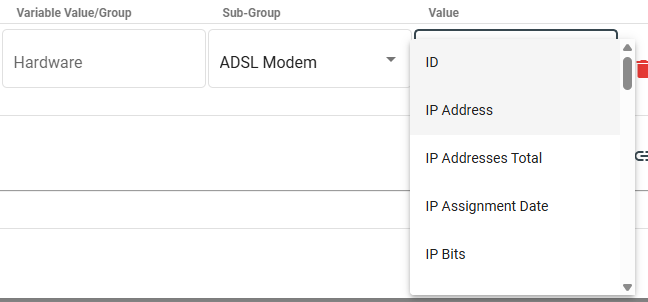
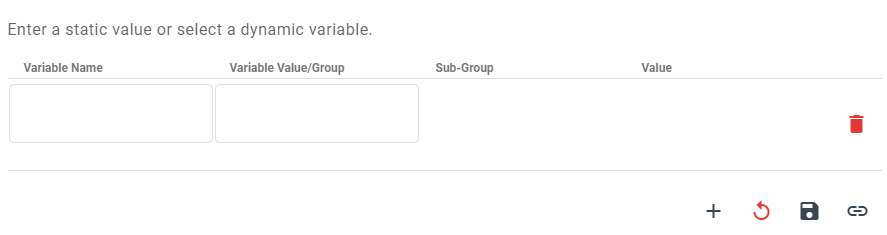
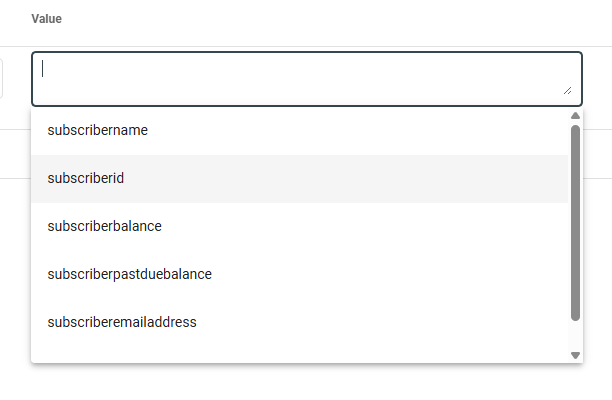
When configuring a GET request, you’ll need to define what data you’re retrieving by filling in four fields: variable name, variable value/group, sub-group, and value. The variable name can be anything you define, while the remaining options are selected from dropdown menus tied to your tenant’s settings. For example, categories like hardware and packages offer static lists, while categories like subscribers, locations, and circuits are dynamically generated based on your environment.
POST Specific Parameters
Unlike GET, where you select values from dropdowns, POST requires you to manually structure the request body using the manually specified content type.
A blank template for JSON or XML text
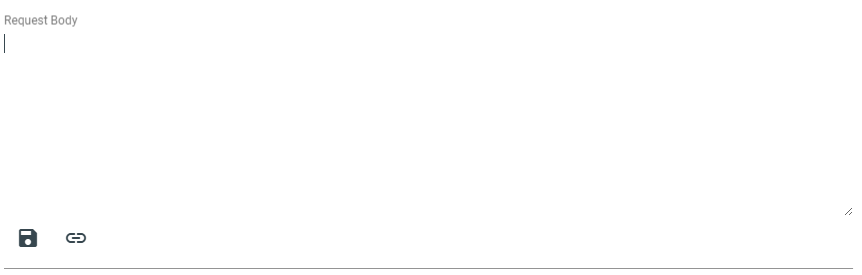
This allows you to reference dynamic variables from your workflow. For instance, a sample request body might look like this:
{ "subId": "#subscriberid", "uid": "#parenttask(uid)" }.
This format enables the system to pull in live data, such as subscriber IDs or parent task values, when the webhook runs.
A blank template for form encoded
Once your webhook receives a response, you can configure your workflow to react differently based on the outcome. Using dependencies, you can set up additional tasks that trigger conditionally, depending on the result of the previous webhook task. For example, you might create two separate output functions: one that runs if the webhook returns a success (any response with a 200 status code), and another that runs if the response indicates a failure (such as any 400 or 500 status code). This allows your workflow to handle different scenarios intelligently—like retrying on failure or continuing on success.
To implement this, simply create a new task in your workflow. Then, create a dependency from the original webhook task to this new task. While setting up the dependency, choose the output condition that should trigger the task—this could be a general true or false, or a custom webhook response based on specific status codes or returned values.
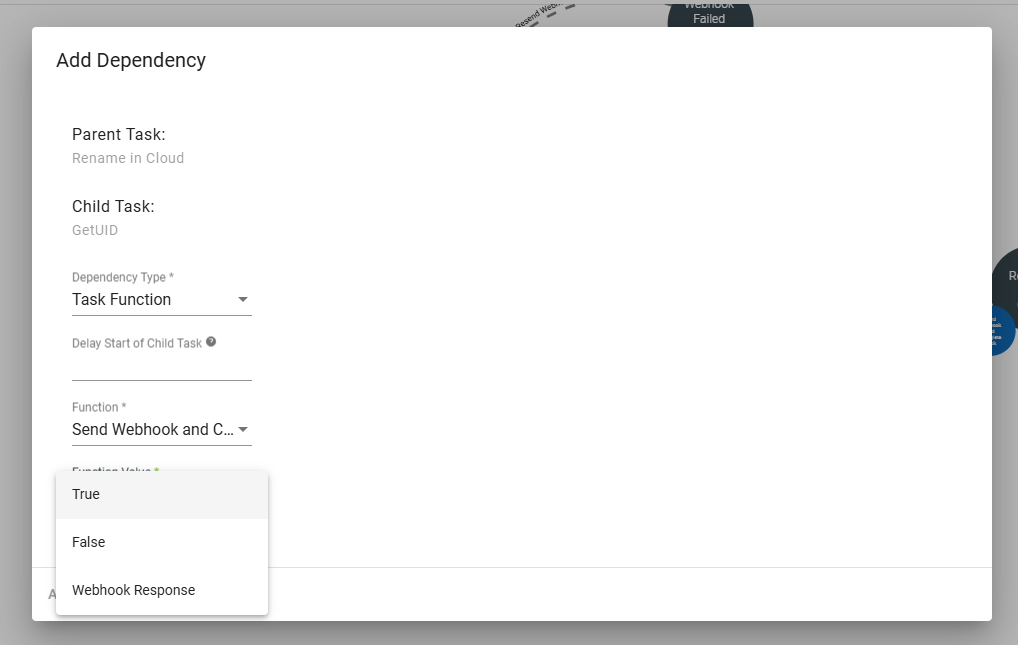
When creating a dependency between tasks, you typically choose to trigger the next task based on a simple true (success) or false (failure) outcome from the previous task. However, for more advanced workflows, you can use the "Webhook Response" condition to trigger the next task based on the actual content of the webhook’s response.
This allows your workflow to make decisions based on the data returned by the webhook—not just whether it succeeded or failed.
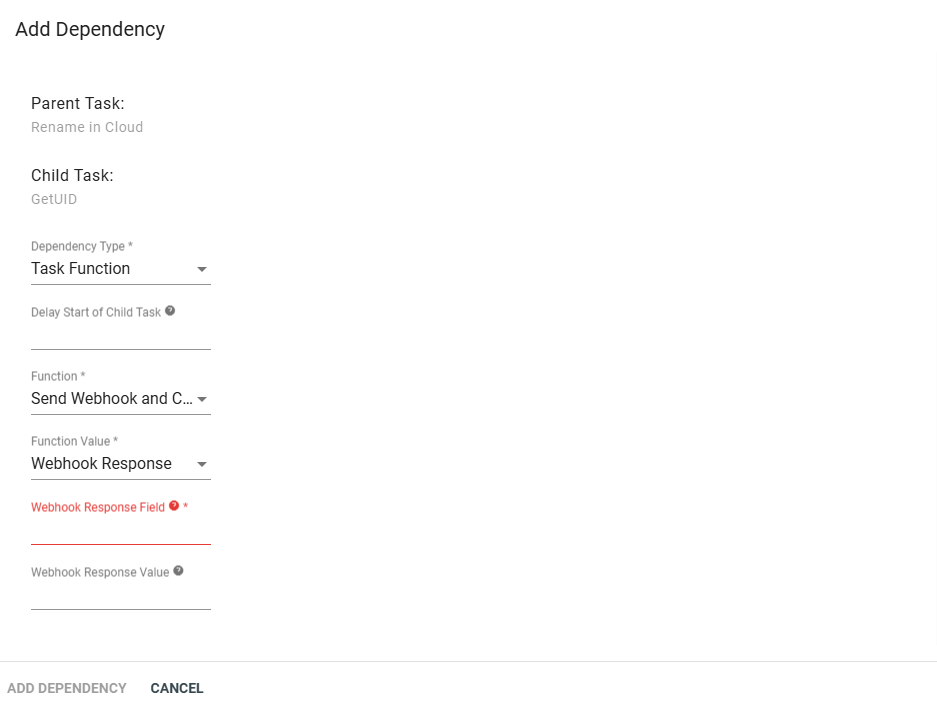
When selecting Webhook Response as the condition type, you’ll configure two fields:
-
Webhook Response Field
This expects a path to a specific field in the JSON object returned by the webhook.-
For example:
status,data.success, orresponse.userType
-
-
Webhook Response Value
This is the expected value that the response field should match in order to trigger the dependency.-
For example:
approved,true, oradmin
-
If the field matches the expected value, the dependency is considered satisfied, and the next task runs.
You can also leave the Response Value empty if you simply want to check whether the specified field exists in the webhook response—regardless of its value.
For example, Let’s say your webhook returns this JSON:
{ "status": "approved", "user": { "role": "admin" } }
You could configure the dependency like this:
-
Webhook Response Field:
status -
Webhook Response Value:
approved
Or to trigger based on a nested value:
-
Webhook Response Field:
user.role -
Webhook Response Value:
admin
In both cases, the next task will only proceed if the returned value exactly matches what you've specified. Note that these fields use JMESPath syntax. For more details, you can visit their official site at 'https://jmespath.org'.
Webhooks as Fields
Although webhooks are commonly used as automated functions within a workflow, they can also be configured as task fields. Task fields define specific elements that need to be completed or addressed within a task, and when a webhook is used in this context, it can act as a trigger for logic or a method for inputting data into the workflow.
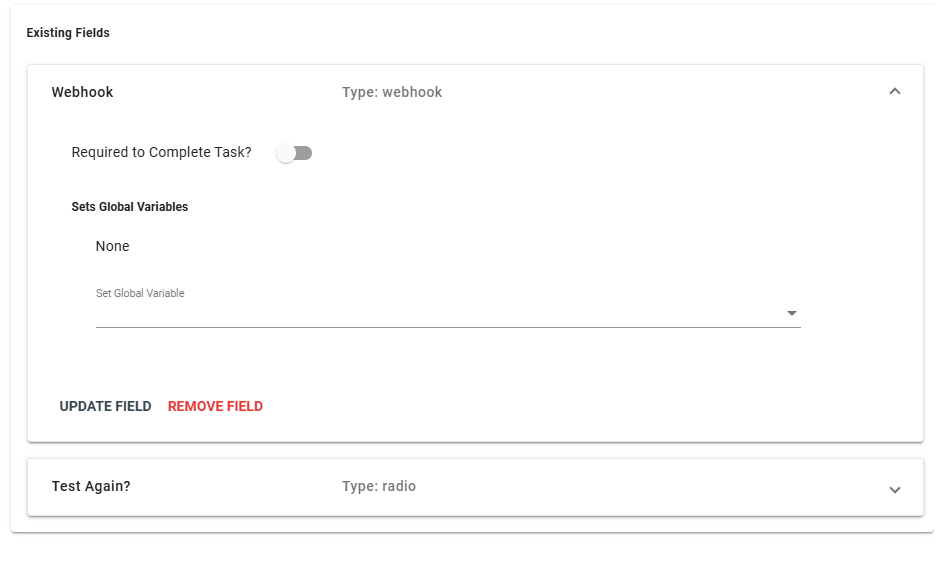
To set up a webhook as a task field, navigate to the Fields tab within the task setup, then choose Webhook from the list of available field types. Once added, the webhook will appear in the task’s field section on the ticket view. This is visually represented by a webhook icon under the fields area.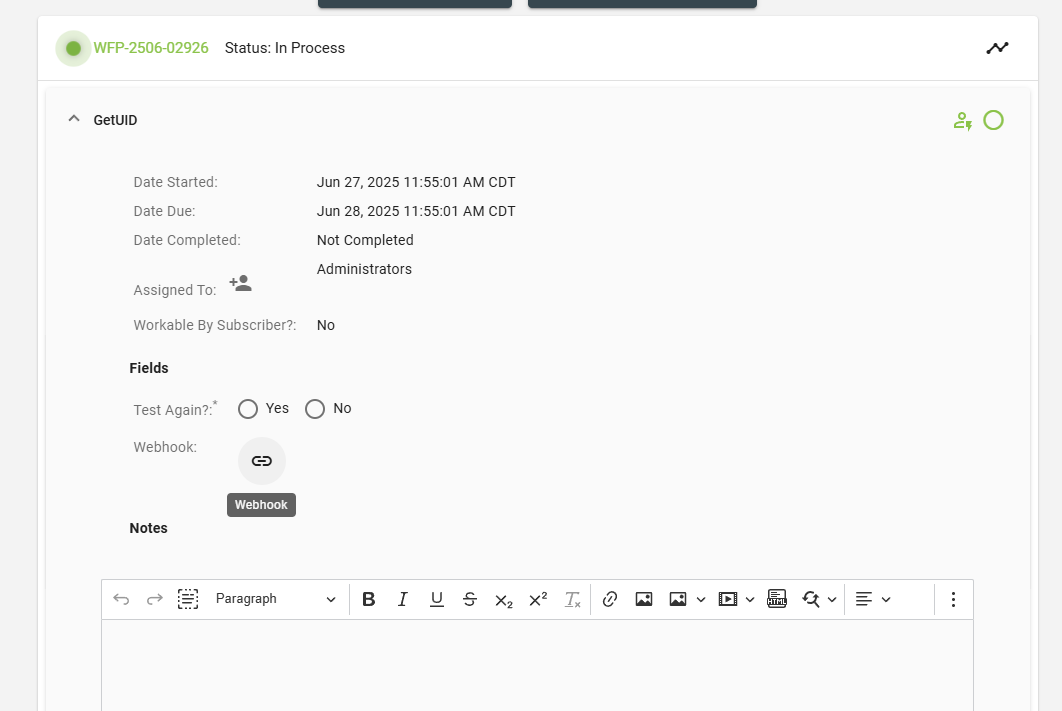
It’s important to note that when a webhook is added this way—embedded as a field on a subscriber ticket—it only has access to the data that is visible to the subscriber at that step. This approach is particularly useful when you want to pass information to the workflow manually at specific points based on dynamic conditions, rather than relying solely on pre-defined webhook calls that trigger automatically as the workflow progresses.
This method gives you greater flexibility and control in tailoring how and when certain data is introduced into the workflow process.
Webhook Templates
When using the webhook task field in Vision, you have the option to save it as a template.
This allows saved variables display and persist when templates are reused; These variables will persist in the template even if you adjust the type of webhook. Templates are useful for reusing variables and values so that you will not have to reinput variables when trying to make webhooks that are similar to each other.