Events
Network Events may range from planned events such as upgrades to unplanned events such as service outages. Vision tracks such events with a Network Event Ticket. Network Events are similar to Subscriber Tickets in their creation and use, but are more broad in that they can be associated with multiple Subscribers, Hardware, Tickets, Warehouses, and Circuits.
Network events can vary on who it may affect and what problems may arise.
The following can be a network event that you could quickly set up to resolve the issue for your subscribers
- Hardware Upgrades
- Weather-related outages
- Fiber cable cut
In those instances you can set up an event to send out an email or SMS to notify subscribers.
Associations from a Report
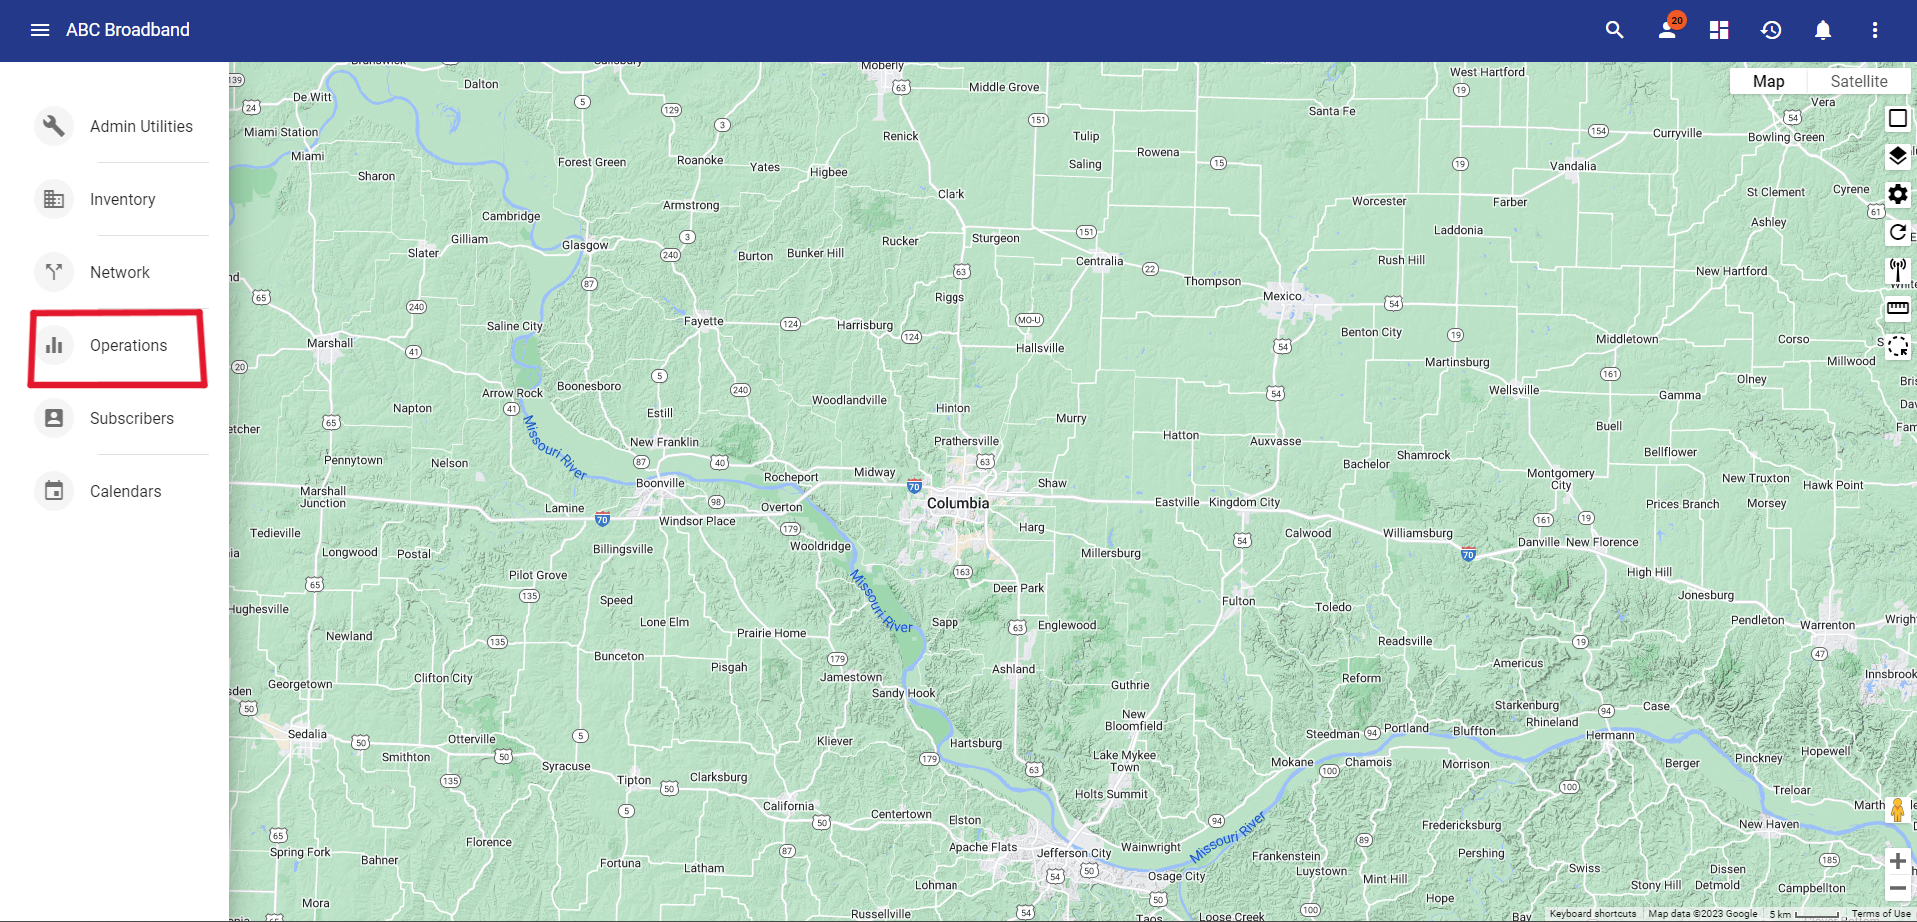
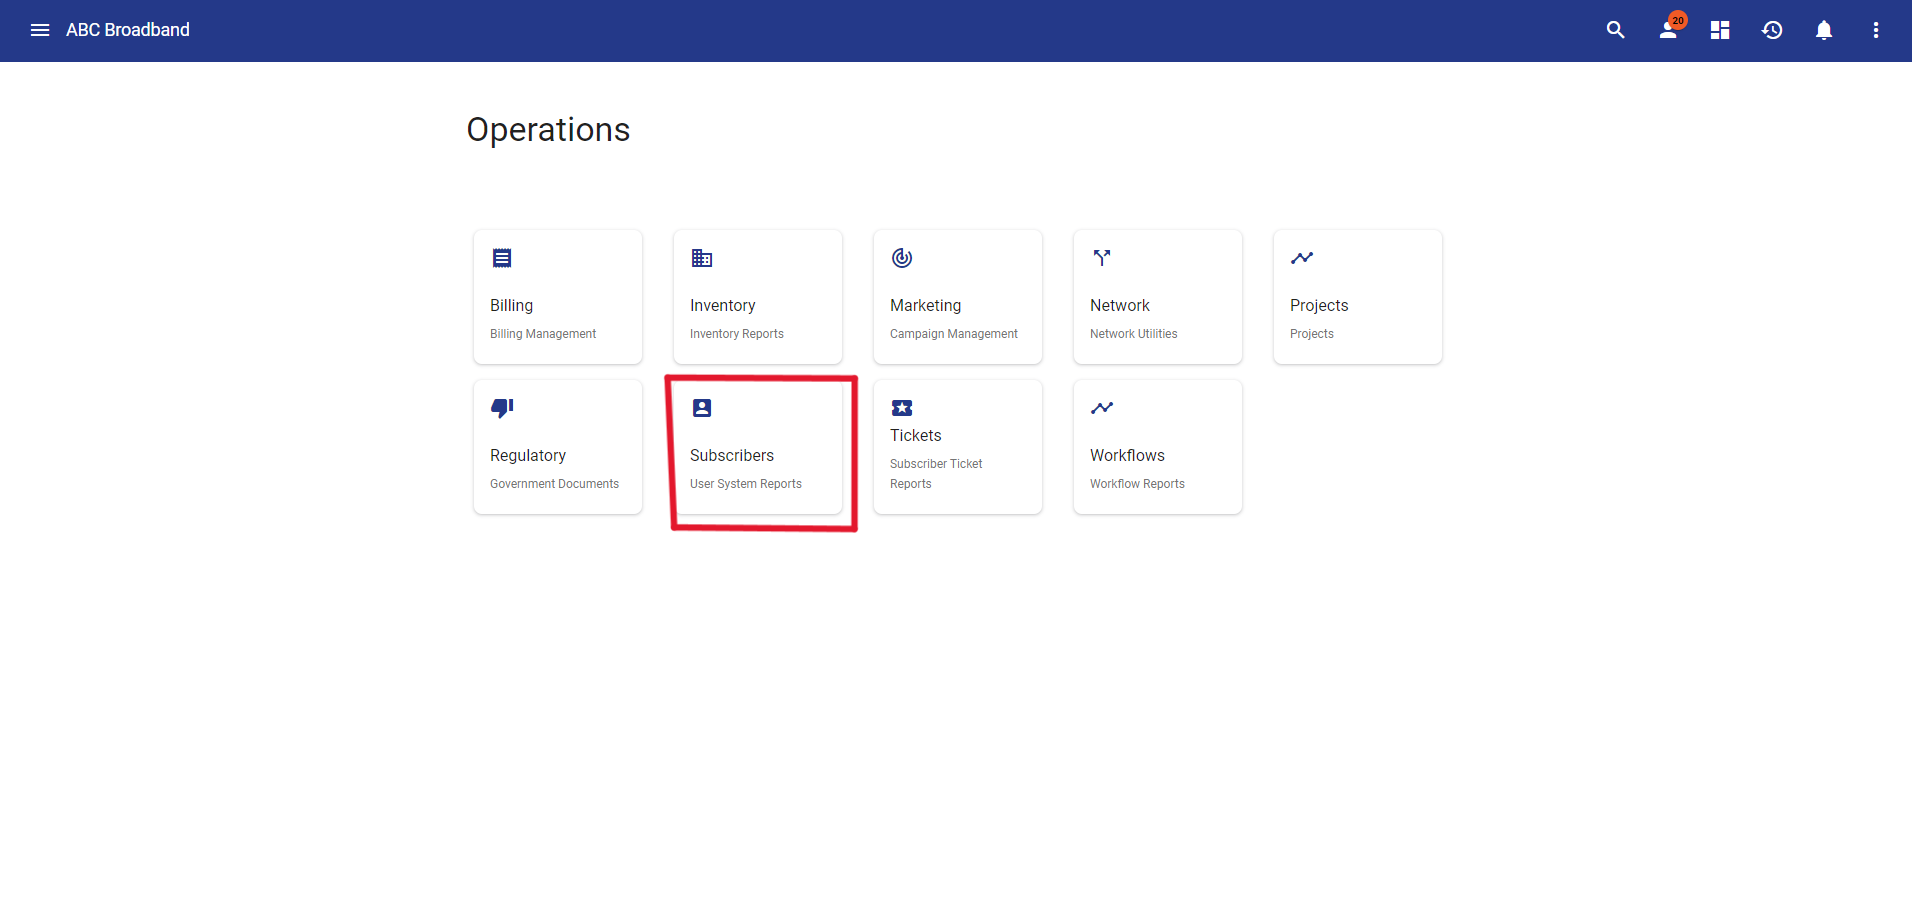
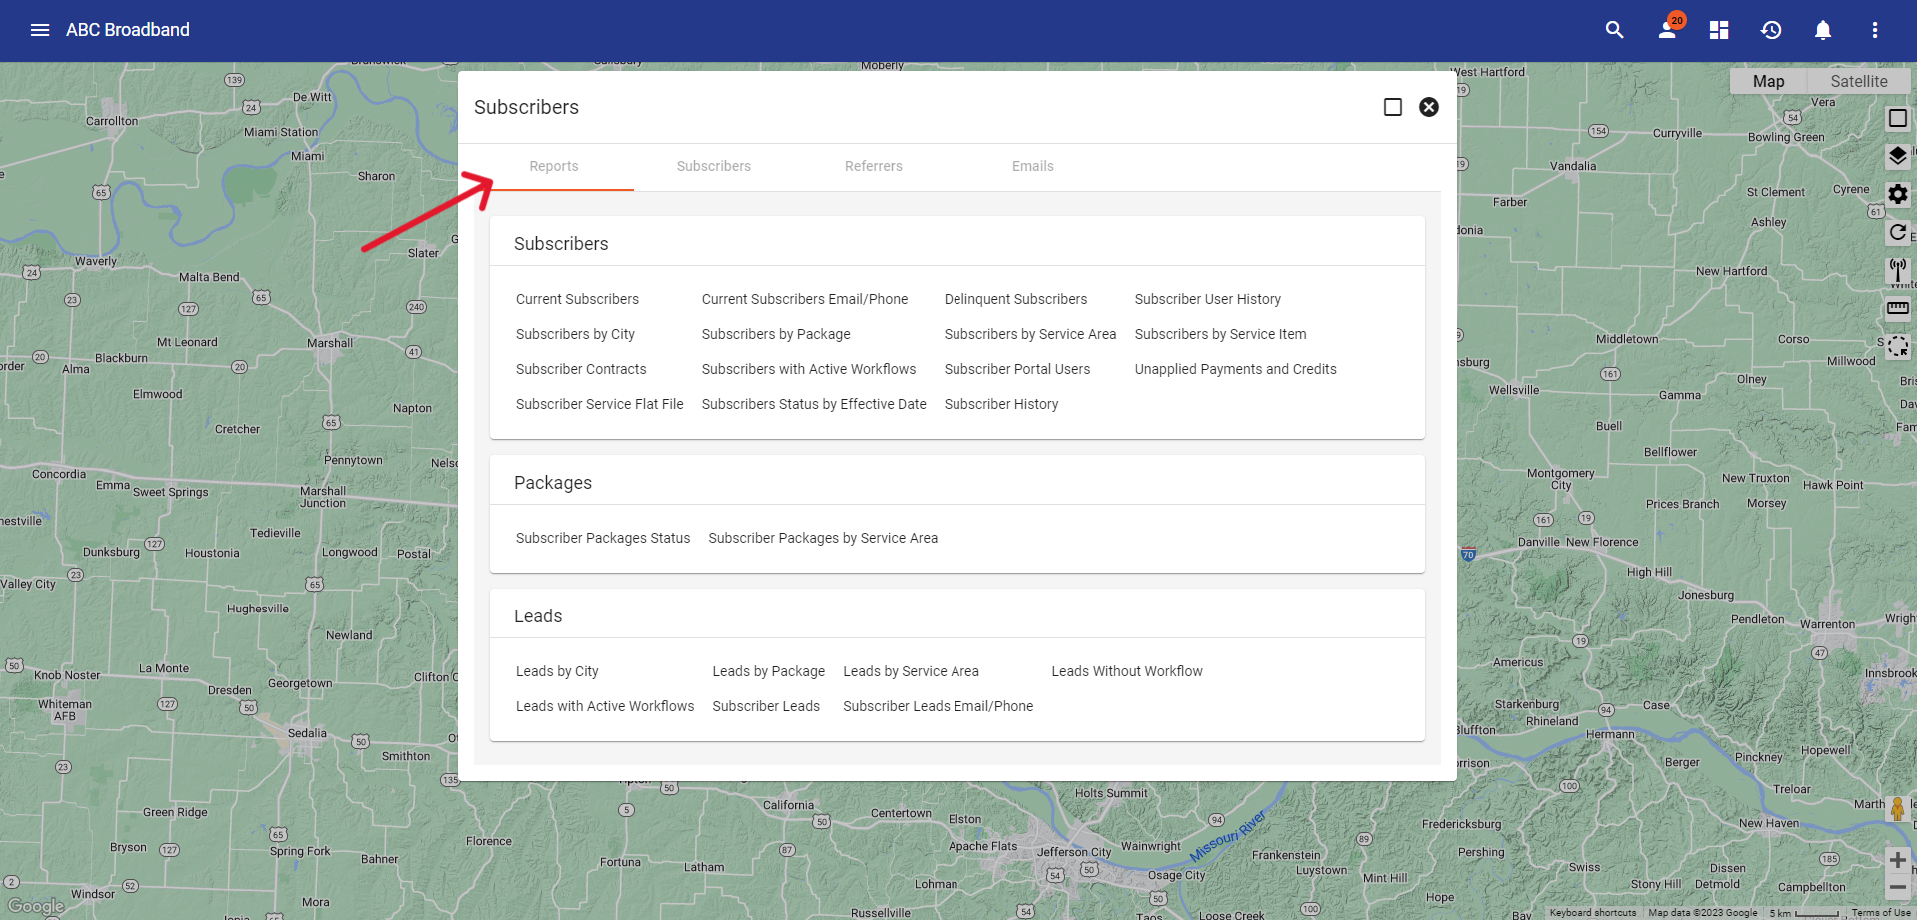
To add associations by subscribers you will go to the OPERATIONS tab, select SUBSCRIBERS. Select the type of subscriber report based on Status (ie. Current + Delinquent) or by service area or service package you need to tie to the Event for tracking and/or communications. This way you can have a network event revolving around specific groups of subscribers without having to add them individually.


Adding Associations to an Event
Once a network event is created, you can add various associations to it that can tie hardware, subscribers, tickets, circuits, and warehouses to the event. This gets very specific as you can specifically add which part of various towers are down without having to notify everyone who uses a tower.
- To do this, go into Network>Network events

- Click into the desired event and click the 'edit associations' button.

- In here you can associate subscribers, hardware, tickets, circuits, and warehouses to the network event.


Add Tickets to a Network Event
You can add tickets to a network event either in the network event as seen above or while in a ticket.
- While in a ticket, click the three dots in the activity bar

- Then click 'edit ticket details'

- Once in there, there is a drop down menu full of all of your created network events

- Then simply chose the network event you would like that ticket associated to.

Send Email Notification
Once there is a list of associated subscriber accounts on the Network Event, you are ready to send an email notification. To send a notice to the list of associacted subscriber accounts, click on the envelope icon to bring up the notification interface.
Type in the Subject and message or Use a pre-written Template or Draft. This is all customizable by you to include company logos and graphics.
Use # to select available subscriber data points.
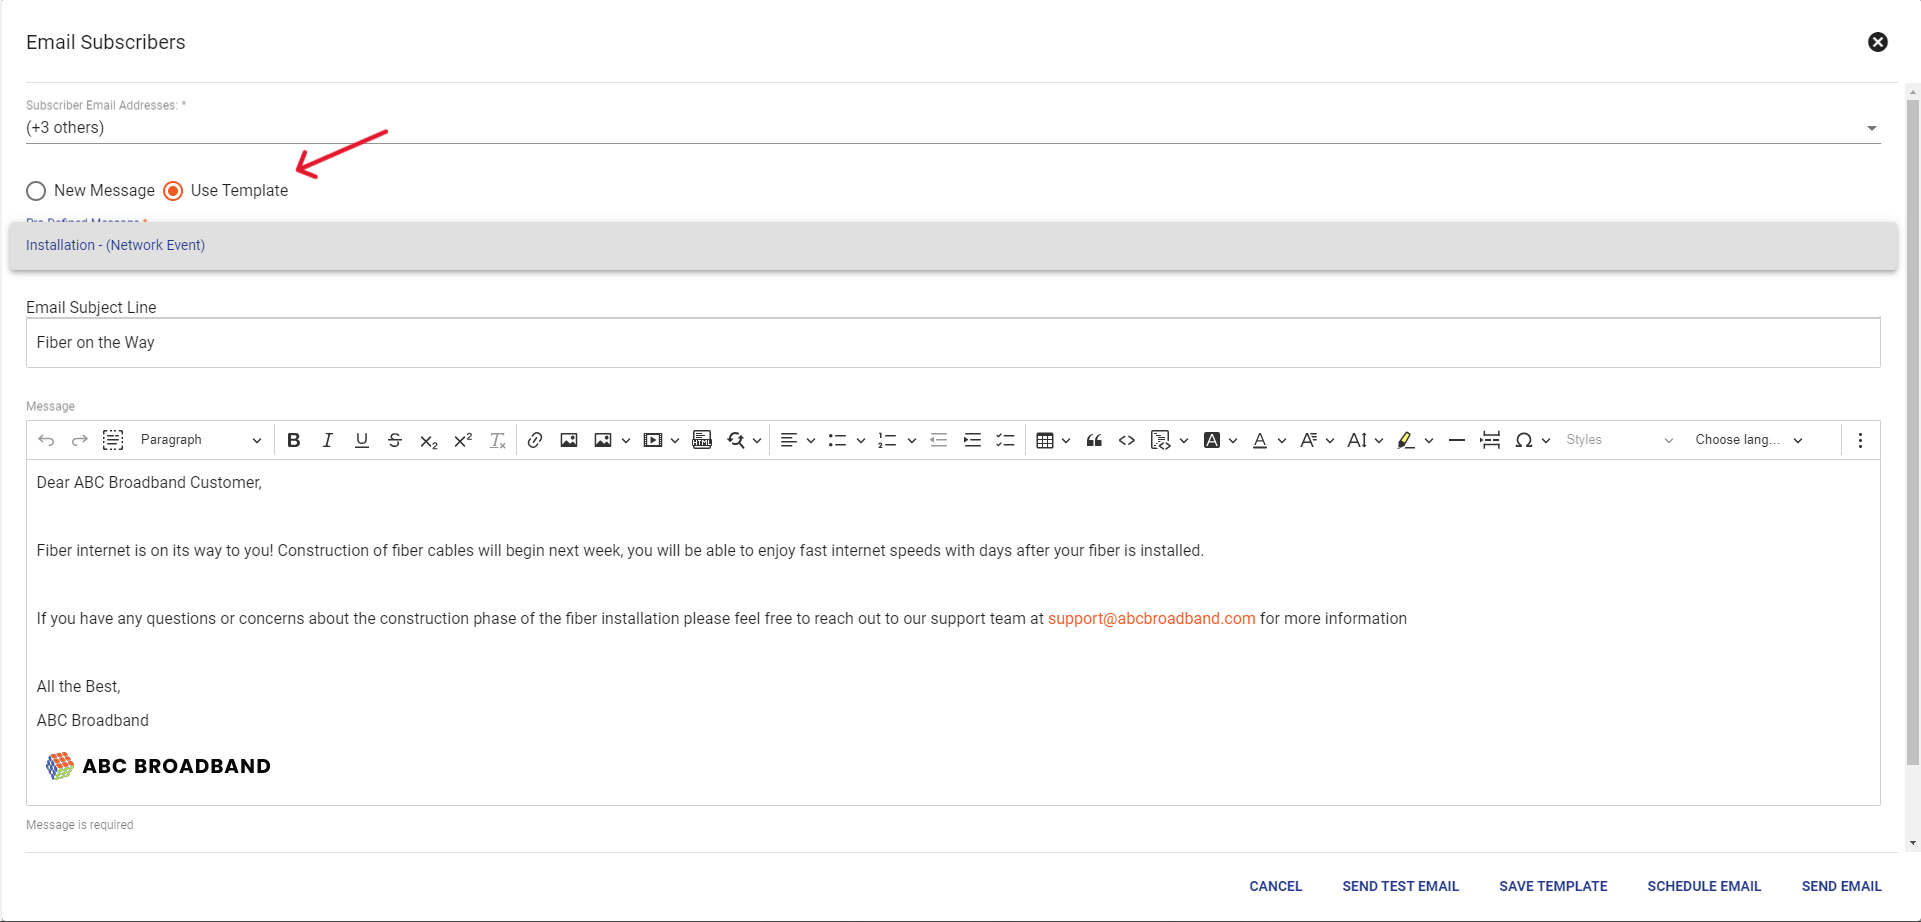
If you would like to preview what the email would look like you can send a test email to yourself to make sure its what you want customers to see. Or Save a Draft if you need to come back to finish the message later.
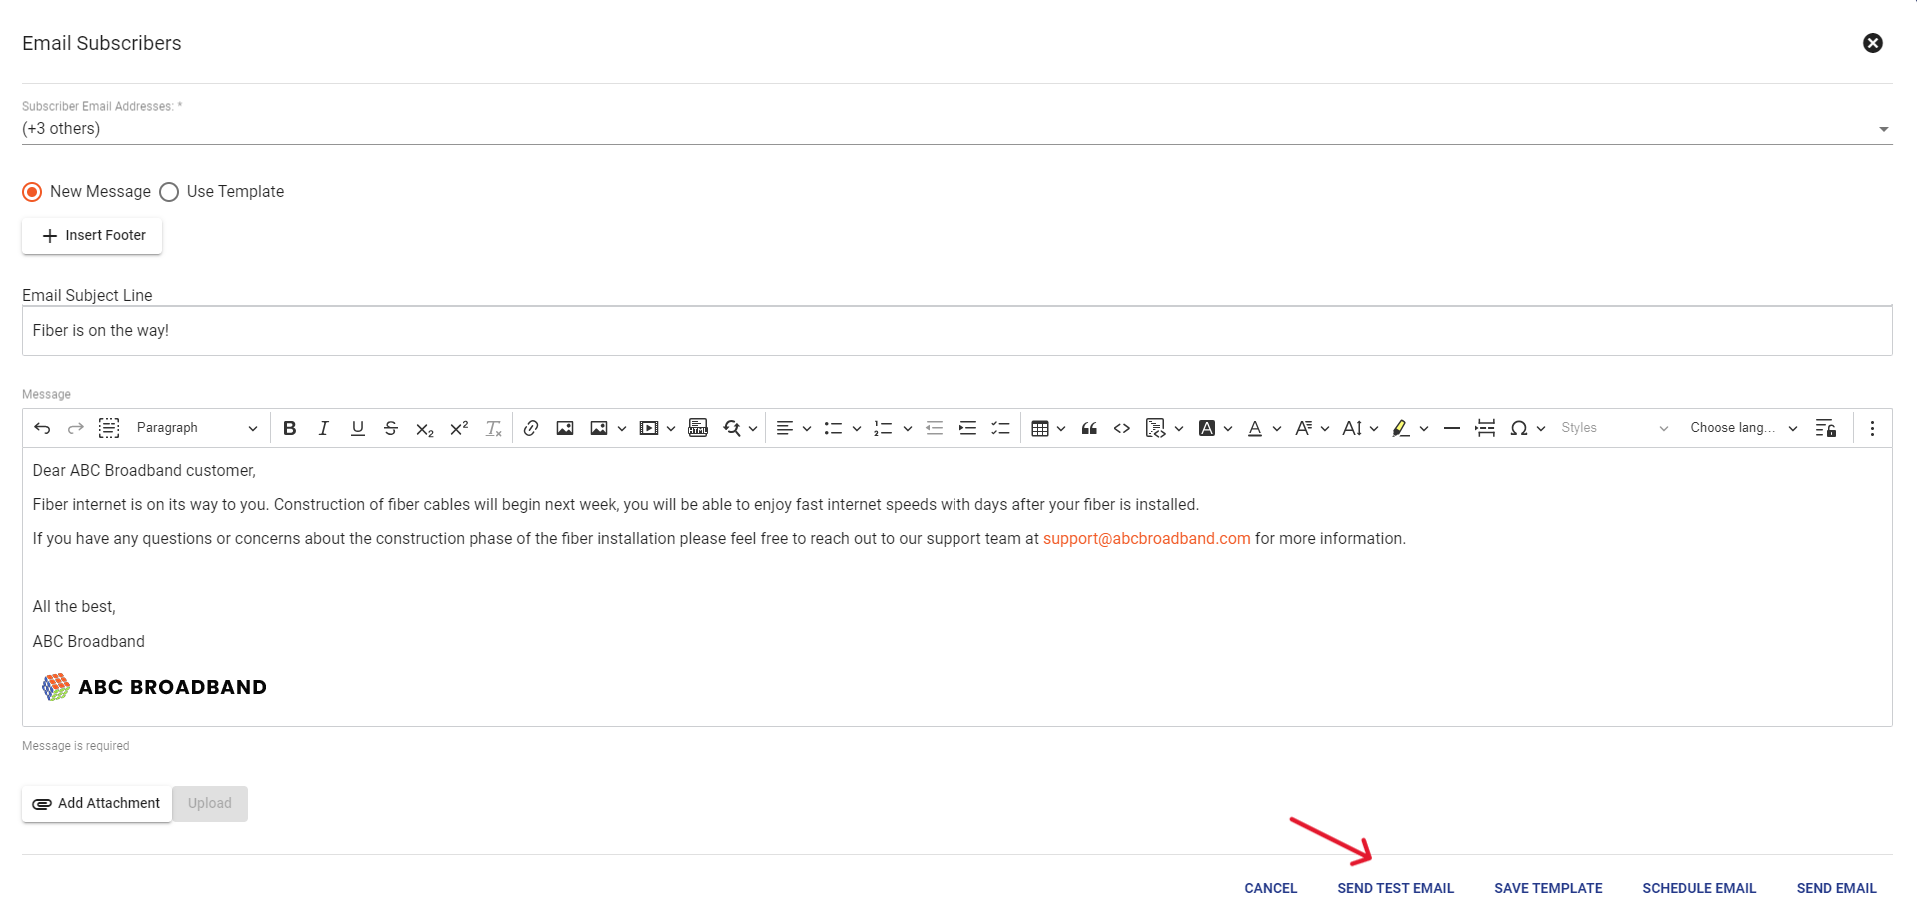
When you are ready for the email to send, click the Send Email options. This creates a batch to process the email send.
Depending on the list size and the email size, the total send could take a number of minutes to fully complete.
As the process completes, the Network Event will begin to populate.
Schedule Email Send
Vison utilized a Service Area Workflow to schedule an automated email based on a date and time. To set up the functionality the following workflow needs to ready.
Go to Admin Utilities > Workflows:
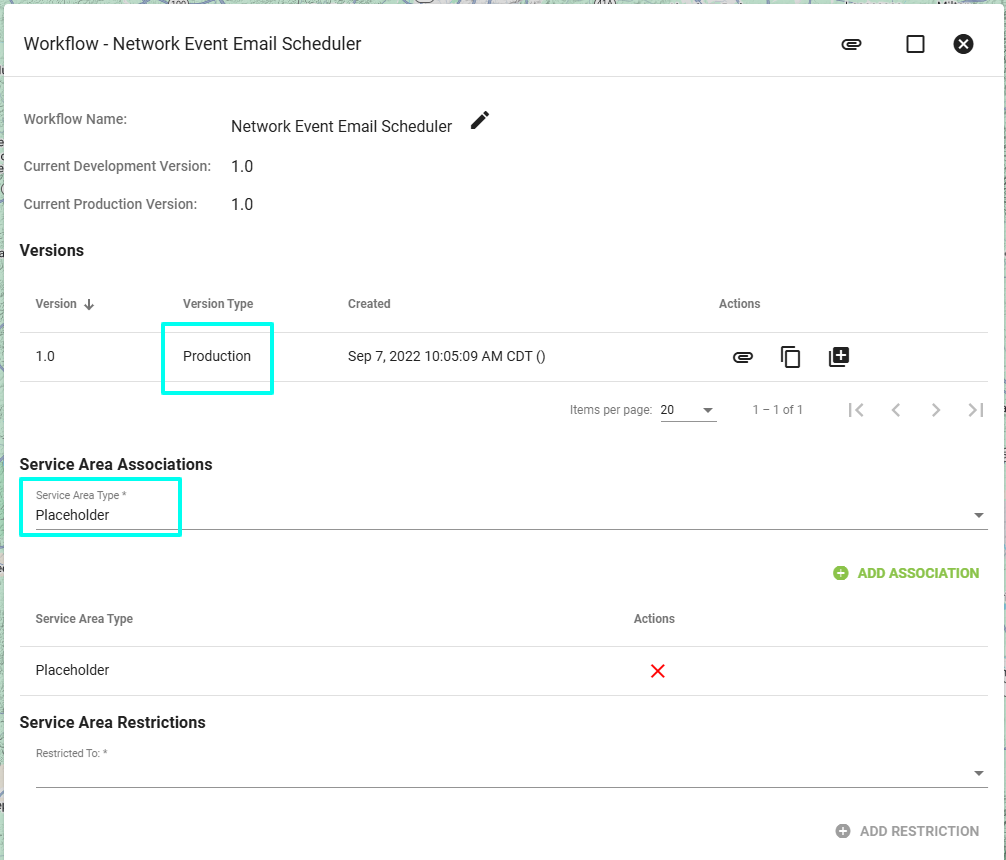
Workflow name - Network Event Email Scheduler
The workflow needs to be in Production Status and tied to the Placeholder Service Area.
The Send Batch Jobs Network Event Task needs to be triggered off of the Network Event Email Send Date field.

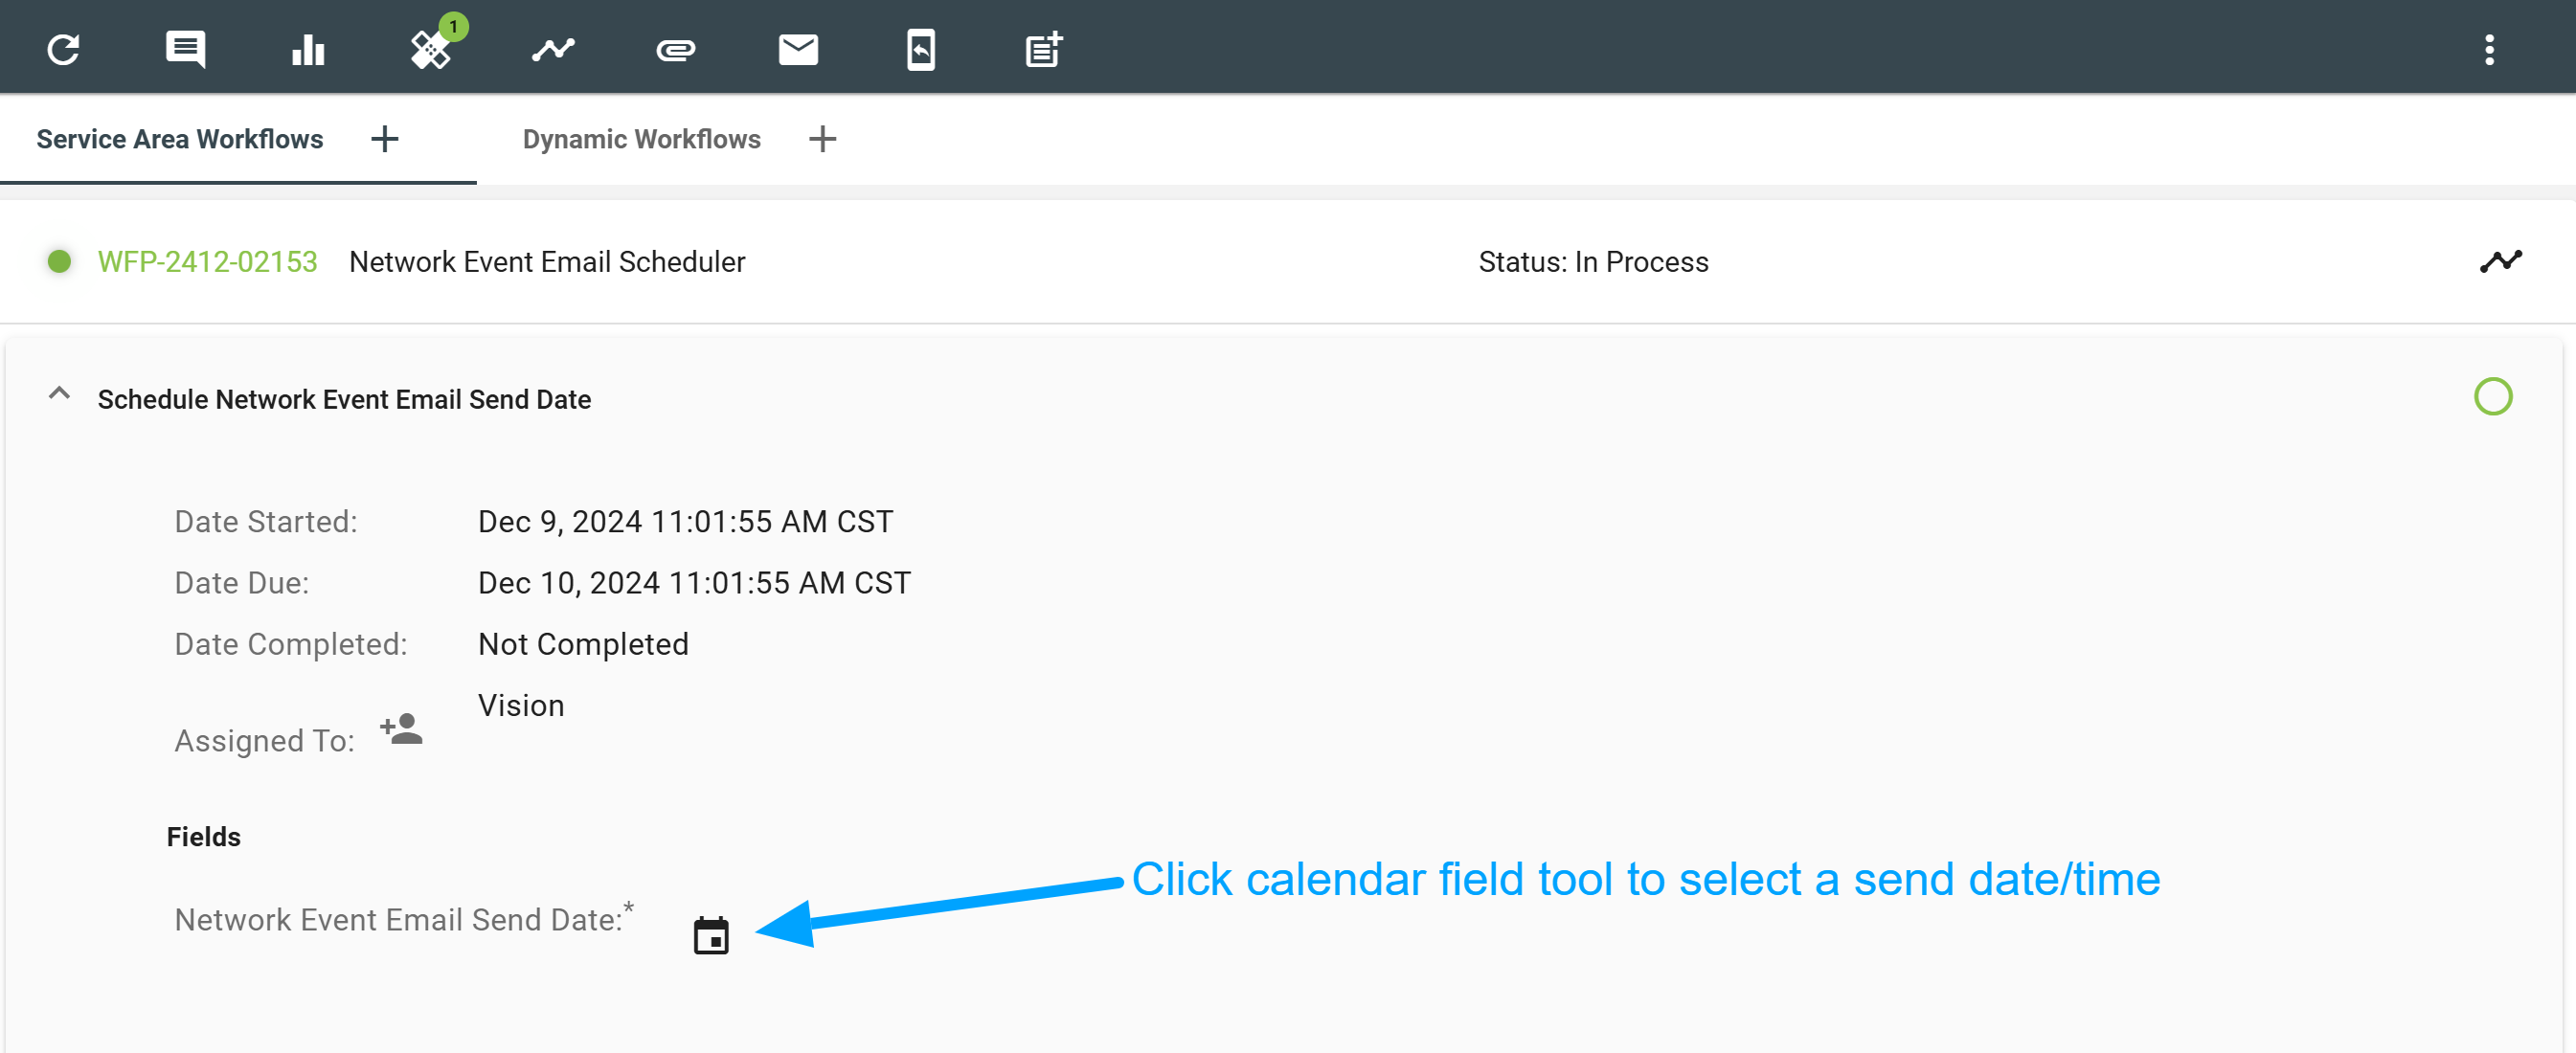
Once set up the Schedule Email will launch the Service Area Workflow.
View Network Event
Click on each field on the Network Event to make changes such as assignments, priority, etc. Below the Network Event you'll see a log of all changes and notes. Click the icons in the toolbar to do the following:

 - Add Post to Facebook
Email Report
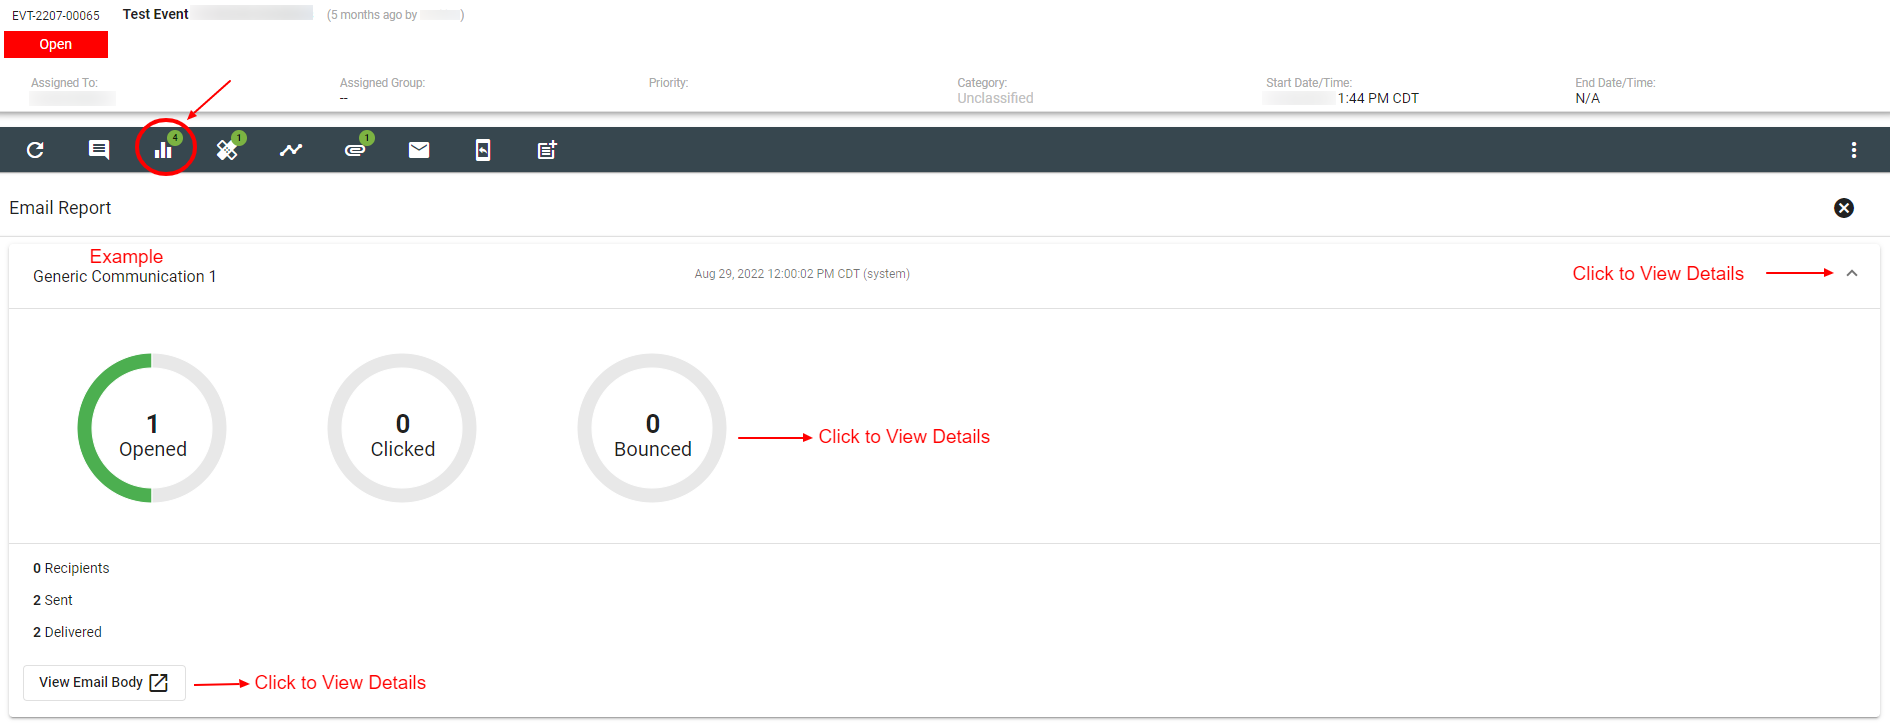
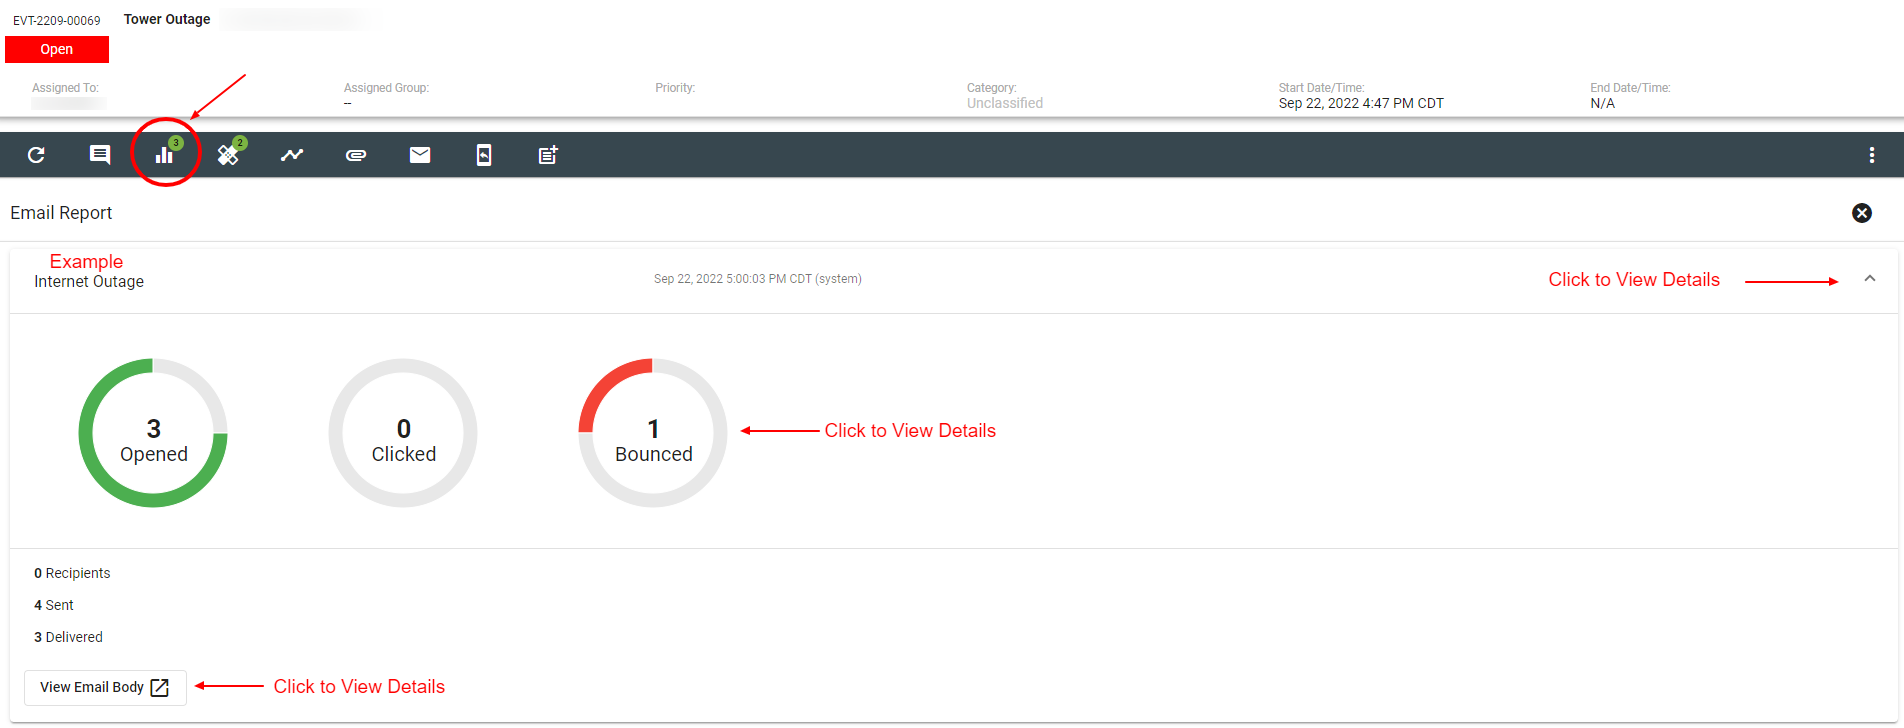
Click the Email Report icon. Here you can view email reporting on a specific Network Event. You can view how many associated subscribers opened and clicked links in a network event email. You can also view how many emails bounced. At the bottom of the page click View Email Body to view the original email body.
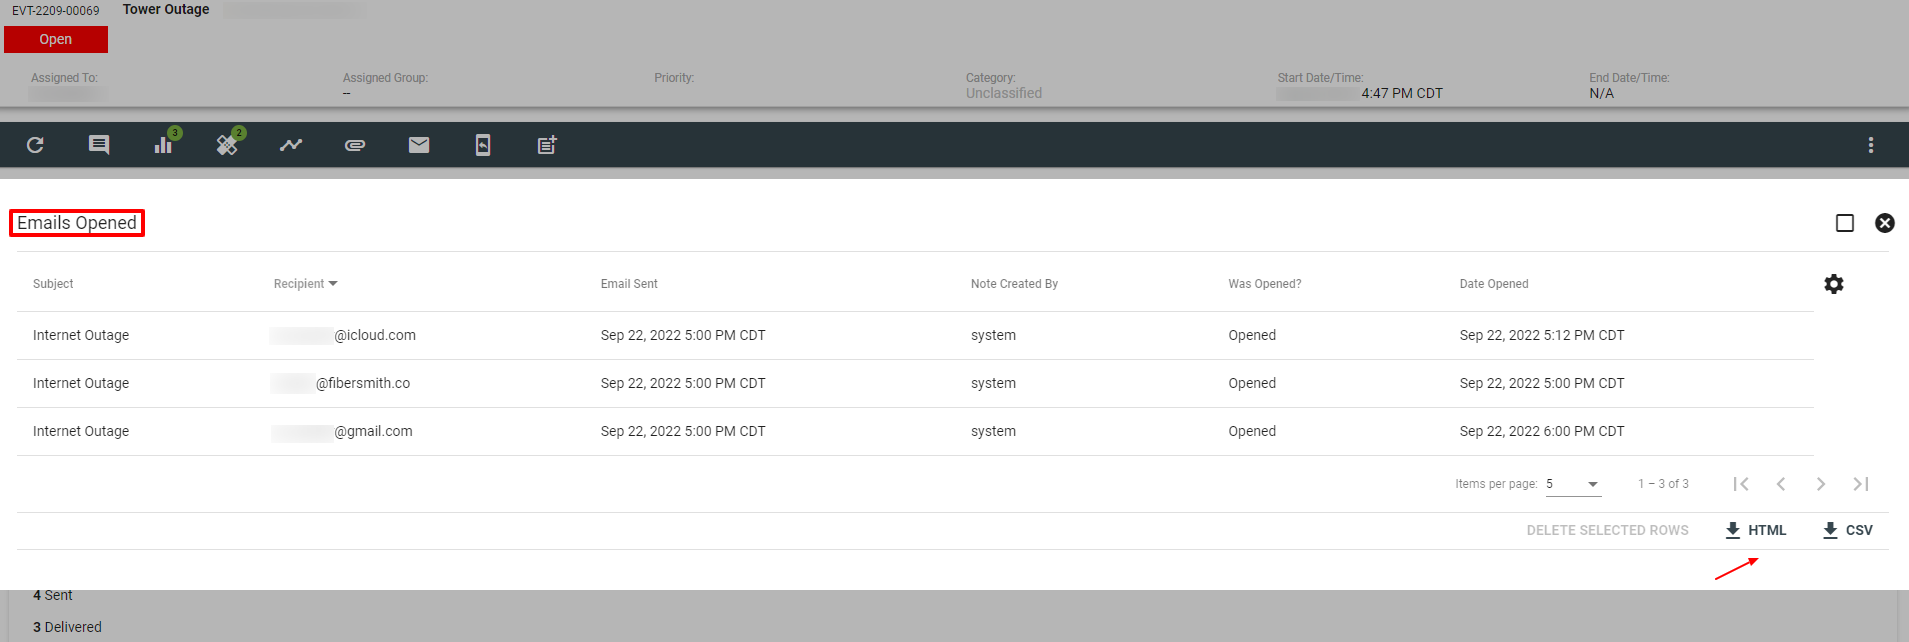
View the list of recipient emails who opened the network event email. Take notice of when the email was sent and the date and time it was opened. At the bottom right-hand corner click to download the HTML or CSV document.
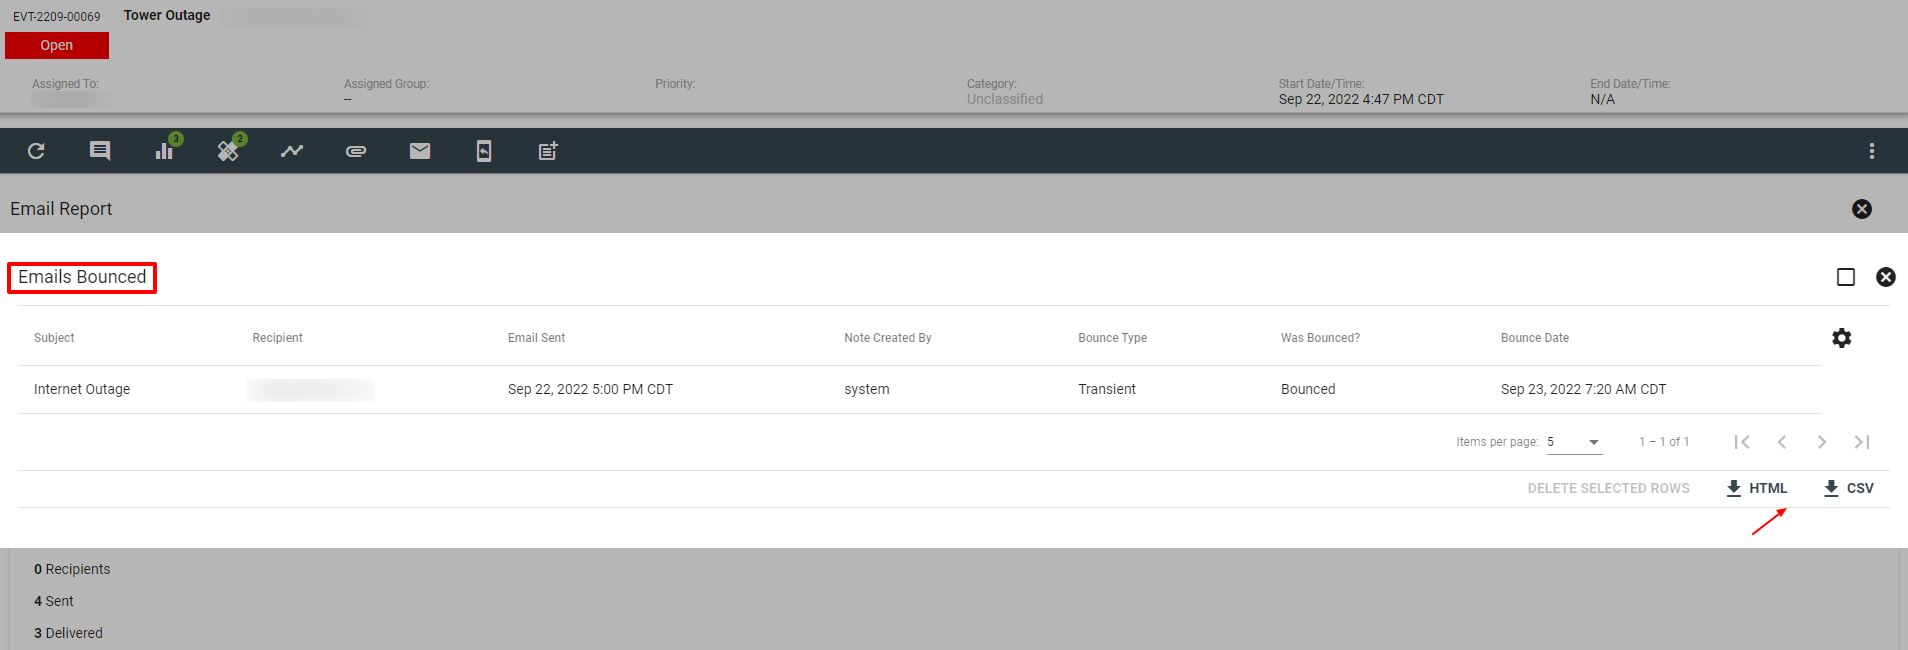
View the list of recipient emails that had emails bounce. Take notice of the bounce date and bounce type. At the bottom right-hand corner click to download the HTML or CSV document.
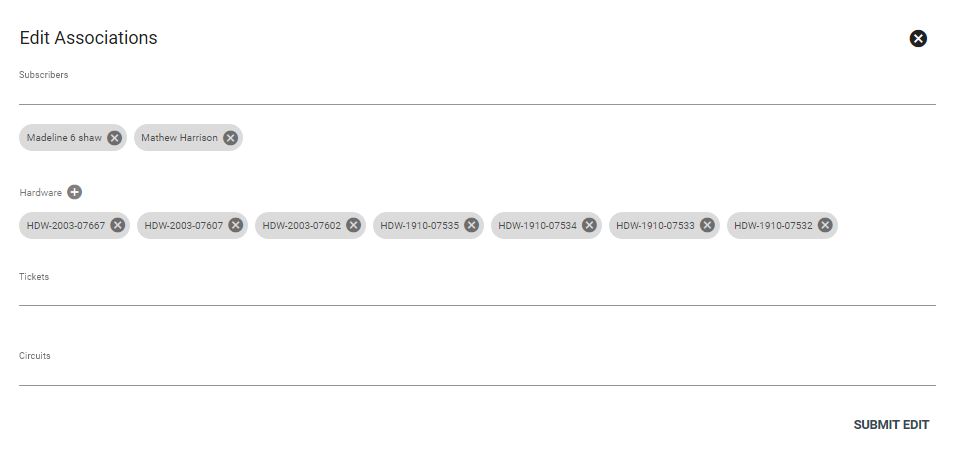
Edit Associations
Here you can add and edit associations with the Network Event. Click and search in the available fields for associations you may wish to add. Associations can be Subscribers, Hardware, Tickets, or Circuits. When finished, click SUBMIT EDIT.
Add at least one subscriber association to send an email or text message. If there are no subscribers associated with the event, the options to email or text will not display.
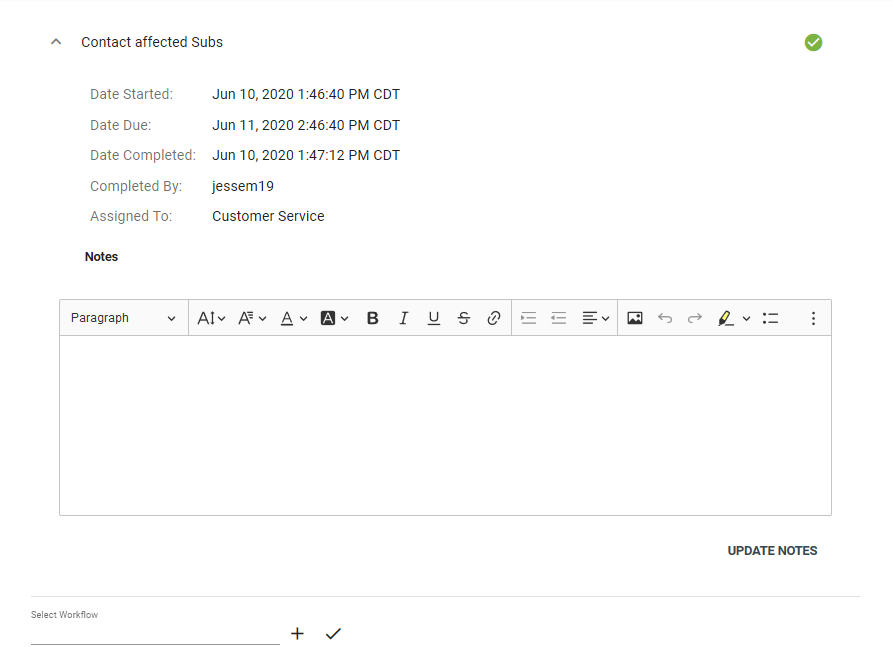
Open Workflow
Here you can view the Workflow that is either in process or finished.
Add Post to Facebook
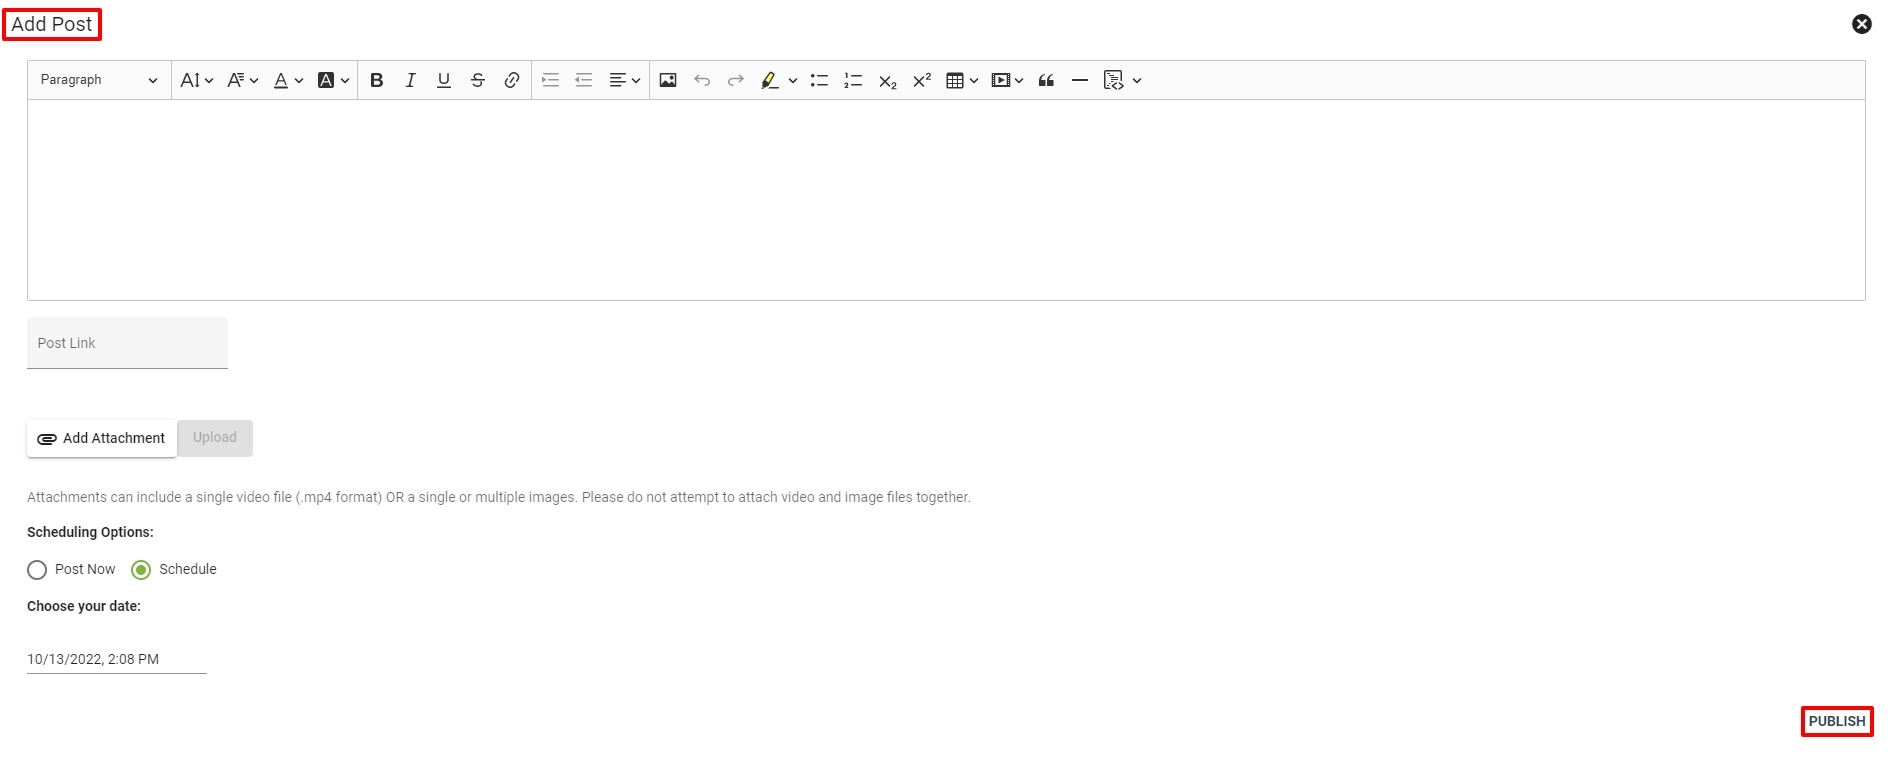
You can create and publish a Facebook post straight from a specific network event. From the menu click Network and then Events. From there select the event you are working with.
From the event selected click on the ![]() icon from the header menu.
icon from the header menu.
Design your post, include links and/or images. Then PUBLISH your post now or choose to schedule it for a later date.
Add Network Event
There are several ways to create a network event.
From the network events page, click
To Add Associations to a Network Event with a list of subscribers, start at the subscriber report page. Operations > Subscribers
Select the applicable subscriber categories to generate a list, then select ADD EVENT.
Choose whether to associate the subscribers with a pre-existing network event, or create a new event by selecting Add New Event.
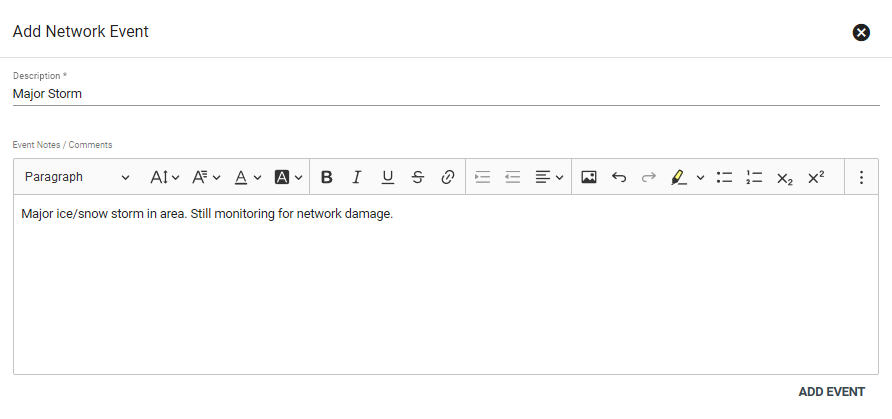
Enter the network event description and add any notes or comments, then click ADD EVENT.
Or start from the base map, click on the toggle map layers icon
The selected subscribers will display on the map.
Use the Select Data Objects tool
Then, select the ADD EVENT button in the bottom righthand corner.
View the network event, change the category, start and end date and priority.
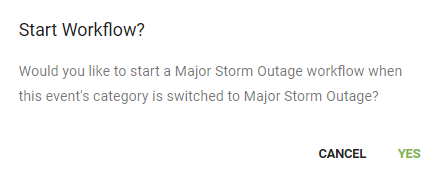
Some event categories will have a Workflow associated and will prompt you to start that Workflow upon choosing that category.


