You now have the introduction to the Vision software under your belt, and you are now able to login. Where do you go next? How do you implement Vision into your everyday work life? Overwhelmed, look no further! Let’s learn a few basics. You will become a Vision expert in no time! Keep reading to get a basic understanding of best daily practices and habits.
Most professionals have many platforms that they are in and out of each day. Vision has been designed to be your one needed tool to scale your business forward and manage the day to day of your telecom company. The ultimate goal is to be able to have the least amount of touches on a subscriber’s account to get them turned up. There are steps and processes that need to be set in place and followed for that to become a reality.
There will be certain areas and habits to get into once you log onto the system at the start of your day. Listed below are some areas of best practices that you should be incorporating as a Vision user while also keeping customer service a priority!
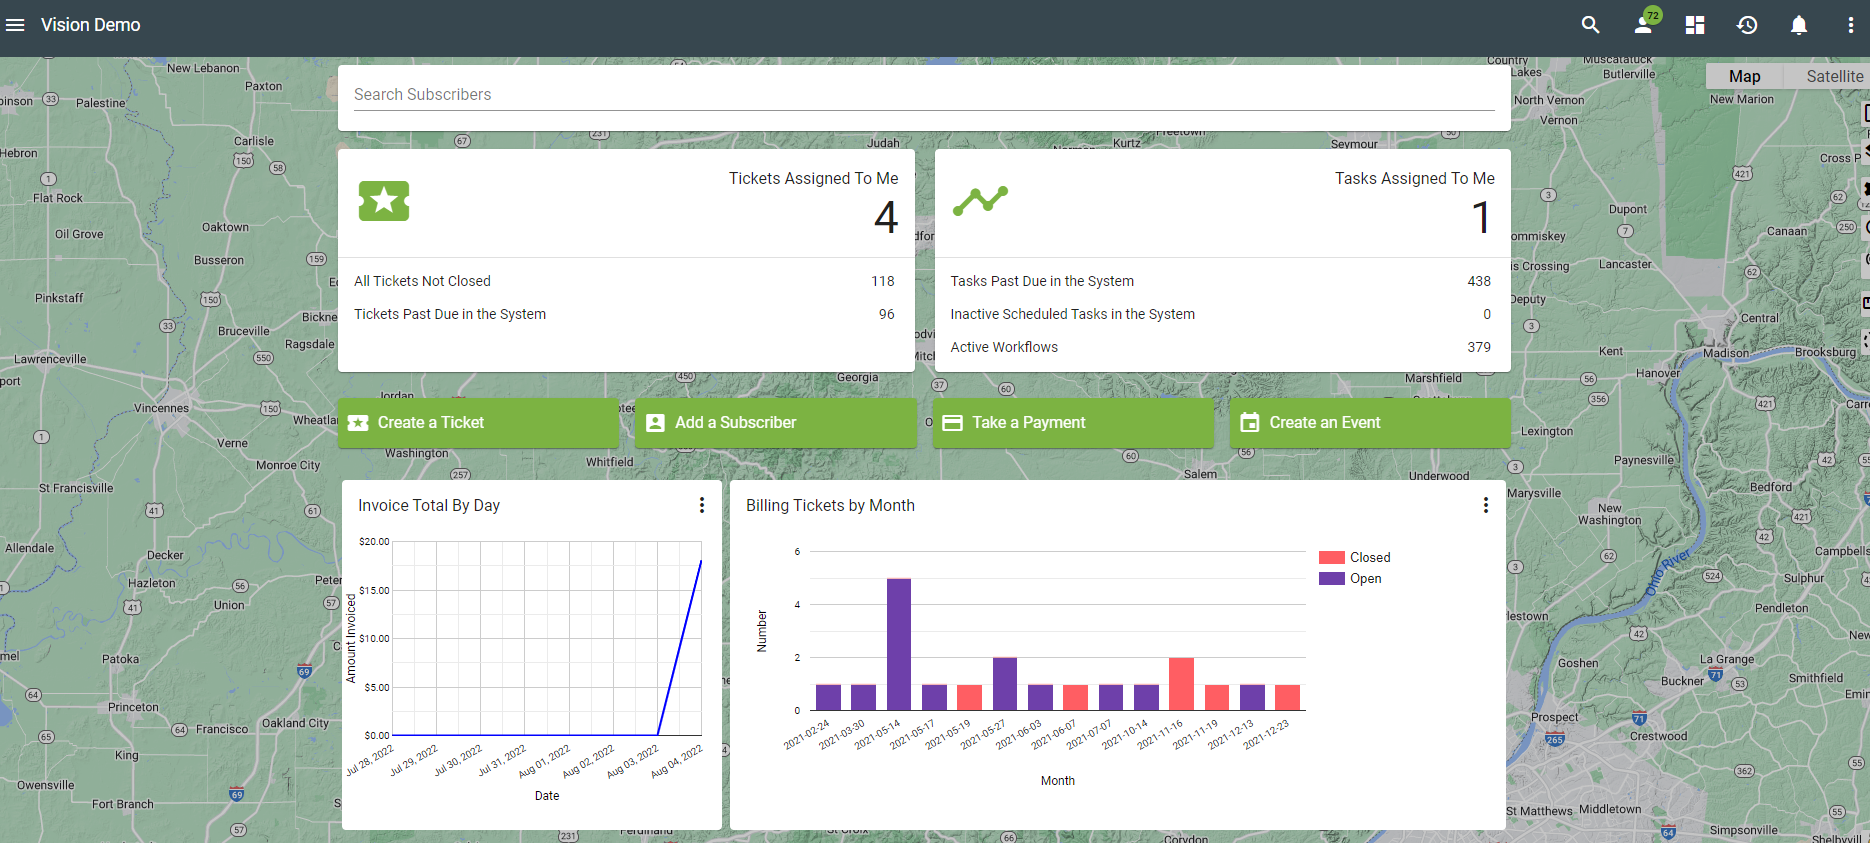
Beginning your day and looking at your dashboard is where you can quickly see all tickets and tasks assigned to you. Remember Vision is very clickable, so click into things to get a better view and see things assigned to you. You can click on the ticket ID and open the ticket log. From there you can easily view the workflow and the status. If you notice a problem or a workflow that is not launched, that is a good starting point. Be sure to keep up with your tickets and work your tasks, so the process continues to work! On the dashboard there are convenient buttons to easily create a new ticket, add a subscriber, take a payment, or create an event. You can also take a look at your company dashboard cards and quickly drive into data and reporting from there.
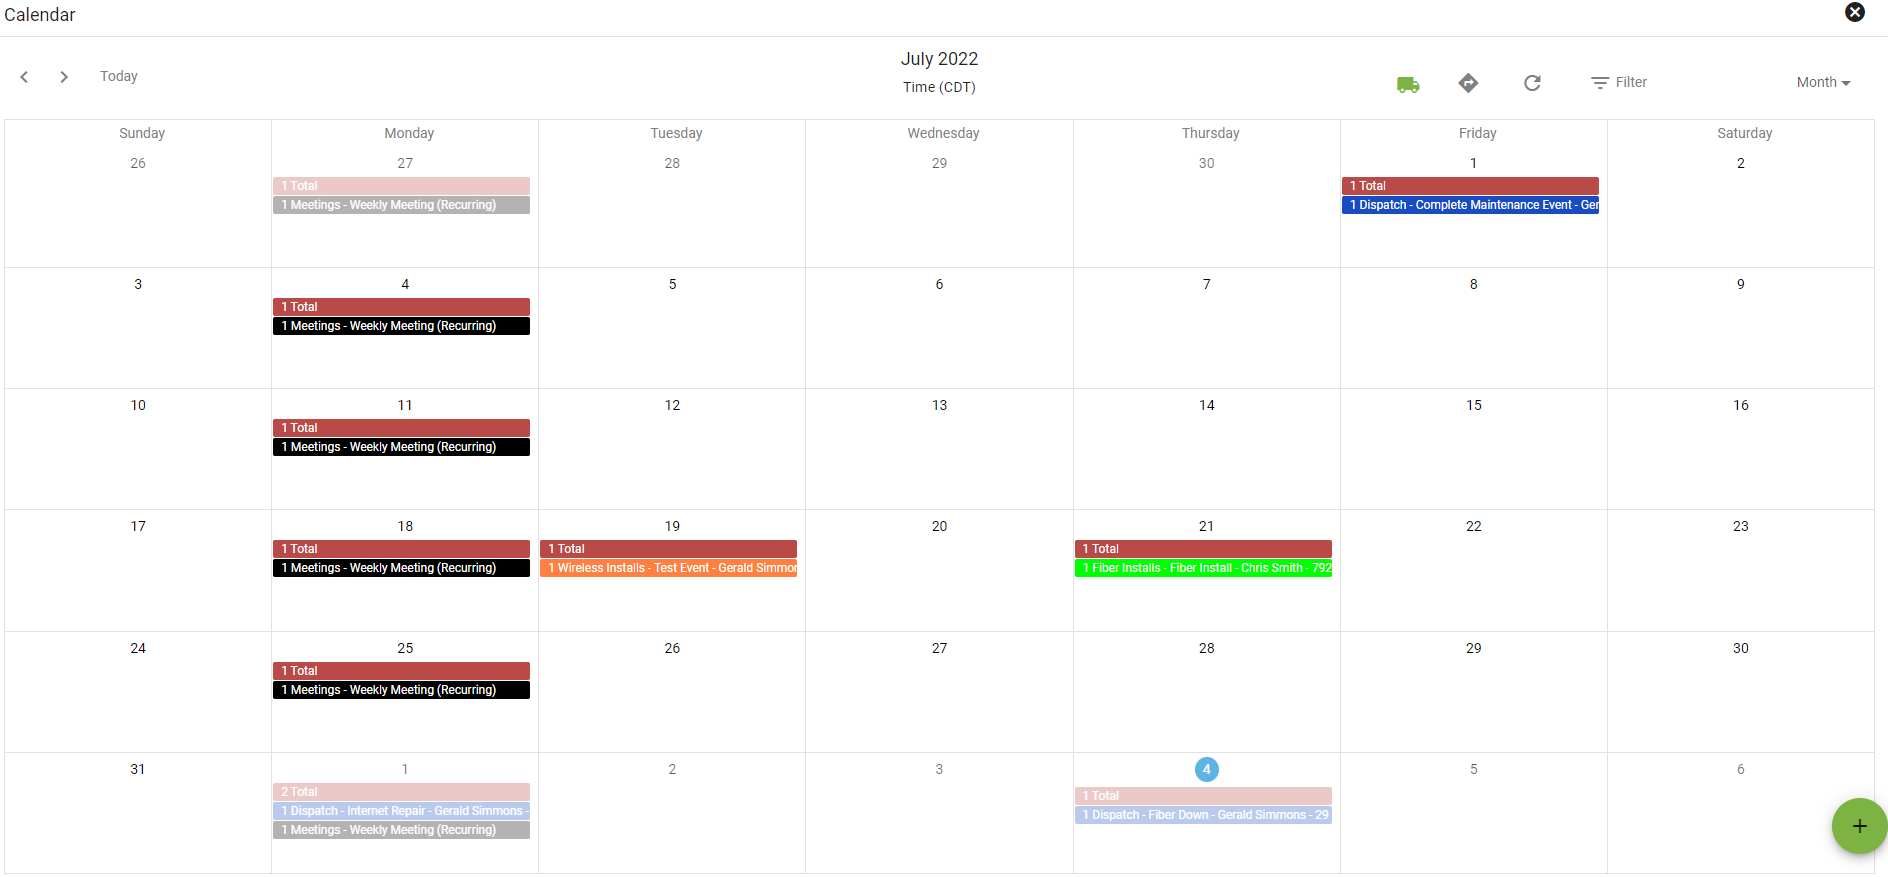
Next, open the company wide calendar through the menu. Check out what is scheduled for the day and click on the calendar event to view more details. Depending on your preferences you may want to view the monthly, weekly, or day version of the calendar. Depending on your role, you can view who is assigned the calendar event and view the workflow and subscriber associated with it. Checking to see the progress of a workflow will give you a great picture of the event. When you notice a scheduled install on the calendar, you can click in and see the package, subscriber, and install time. If you are manually adding a calendar event, be mindful of the event and starting the workflow process associated with the event.
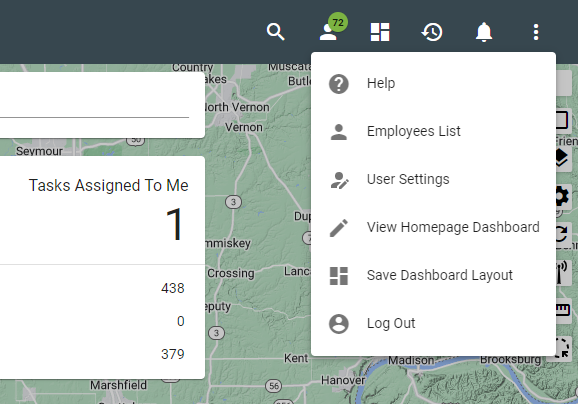
Use the header menu in the upper right-hand corner to keep you on track throughout the day. Click on the Assigned to You icon to quickly see all of the tasks and tickets assigned to you as well as to your group. This is where you can quickly get to all associated workflows. You can start here, and it will navigate you to a starting point and show what you need to catch up on. Click on the Bell icon to see all new and unread notifications. Having the Subscriber History icon is handy to quickly get back to last ten subscriber accounts you have touched. For example, if you recently talked to a customer and forgot their contact information, it’s a convenient way to find the account.
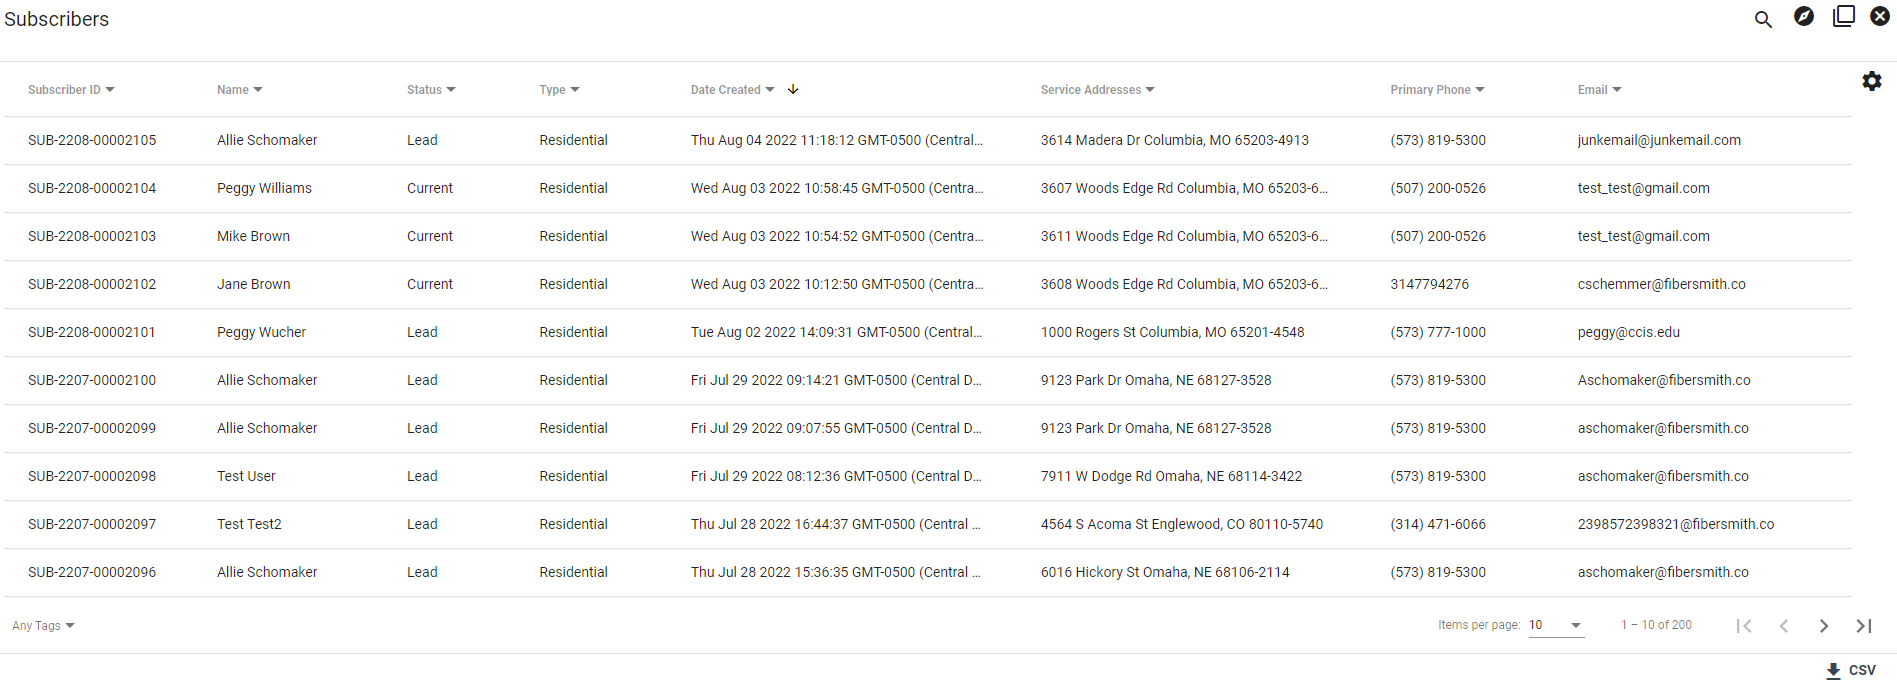
Select the main menu and click subscribers. Looking at the subscriber list is a way to see all new subscribers that have come in, especially through the public shopping cart overnight. You want to be sure that the Date Created column is in descending order. Simply click on the column to switch the ordering.
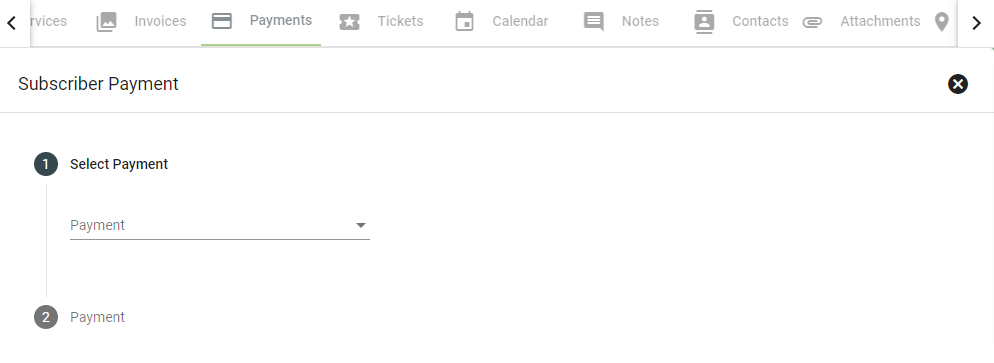
Taking a payment is an important skill for the front of house and call center employees to know how to do. Search for the subscriber’s account from the dashboard. Then click the FAB and select the Take a Payment icon. Select the payment type and take the customer’s information. If you have the customer on the phone, you can ask them to set up recurring payments. That can be done on the same screen. Or you can click the Take a Payment button on your dashboard and enter the payment information that way.
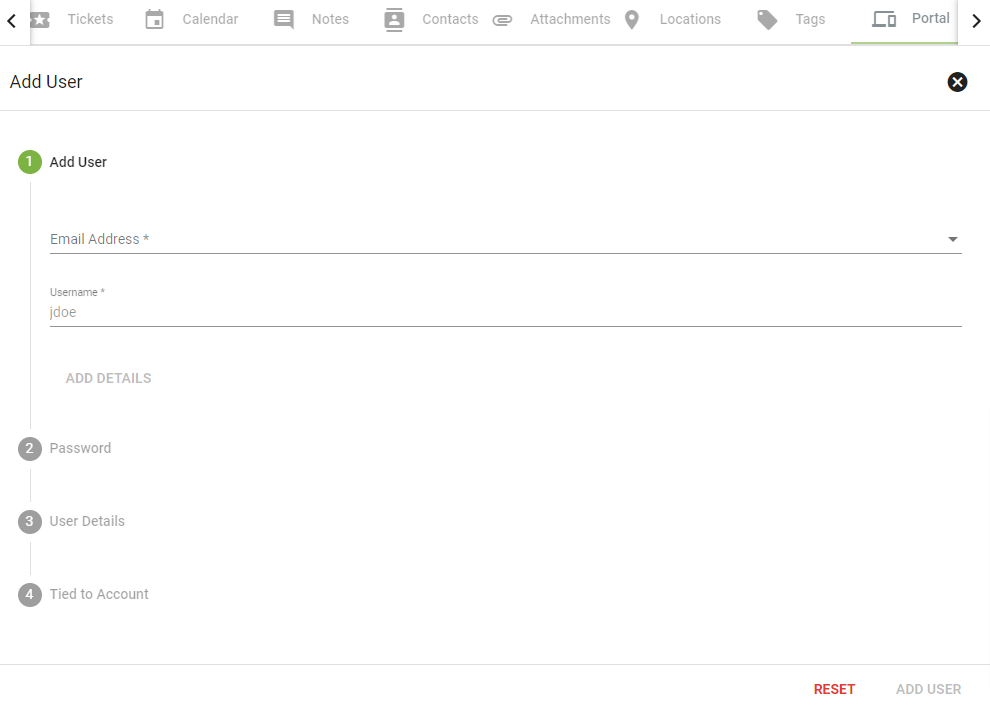
If a customer calls in and is having trouble signing into their portal, you can get that updated for them. If you navigate to the customer’s account, click on the Portal tab. There, it will list the portal users on the account. It will say “No Users” if they have not set up their subscriber user portal. If that is the case, click the FAB and select Add Portal User. Fill in subscriber information and be sure to click ADD USER.
Keep in mind, things will become muscle memory the more you work in system. Working tasks and following processes will grow your knowledge toolbox after 1 month, 6 months, and even a year from now. Hopefully, this daily best practices guide will aid you in those initial Vision experiences. Ultimately, becoming comfortable in the system will lead to productivity and growth. As always, we recommend utilizing the Support Center and contacting the Support Team with questions!