Billing - Bill Message Admin
The Bill Message Admin section under Billing can be used to add a onetime message or customized message timeline to an invoice. For example, the customer may be paying for a one time only big job. They may need to pay via wire transfer because the invoice is for a greater amount than usual. There may be a specific message that is needed for a certain service area. In that case there can be a one time message set up to be on all invoices that go out in that service area. There may be a service area that is available for an upgrade. There can be a notice on the invoice that would communicate the new service available to those subscribers. Once those customers are prompted on the upgrade available they may add a new service or call in to speak about the upgrade.
This can be used for a variety of reasons and in a variety of ways. This customizable feature is a great tool of communication and is easily automated. If you have questions about how to best use this tool or how to integrate it, your company’s Point-of-Contact can reach out to The Support Team anytime.
View Bill Message
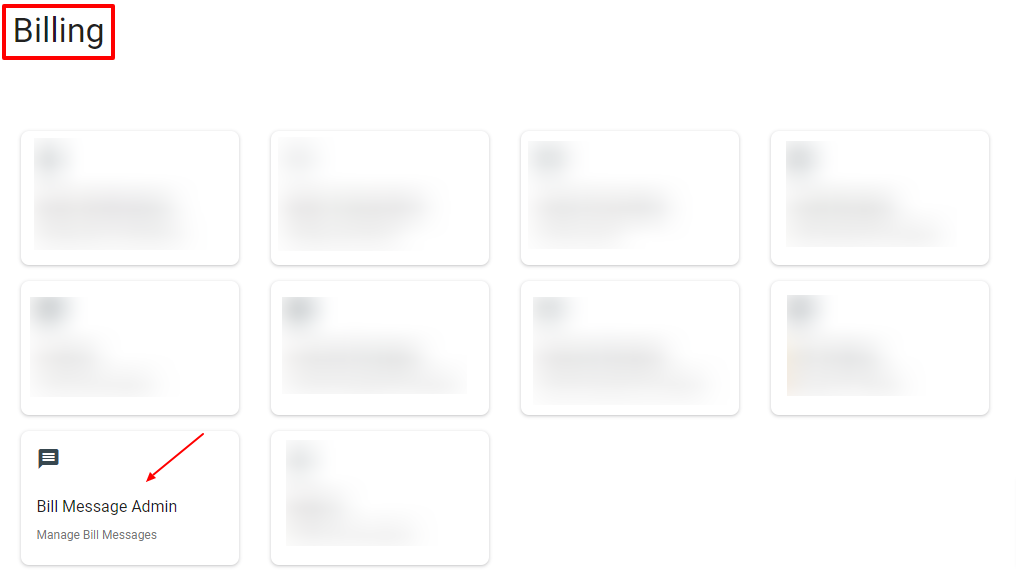
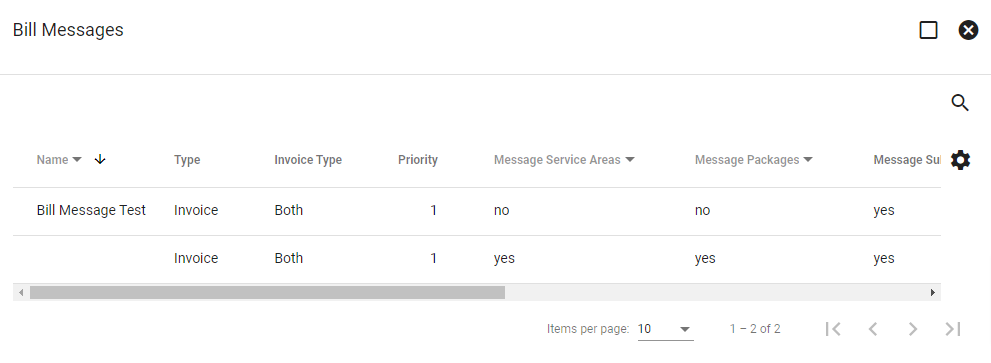
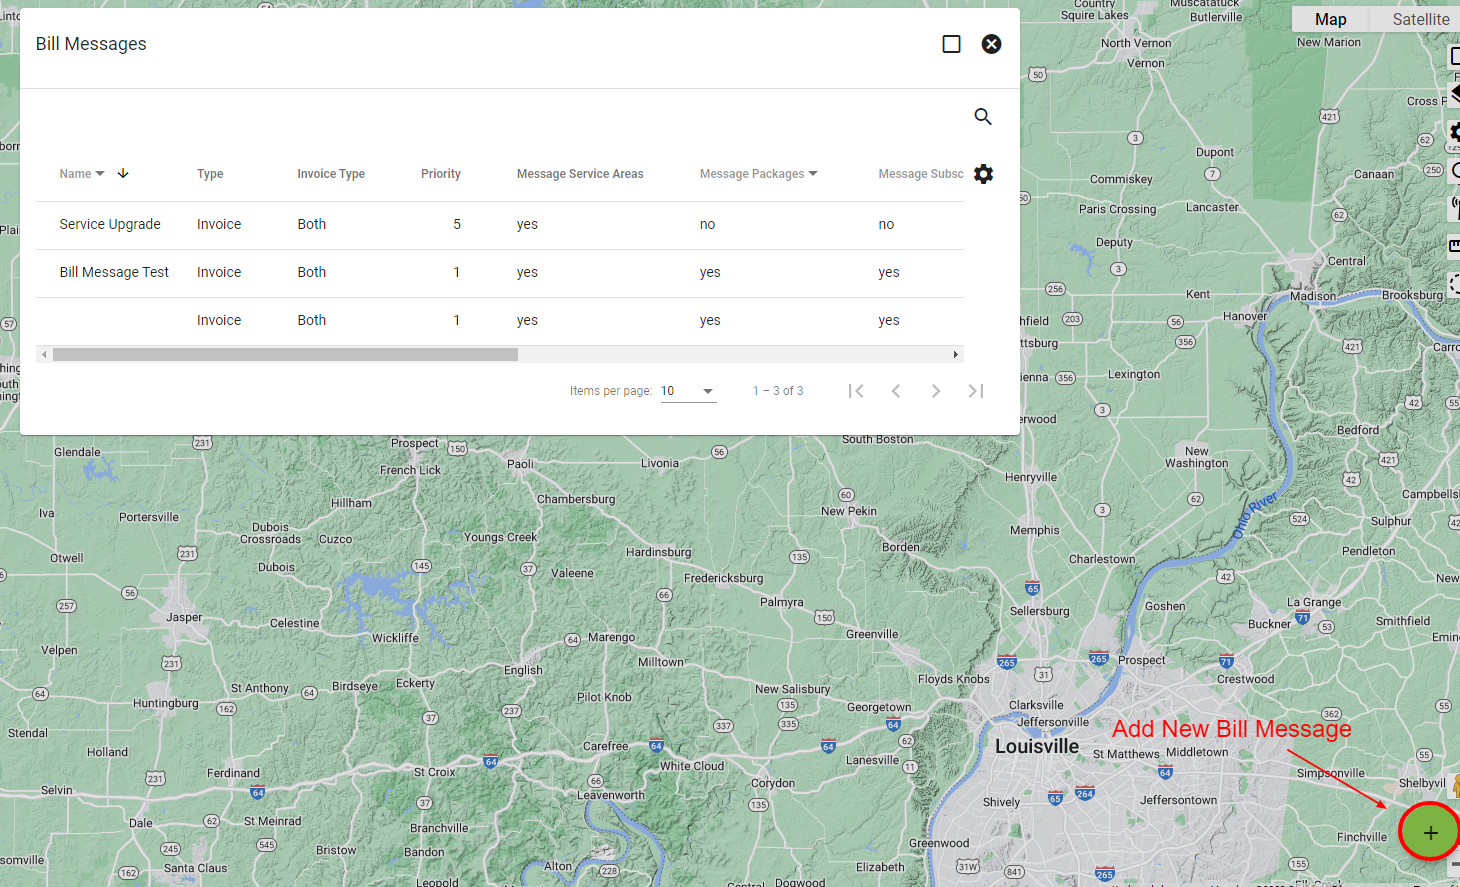
View the Bill Messages Admin section by clicking on Operation from the Main Menu and then by selecting Billing. Click on the Bill Message Admin button, and there you will see the messages in list format. You can search for a specific message by clicking on the 
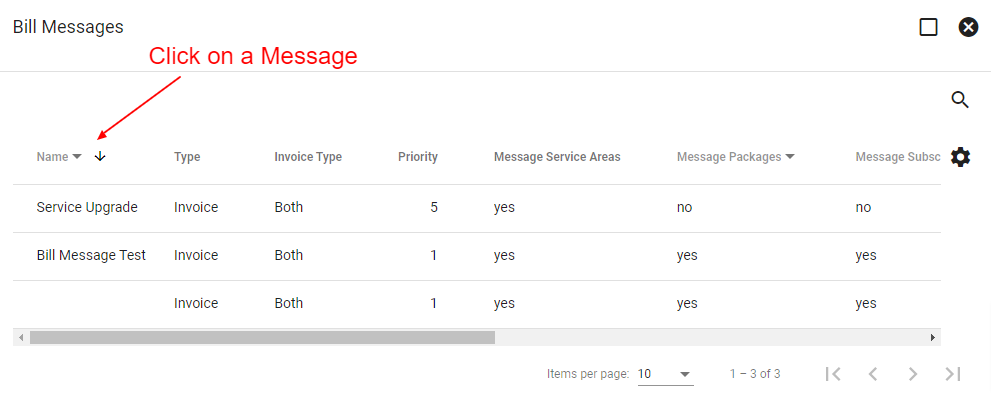
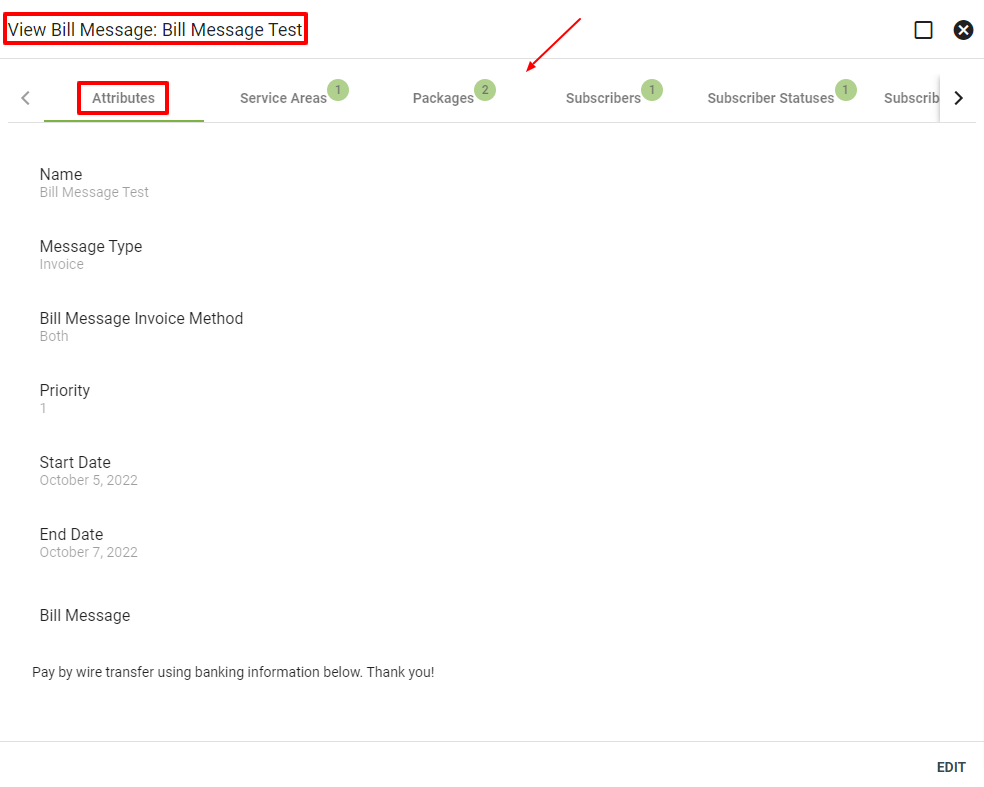
Click on a specific message to view more details such as the message text, message type, and message dates. You can click on the tabs at the top to view what items the Bill Message is associated with, such as a service area or a subscriber.
Bill message sizing is now limited: Peyment and Credit Reciepts is 8 paragraph sized lines, and Invoices are limited to 4 paragraph sized lines. If adding multiple billing messages with different priorities only the highest priority billing message will be applied to a receipt/invoice pdf. If two billing messages have the same priorty, the one which was updated last will be used.
Add New Bill Message
To add a new Bill Message, click on the FAB in the bottom right-hand corner from the list view.
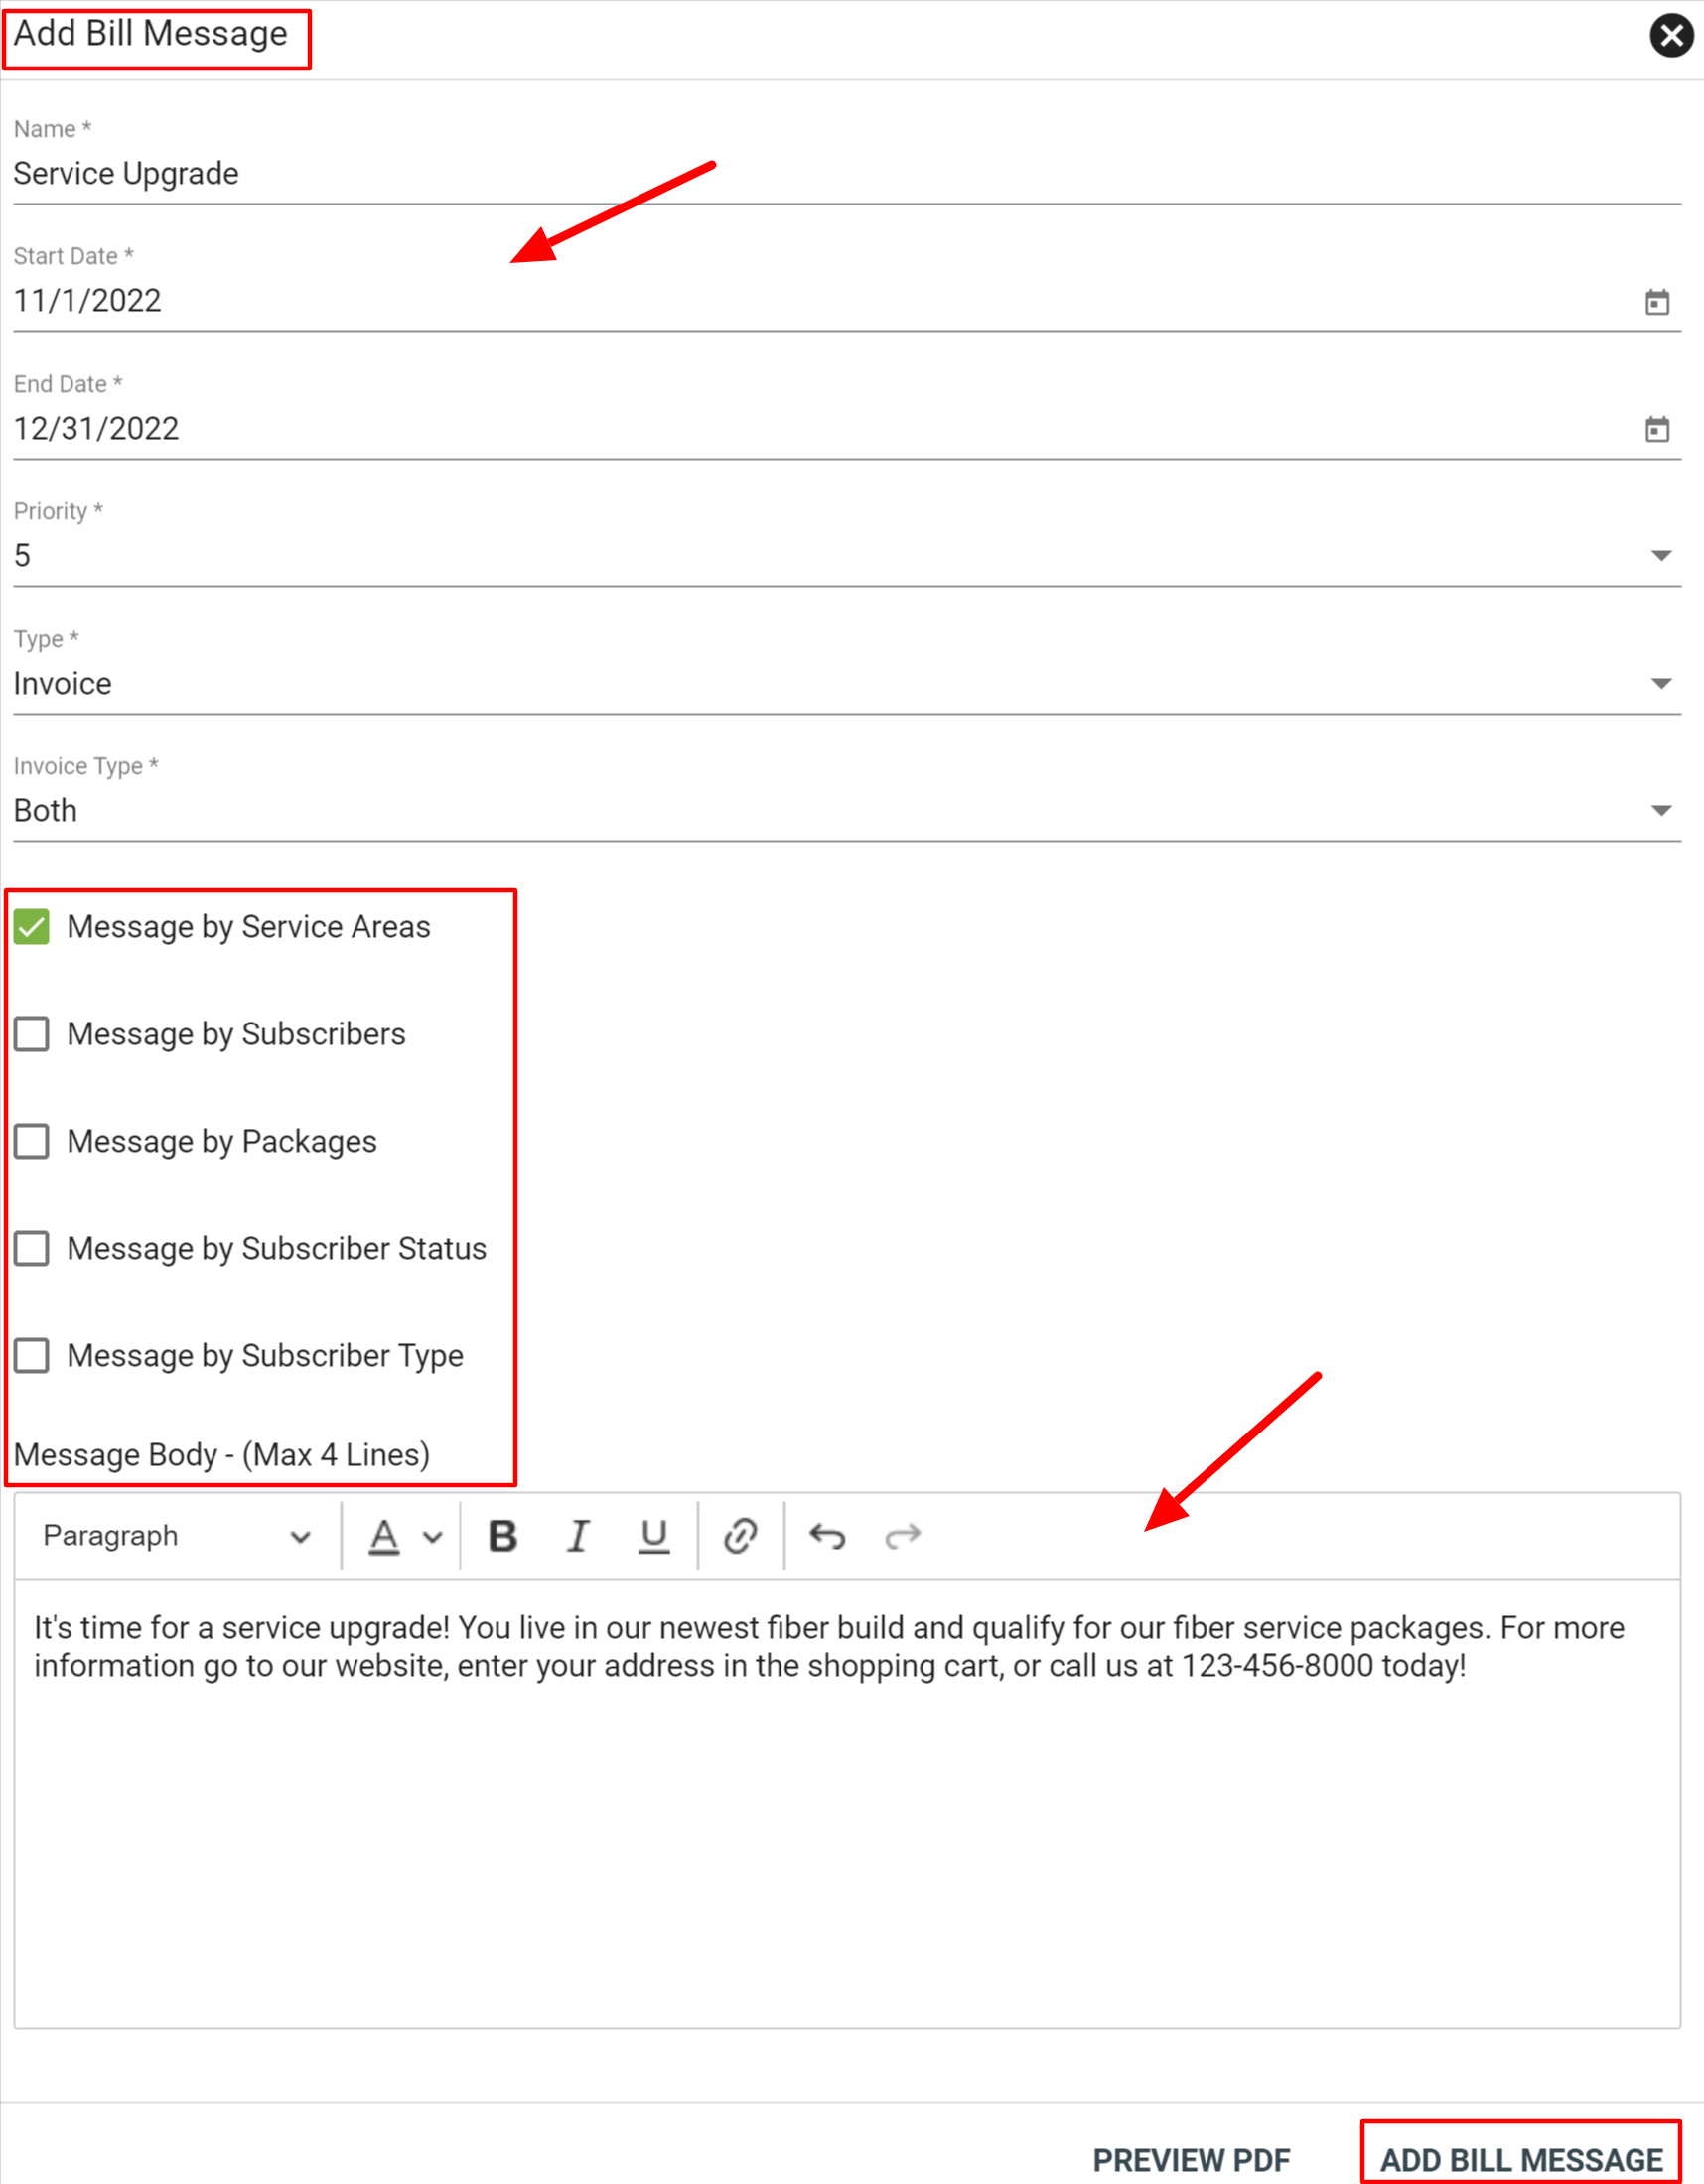
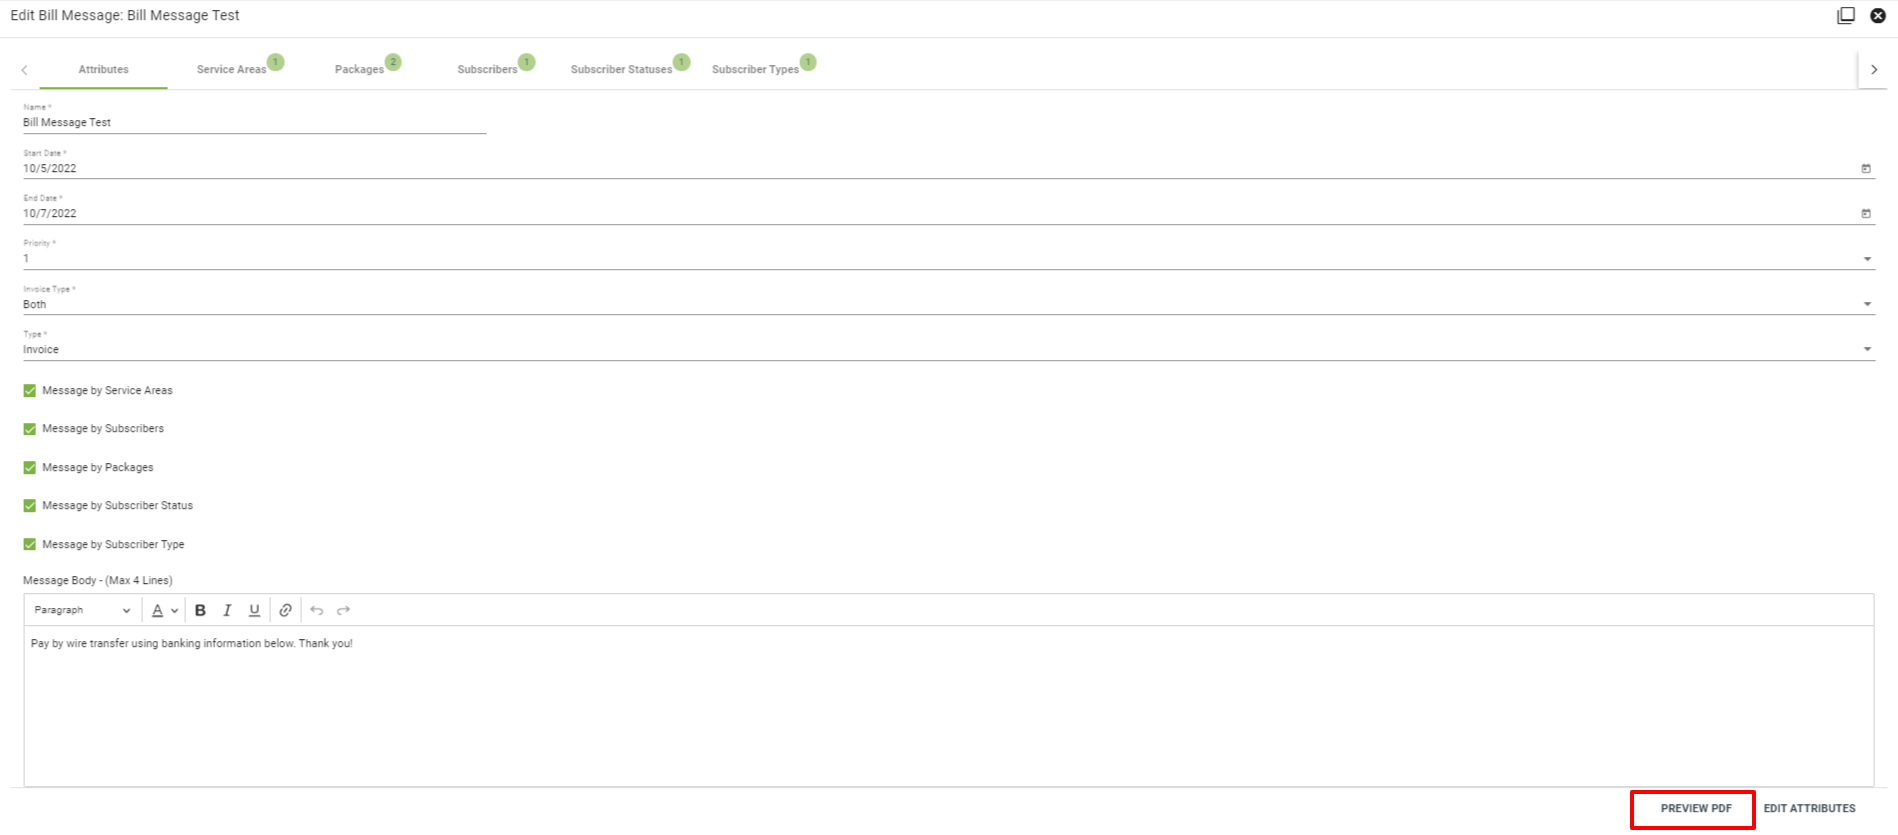
Name the message, select start and end dates, type, and invoice type. You can decide to send the message via the emailed invoice, mailed invoice or both.
Bill message sizing is now limited: Payment and Credit Reciepts is 8 paragraph sized lines, and Invoices are limited to 4 paragraph sized lines. If adding multiple billing messages with different priorities only the highest priority billing message will be applied to a receipt/invoice pdf. If two billing messages have the same priorty, the one which was updated last will be used.
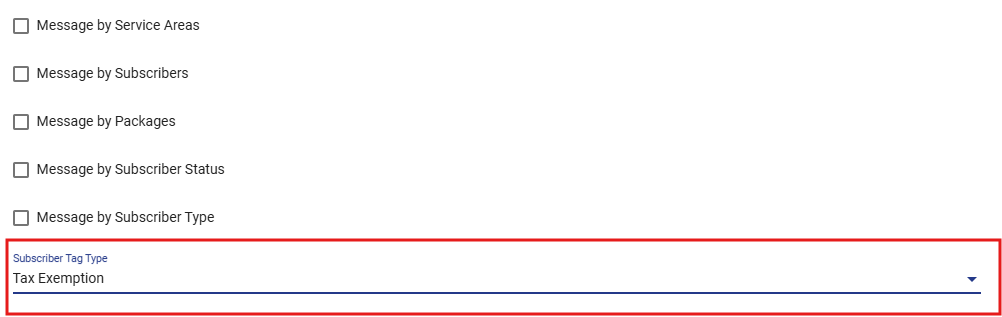
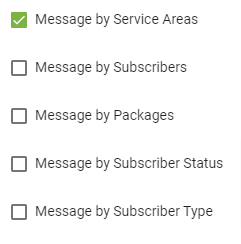
Check a box or multiple boxes to assign associations. For example, check the box that says Message by Service Areas to assign a specific service area to receive the message.
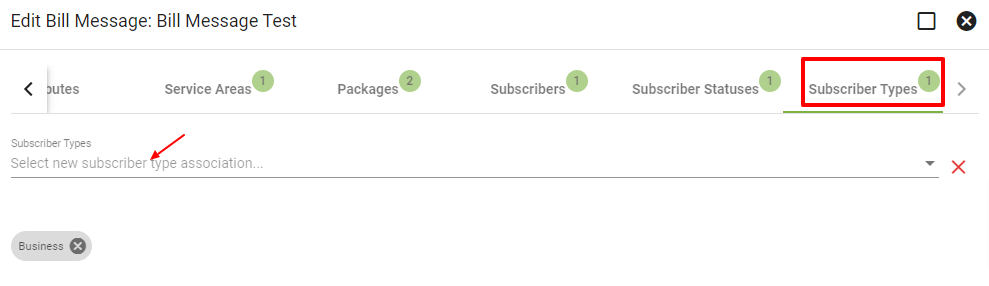
You can also associate the message with a specific subscriber tag type, allowing you to customize it to a defined group of subscribers.
After you fill in the message body, click ADD BILL MESSAGE.
Edit Bill Message
To edit a Bill Message, click on the message from the list view, then click EDIT in the lower right-hand corner.
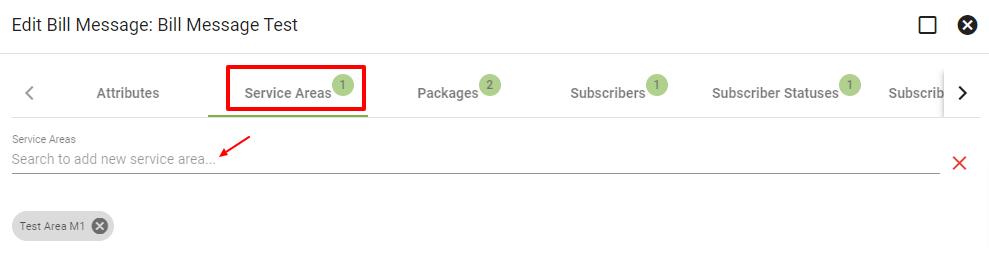
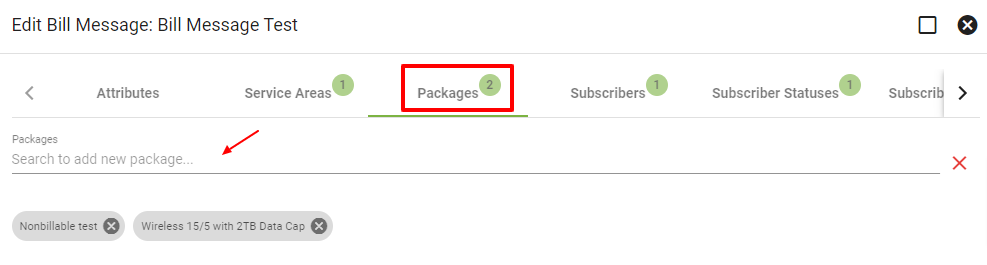
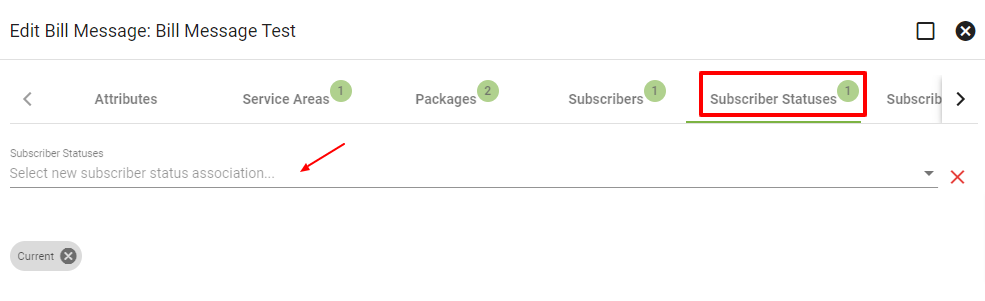
Click on a tab at the top to make changes to associations such as service areas or packages. You can add or delete items as needed.
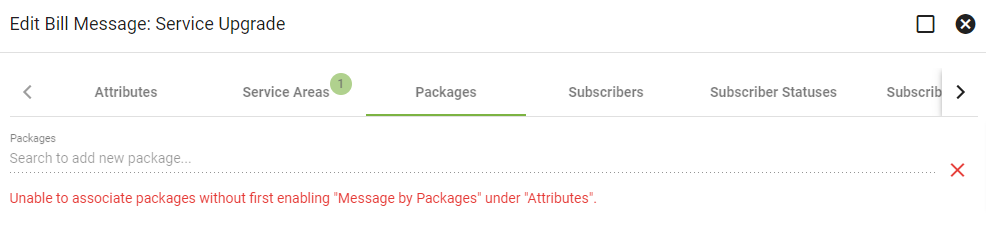
If you see a red message under a tab that says, “Unable to associate _____ without first enabling _____ under Attributes,” then you will need to edit the Attributes section and check the correct box.
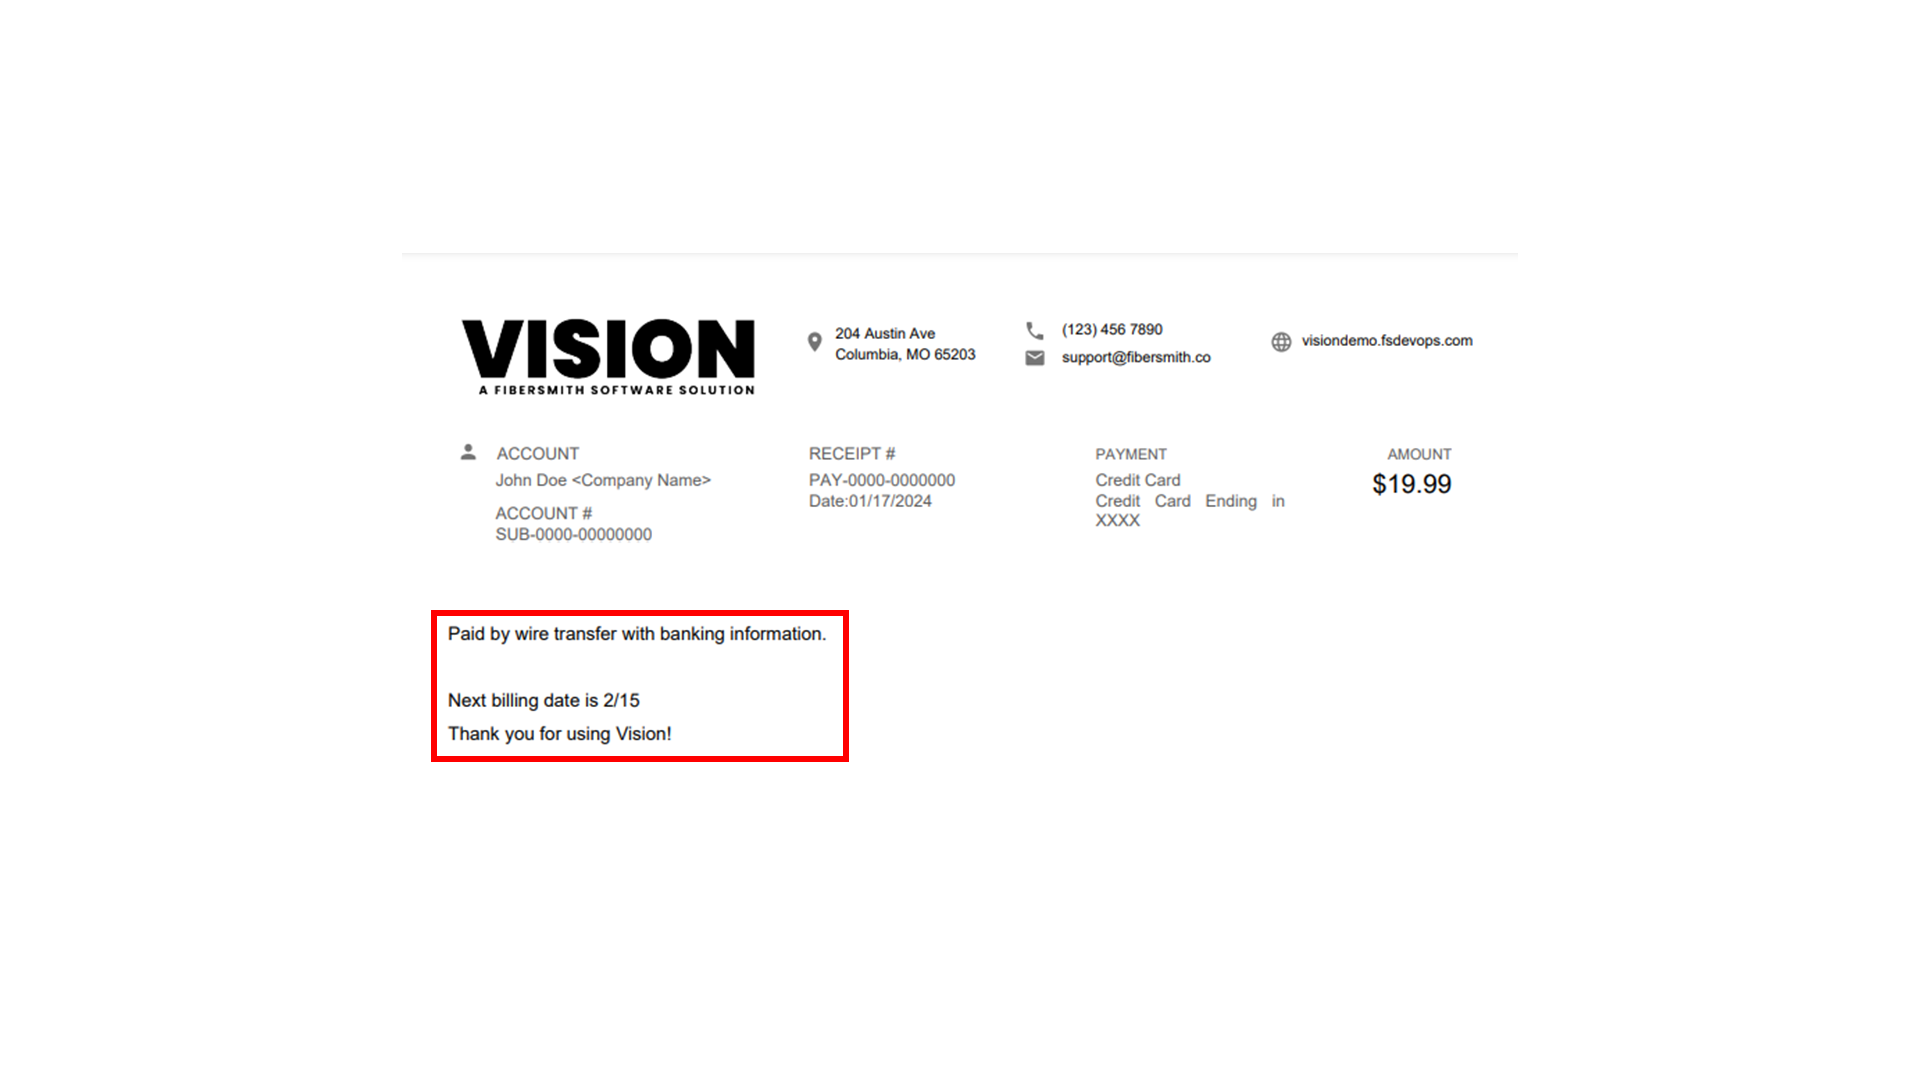
When making an edit to a bill message, we highly reccommend using the Preview PDF button to see what the changes that were made will look like on the next receipt or invoice. This function will generate a preview of the PDF so you be able to double check the information looks correct before sending out to subscribers.
Payment/Credit Receipt PDF
Invoice PDF


Bill Message Placement
Bill message locations can be customized within your tenant settings, allowing your team to control where bill messages appear on invoices and statements.
This setting is not available for direct tenant-side configuration. To update or enable custom bill message locations for your tenant, please contact Vision Support.