Subscriber - Locations
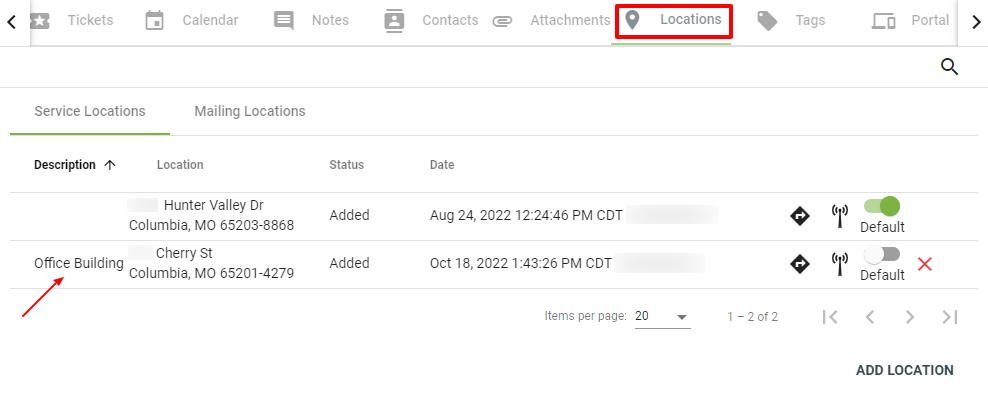
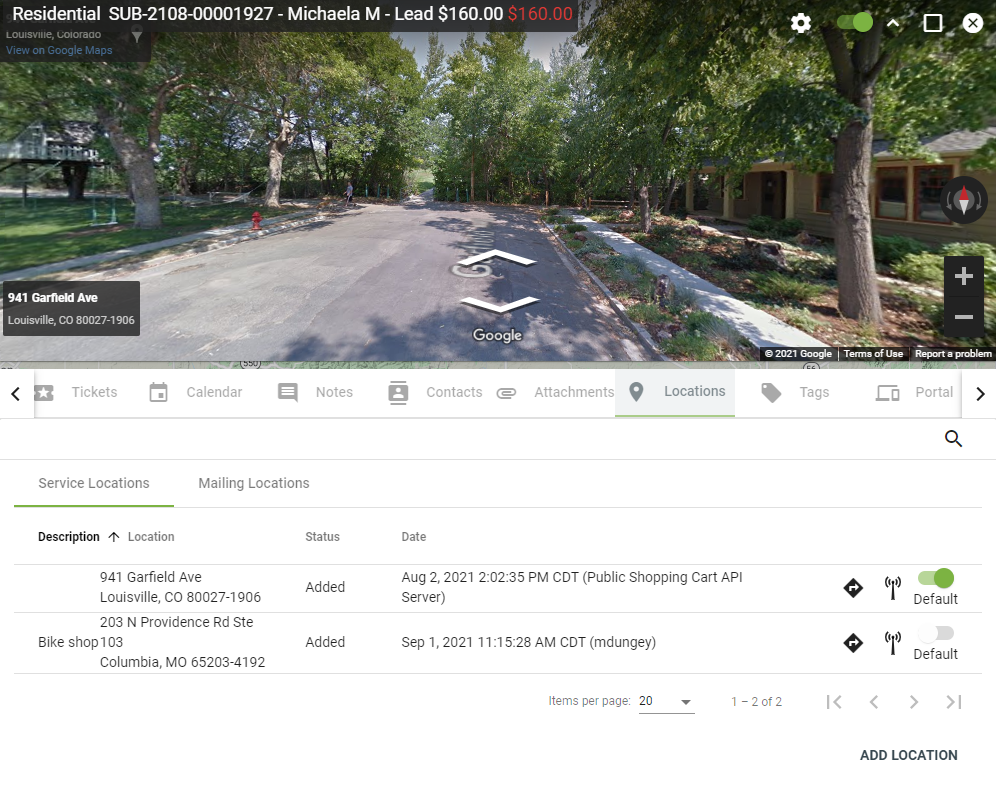
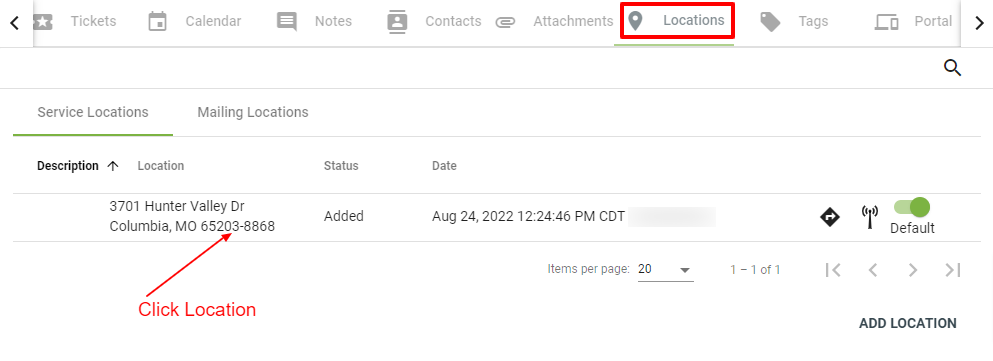
The Locations tab shows all physical Locations for the Subscriber's account. This is an important tab for business accounts or anyone that has multiple service Locations or mailing addresses.
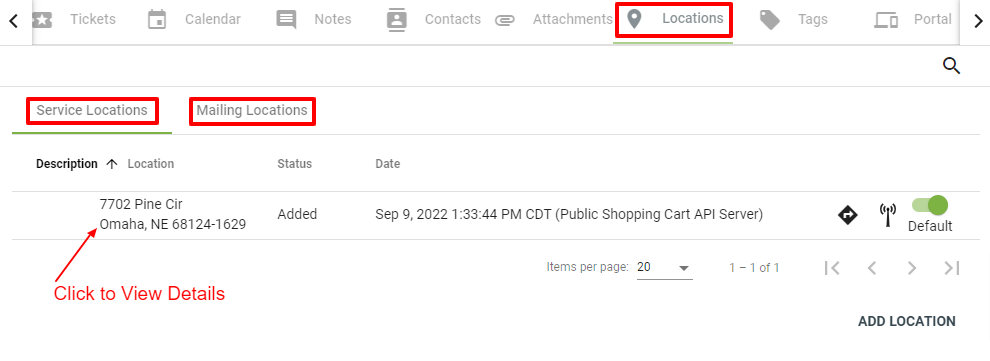
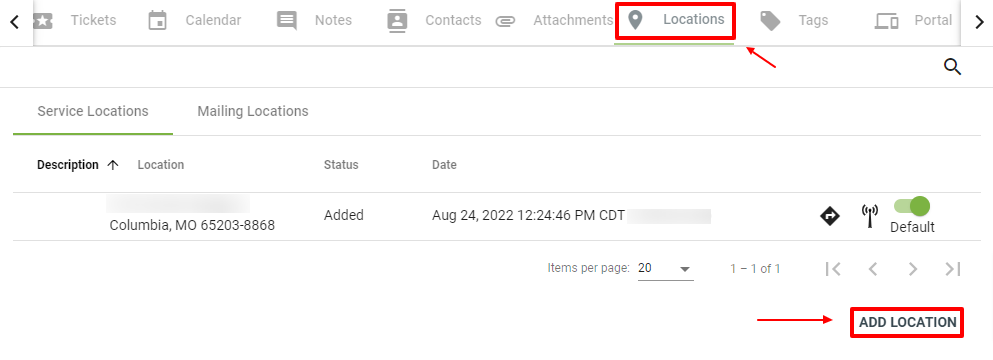
Here you'll see separate tabs for Service Locations and Mailing Locations. A Subscriber may use a different location rather than their Service Location to receive their invoice/bill for example. Those addresses would be listed under the Mailing Location tab.
To view all locations associated with an account, click on the Location tab.
(Toggle the slider 
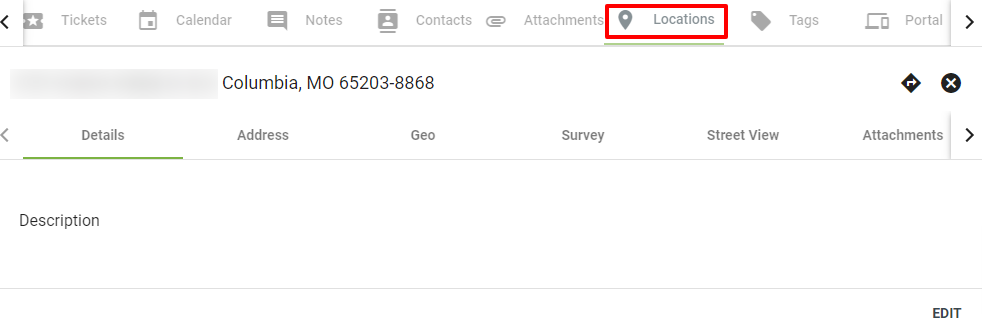
Click the address line item, then from there click on a tab under the location to view a variety of details about that specific location.
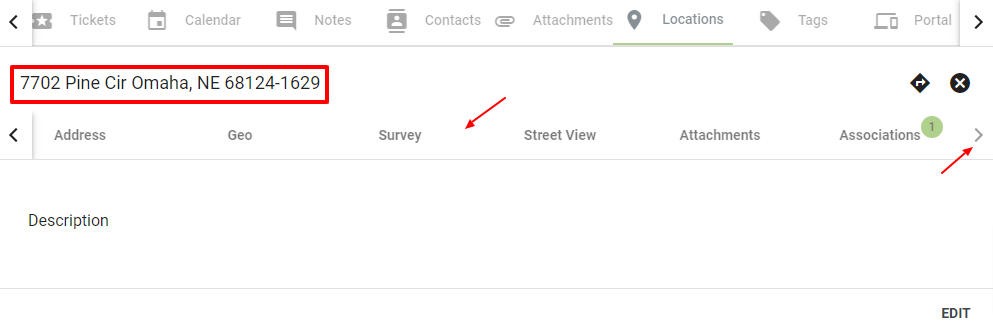
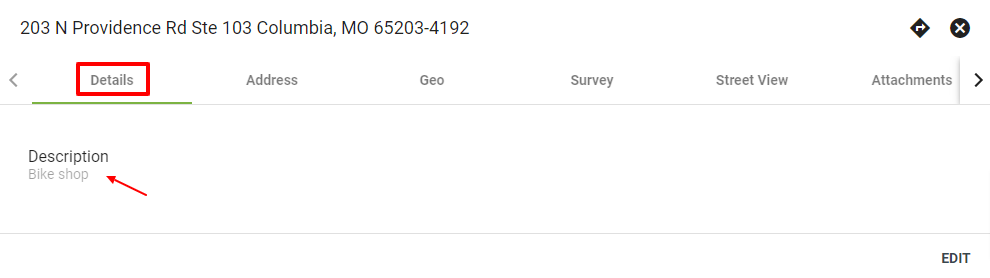
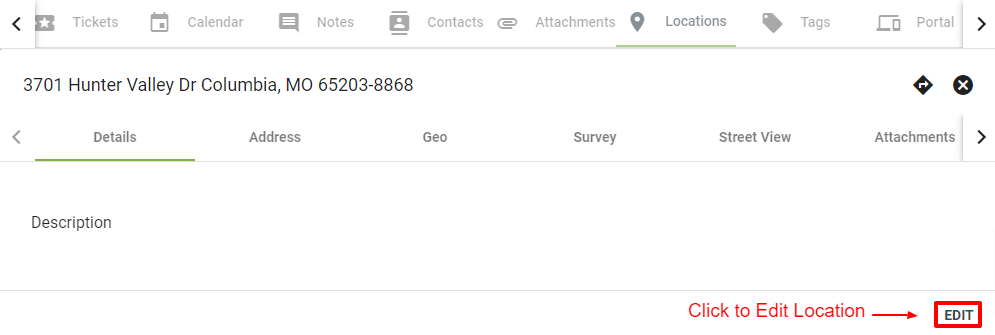
The Details tab displays a description of the location. This can be information like a description of a business at the address, a family member's home or a satellite office.
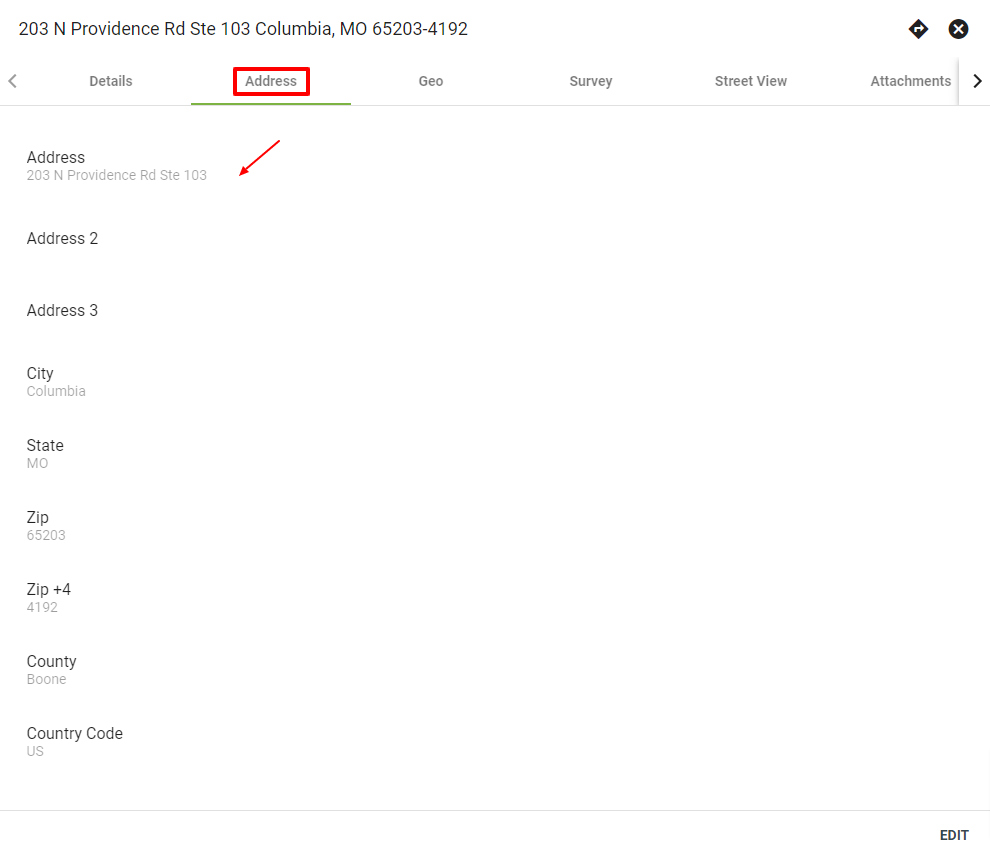
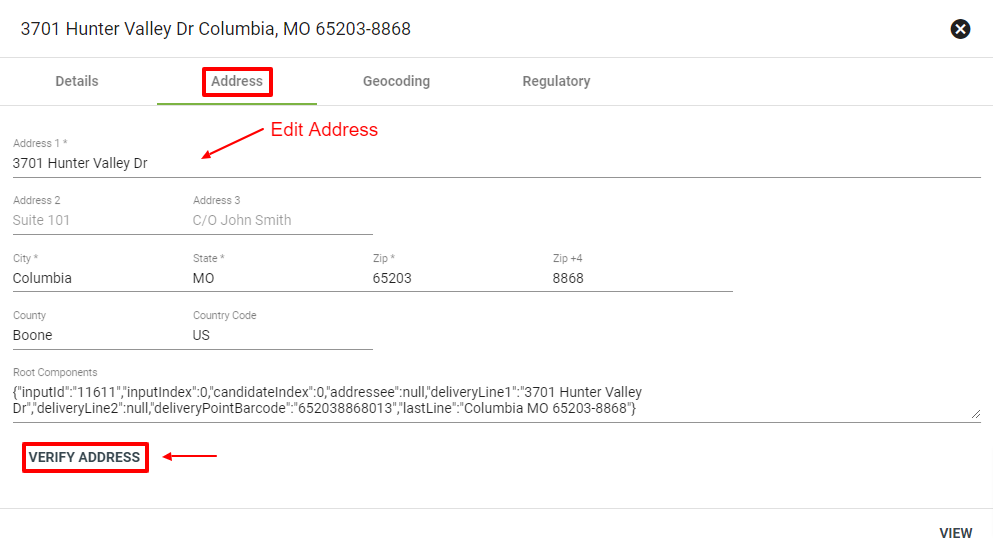
The Address tab lists the address specifics of the location.
The Geo tab lists the location's exact geolocation, including the latitude and longitude of the address.

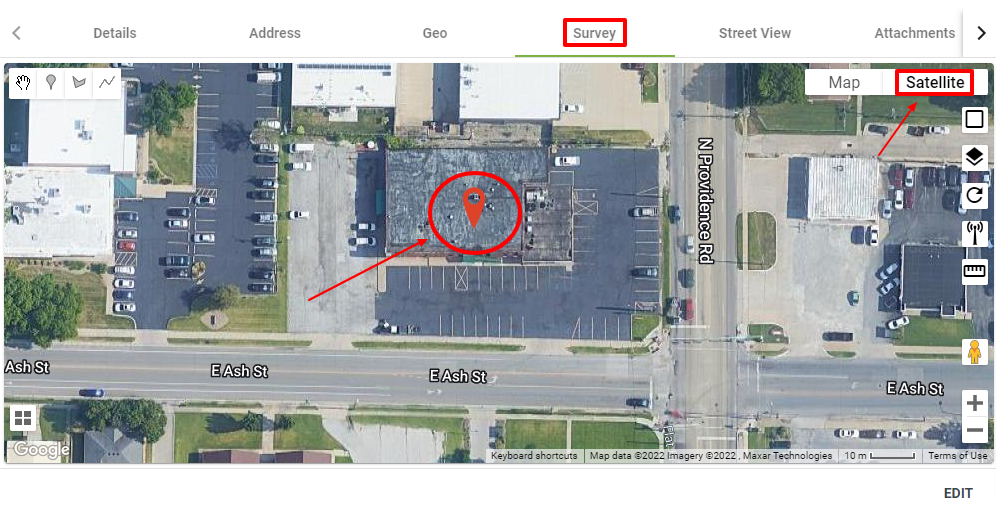
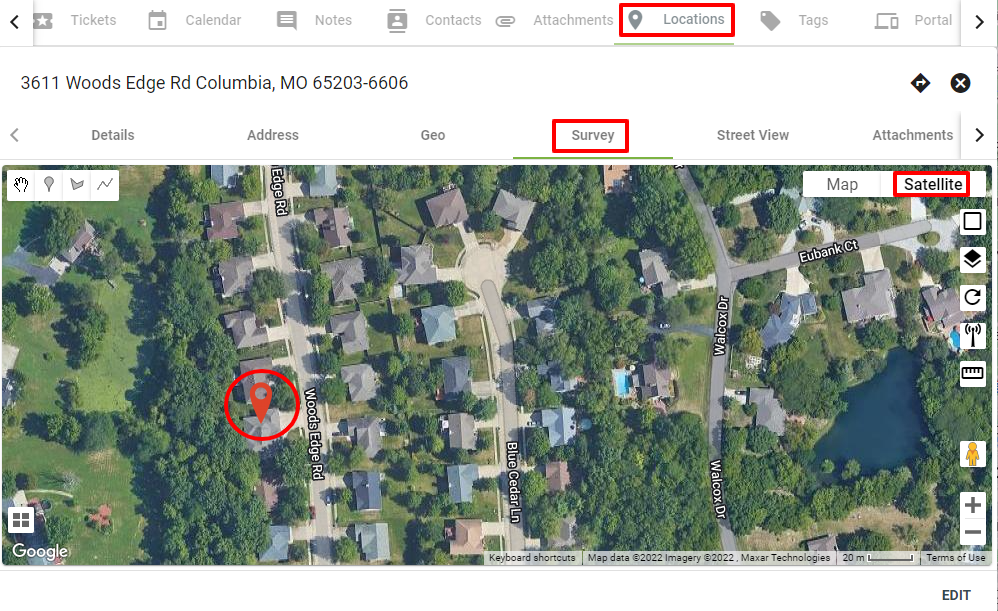
The Survey tab displays the exact rooftop location of the location. To view the rooftop view select the Satellite button at the top right-hand corner.
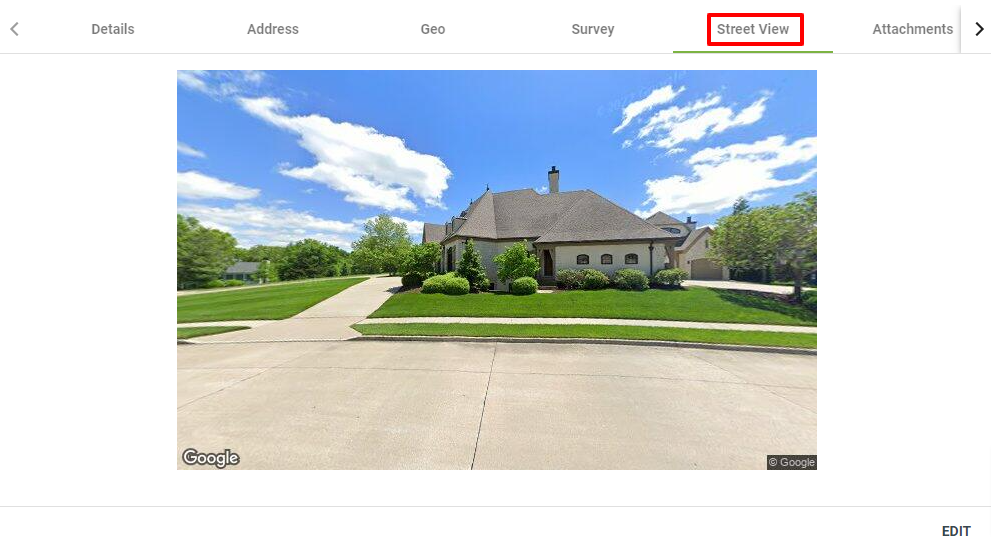
The Street View tab displays the Google street view image of the address.
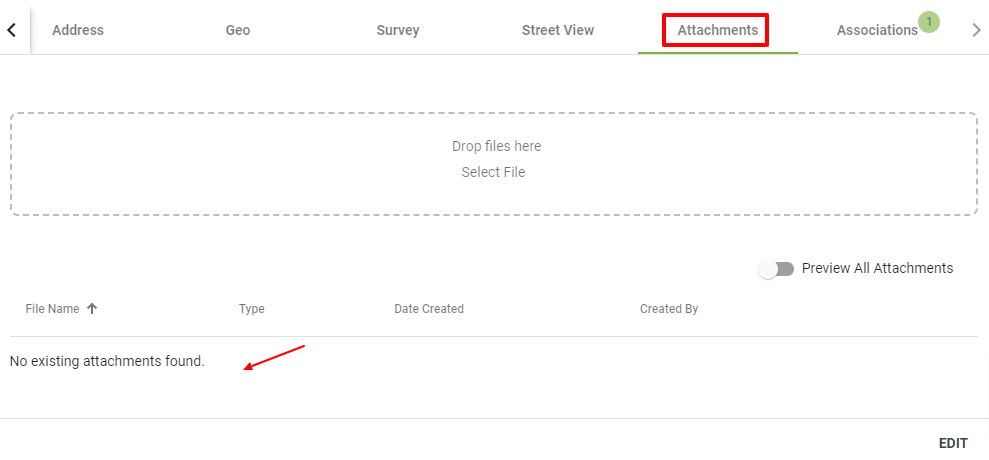
The Attachments tab will display any attached files that are associated with the location. This could be specific information about fiber drop information to that address. Attaching any photos or documents to the location ensures that this information will always be associated with the location, rather than the subscriber. This way, if a subscriber relocates, the drop information will still be attached to that location.
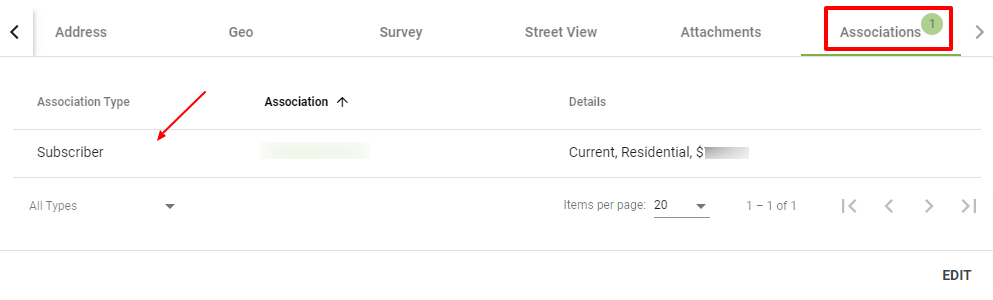
The Associations tab displays other subscribers that are or have been associated with the location.
Edit Location
To edit a location, click on the Locations tab on the Subscriber Account. The click on the address line.
Select EDIT in the bottom right-hand corner to edit the Address Details and Address.
Click the Address tab to edit the address. Then Click VERIFY ADDRESS. The system needs to verify an address change you are making to be sure there is not a duplicate, and to make sure it is not a junk address.
Click the new address to verify.
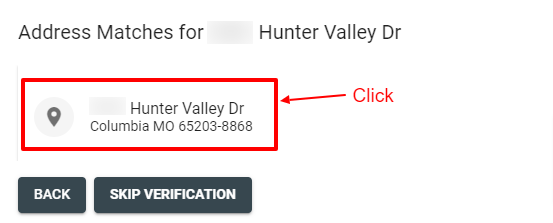
Confirm the new address change and then select CONFIRM ADDRESS.

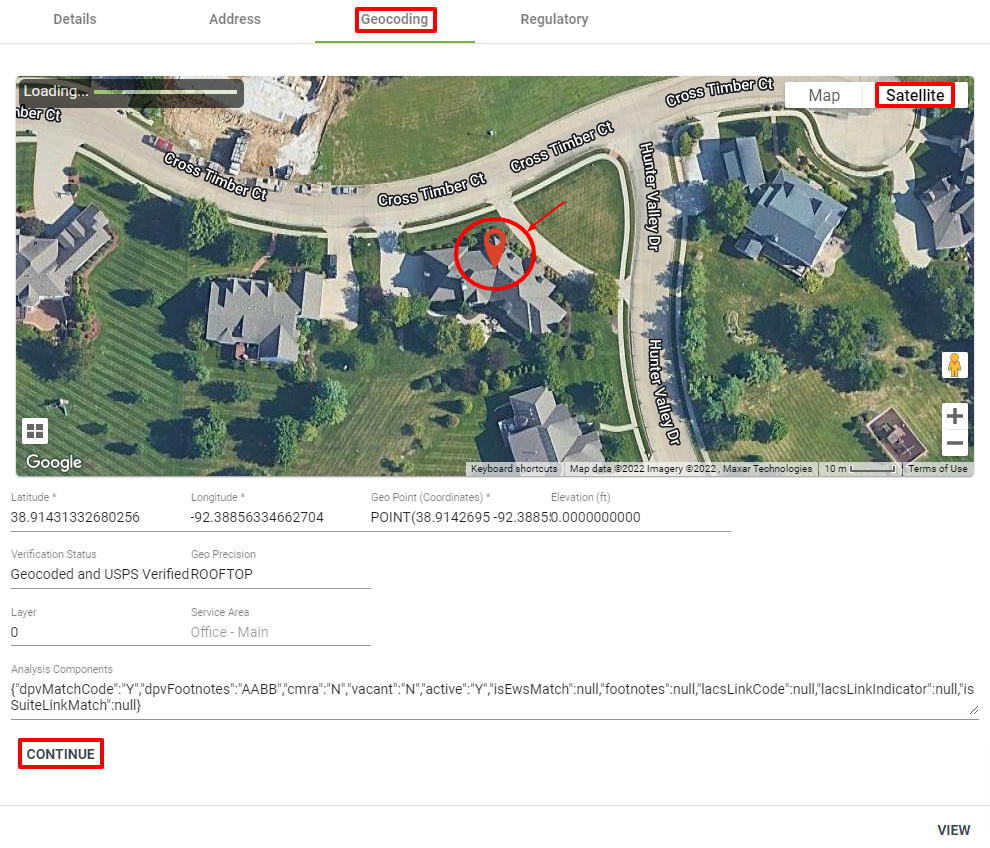
It will then prompt you to verify the geocoding. Select the Satellite view. Then confirm the accurate rooftop location, you can drag and move the pin if needed. Then click CONTINUE.
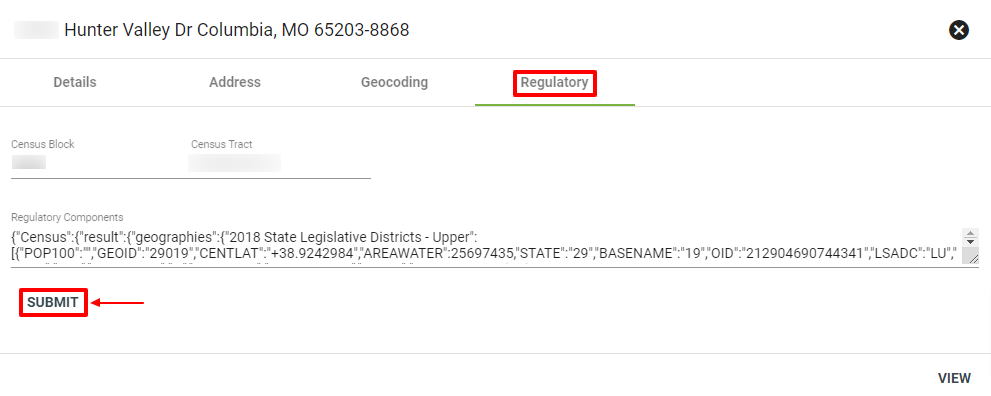
Confirm correct regulatory information and click SUBMIT.
The system will bring you back to the View Address section with the new address change.
Move a Pin Location
To move a location pin, navigate to the Subscriber’s Account Page and select the locations tab. Once on the location page, select the location and click the survey tab. Using the map, drag the pin to the correct rooftop. You’ll be prompted to confirm you want to save the coordinates to the new location, select YES.
Subscriber’s Page > Locations Tab > Select Location > Survey Tab > Satellite View > Move Pin
*Note that you do not need to click the Edit button, just the survey tab and then move the pin.
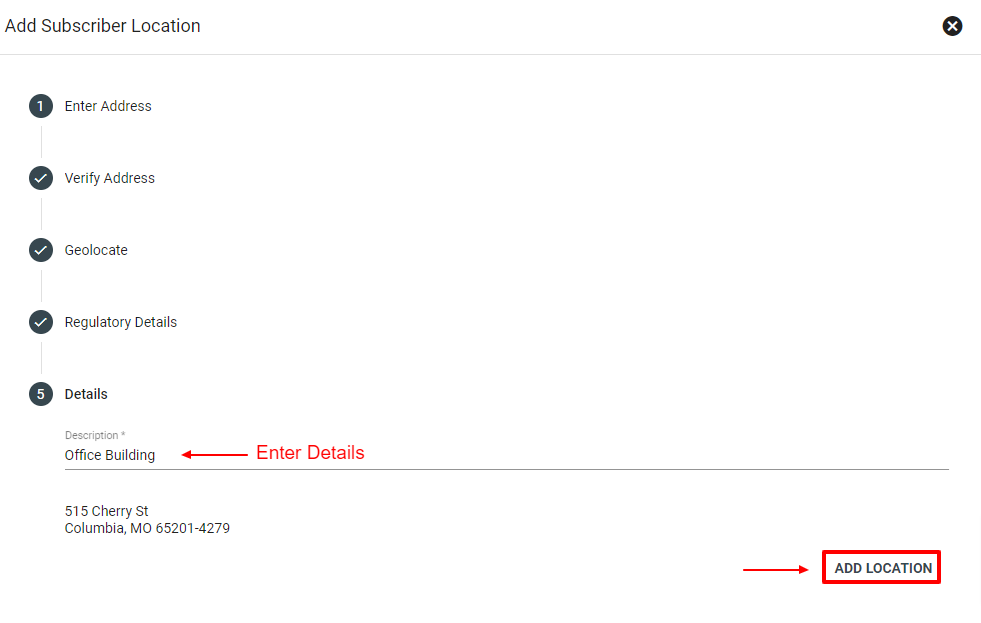
Add a Location
To add an associated location, select the Locations tab from a Subscriber Account. Then click ADD LOCATION in the lower right-hand corner.
Enter an address then click CONTINUE.
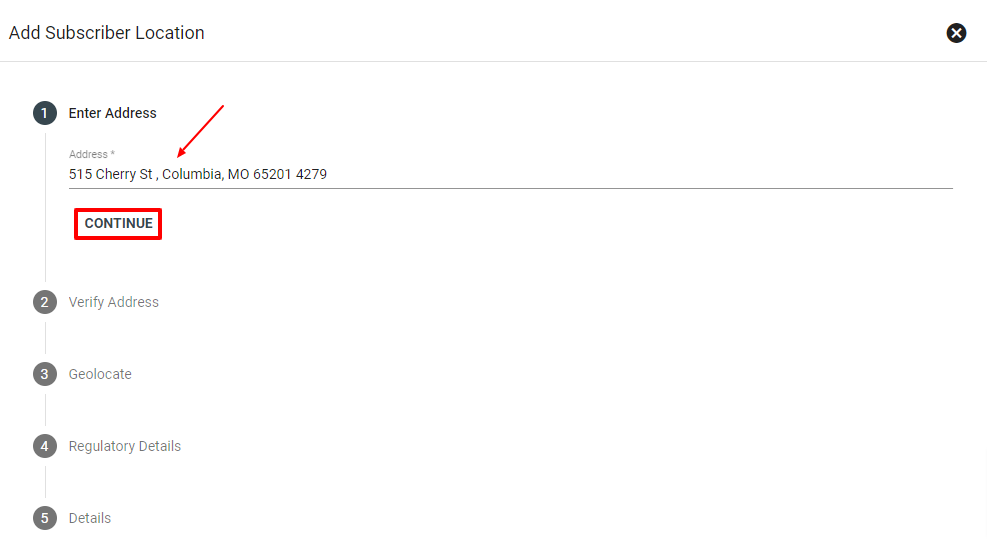
Verification of the Location is only required if the address is new to Vision. Finally, enter a description of the Location, then click ADD LOCATION.
Now you can view the new location under the Service Locations.