Authorization
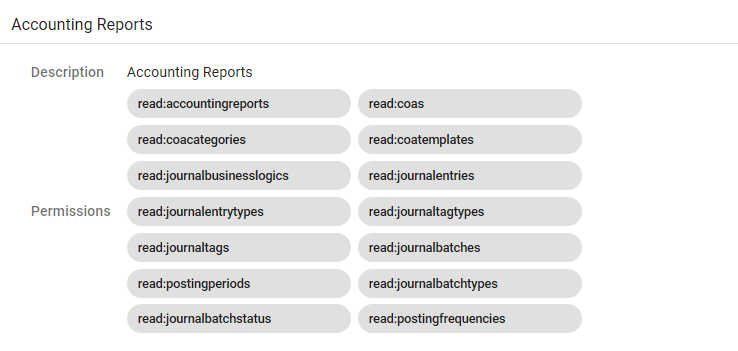
The Authorization page under Admin Utilities will be your “go to” as you are onboarding your team into Vision. The Authorization page allows admins to view, edit, and add user groups and roles. Grouping users and assigning roles helps your team work more efficiently in Vision together. The permissions set on the authorization page will give access to your employees to be able to view certain items in Vision. For example, you will want your customer service team to be in a group and have access to subscriber information. All new users added into the system will receive basic Vision user permissions. Additional group assignments are then made by an admin. Learn more about Adding a New User here.
Add a New Group
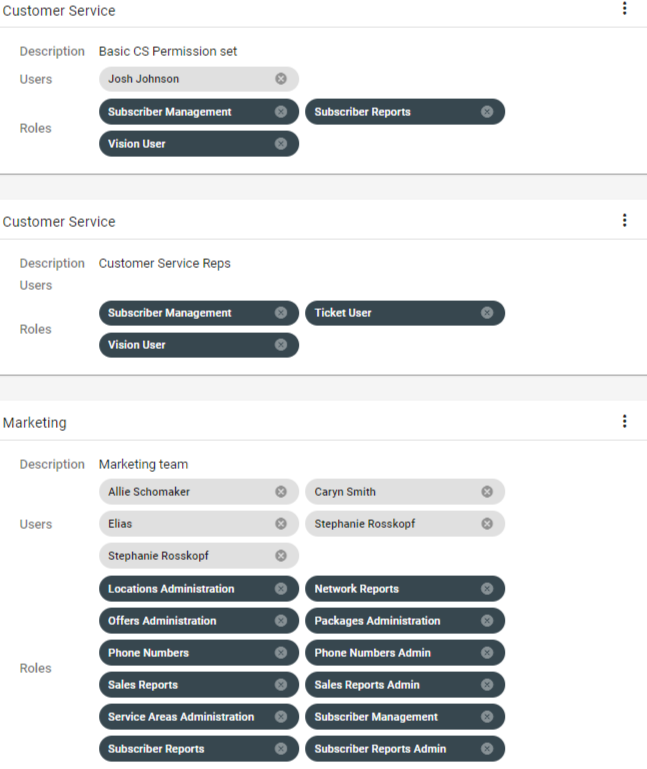
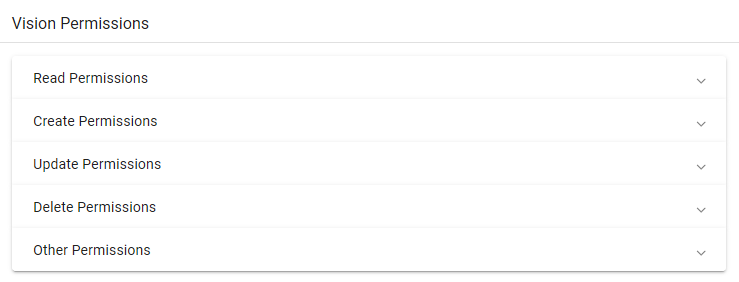
Groups will be displayed in alphabetical order. Displayed will be a description, assigned users, and roles. Roles and permissions can be viewed by clicking on their corresponding tabs at the top of the page.
To add a new group, click on the floating action button
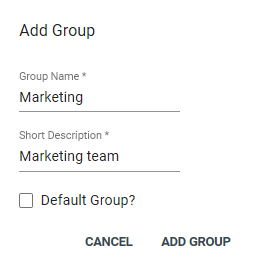
Add a name and description for the group. Check Default Group? if you would like newly created users to be automatically added. When finished, click ADD GROUP. We're now ready to add users and roles to the new group.
Assign Users to a Group
Click
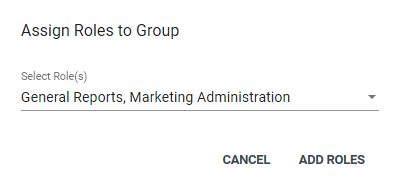
Add Roles to a Group
Click
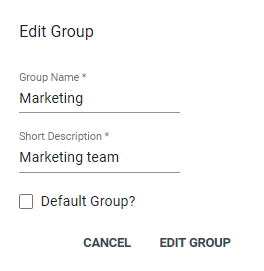
Edit a Group
Click

