Users
Admin Permission Area
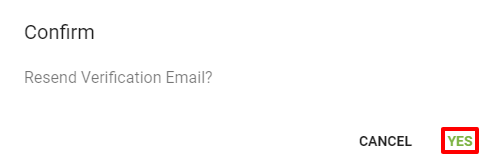
The Users page within Admin Utilities is where administrators create and manage their employees' profiles. You will be able to see your employees’ contact information and task assignments. For any reason you can always go back in and edit someone’s information. When you add a new user, they will receive a verification email. Once they are verified, you can confirm that on the Users page. If for some reason they did not receive that email have them look in their spam folder or you can resend a verification email. Once a new user has been added into the system, be sure to set up accurate permissions by assigning them to one or more groups. Learn more about Authorizations here.


View User
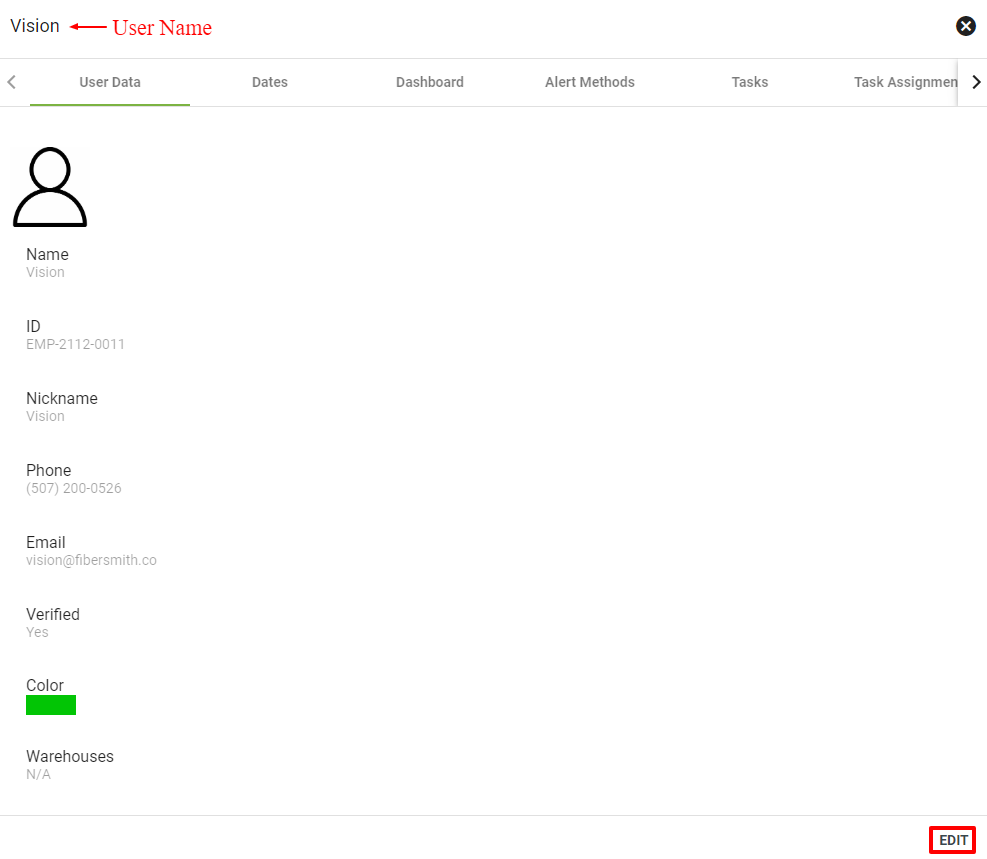
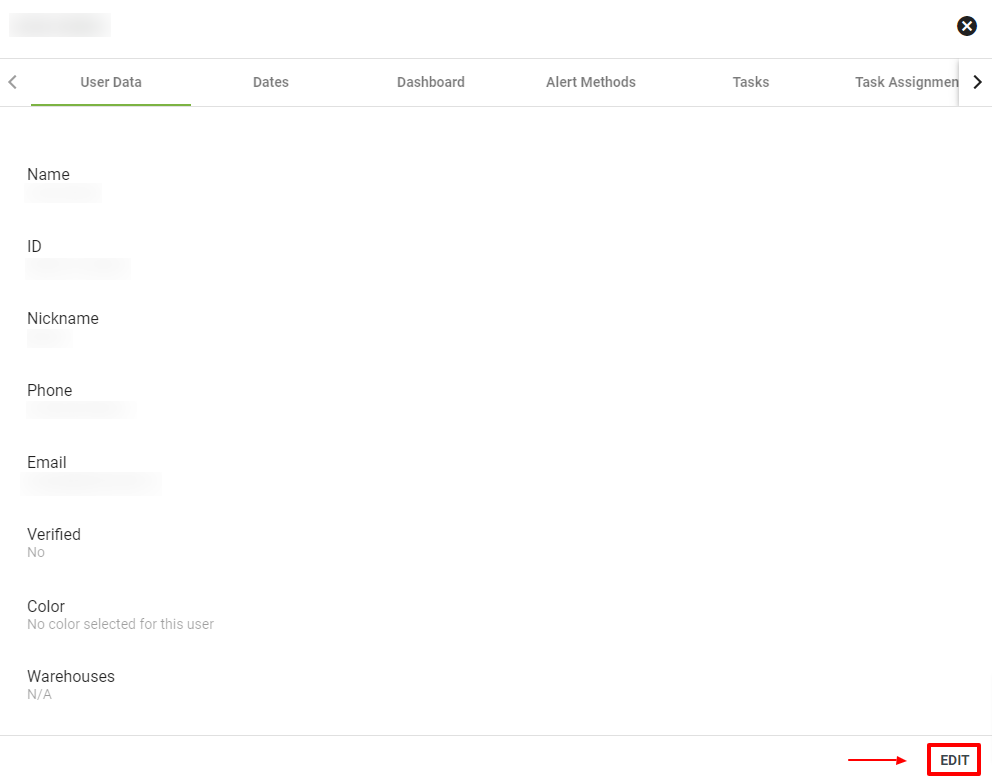
Click on a User to view more details. Here you can view:
- User Data - name, phone number, email, picture, associated color, etc.
- Dates - creation date, last login, number of logins, etc.
- Dashboard - the user's dashboard items
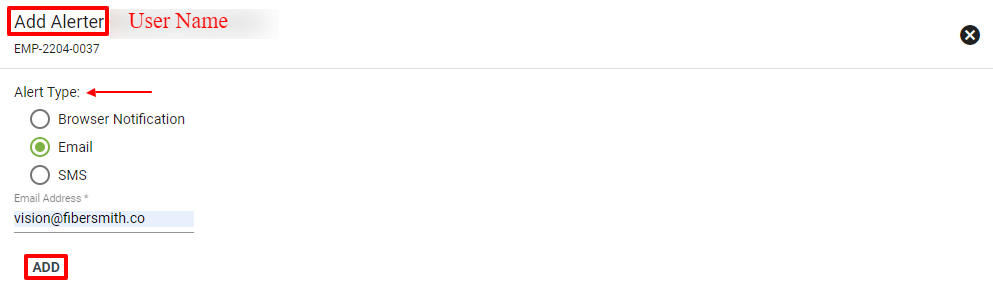
- Alert Methods - how the user gets alerts generated by Vision
- Tasks - specific tasks within a workflow that a user is assigned to
- Task Assignments - specific workflows that the user is assigned to
- Search Preferences - preferred search types
Click EDIT to make changes.
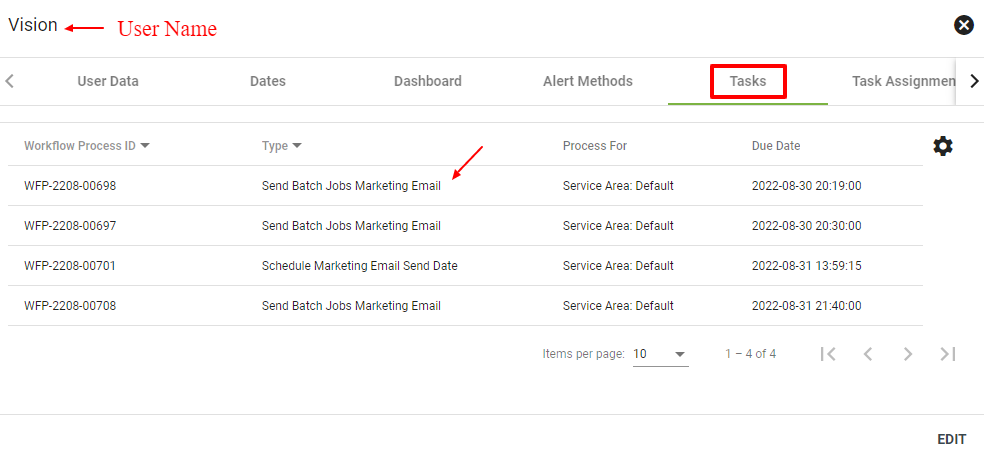
View Tasks and Task Assignments
Under the Tasks tab, view specific tasks that a user is assigned to within a workflow.
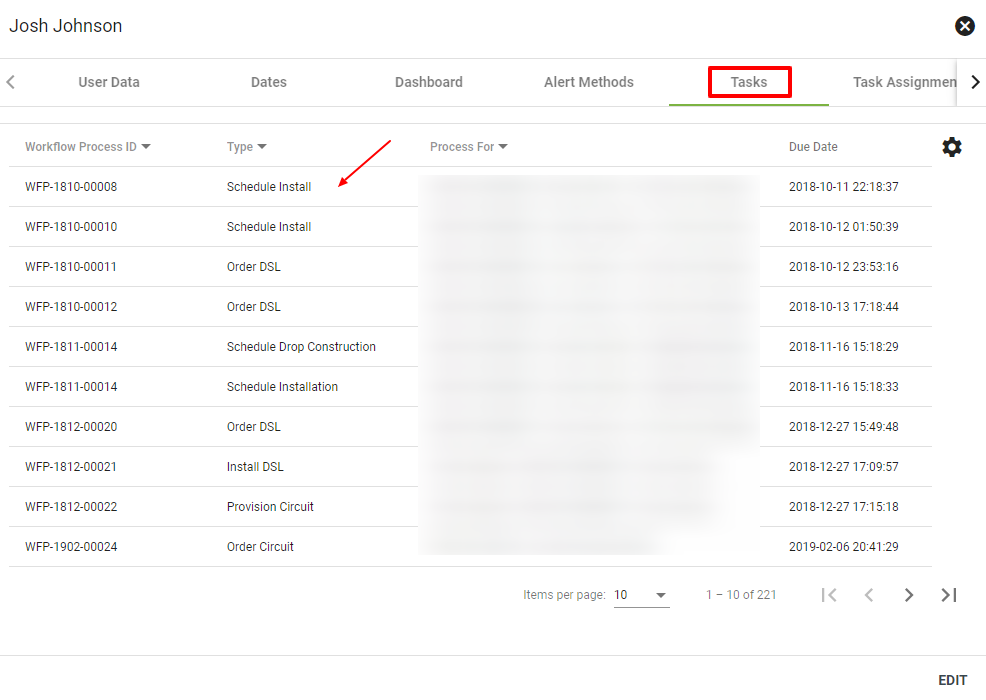
Click on a type to view the workflow details.
Example 1:
Example 2:
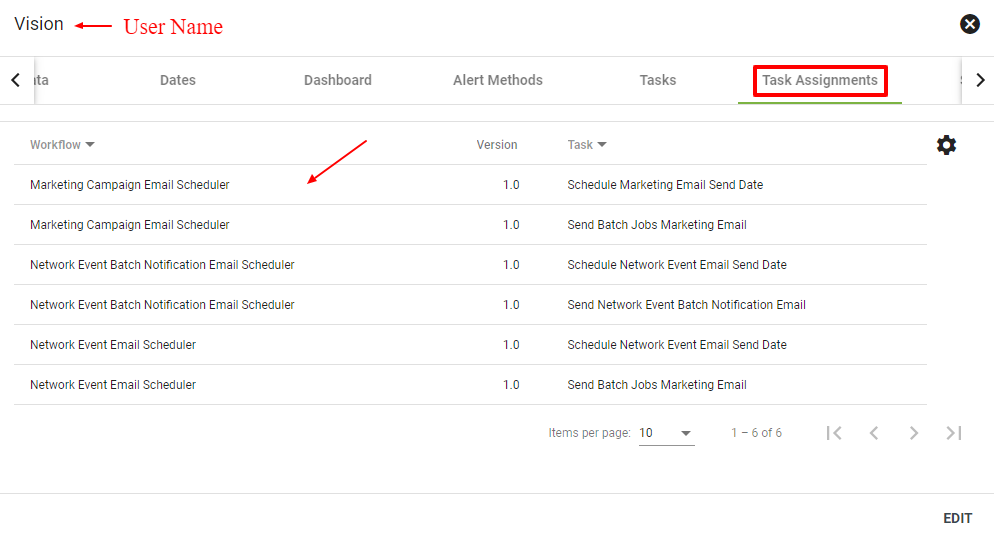
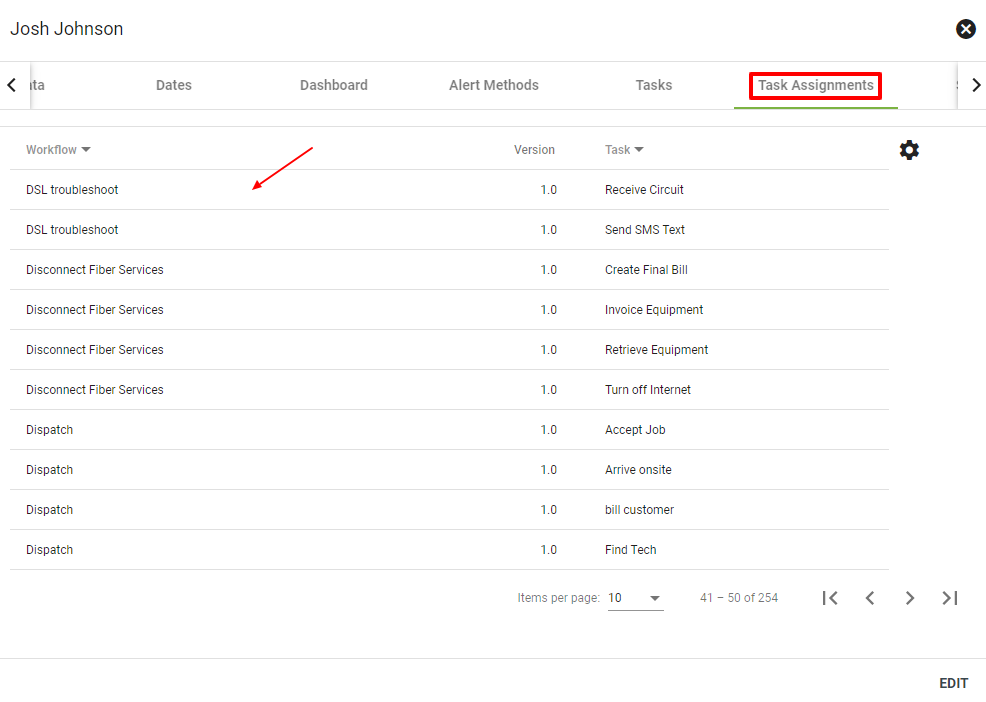
Under the Task Assignments tab, view the individual workflows that the user is assigned to.
Example 1:
Example 2:
Edit User / Resend Verification Email
To resend a verification email to a user, select Admin Utilities from the main menu. Then click Users. Then click on the specific user that needs the verification sent. Then click EDIT in the lower right-hand corner.
In Edit mode of a user account, click the FAB 

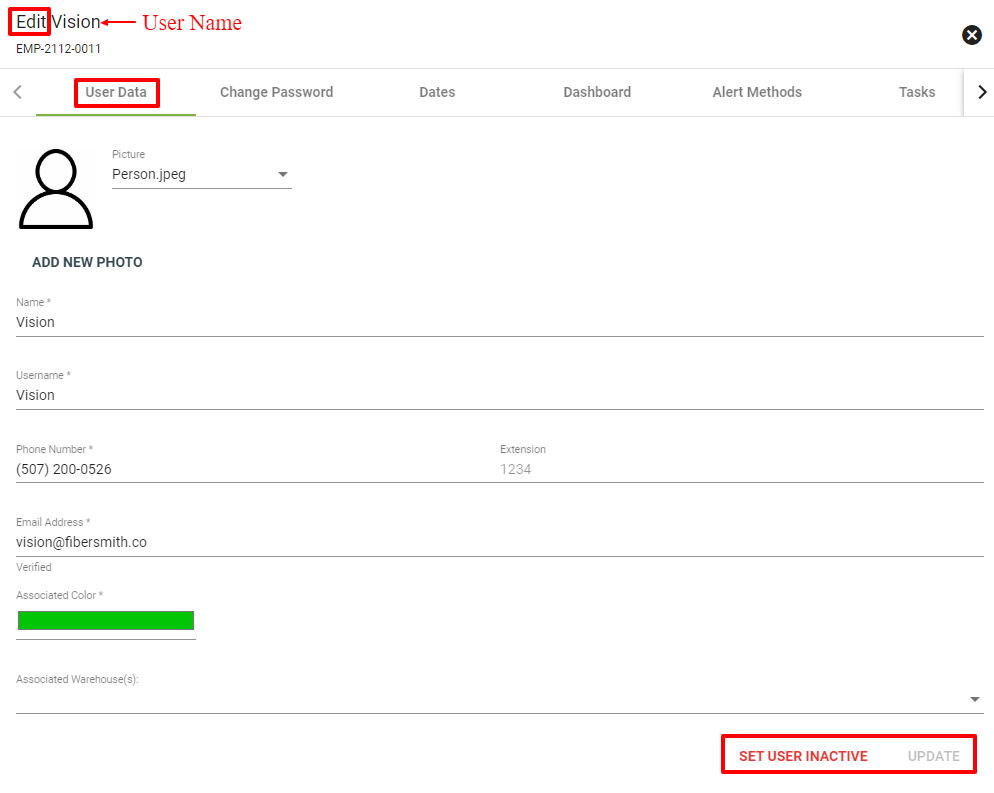
Under User Data you may update the user's system information such as their picture, and username, as well as associate a Warehouse.
Click UPDATE after making edits. Click SET USER INACTIVE to remove a user's access to the system.
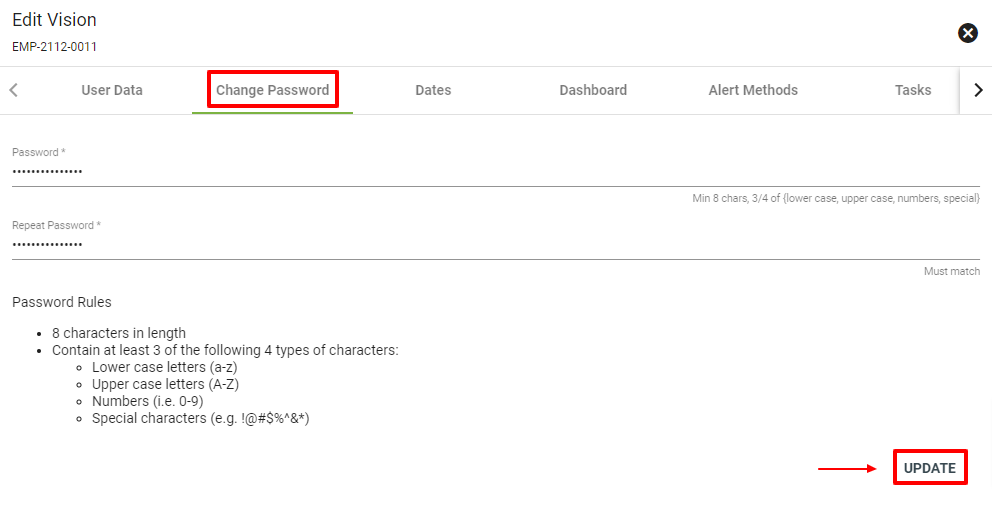
The Change Password tab allows you to reset the user's password. This action can also be completed by the user themselves under their User Settings or at the Login screen to trigger a Reset Password email.
The Dashboard tab allows you to select and update the available dashboards for a specific employee.
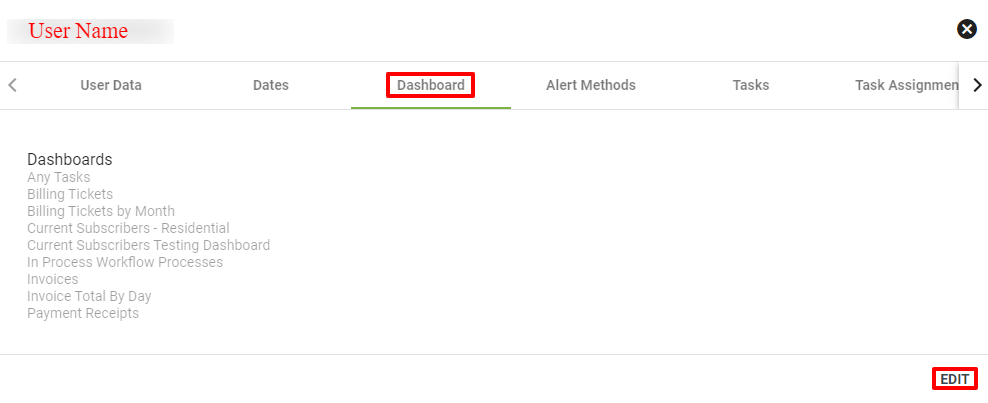
If the Dashboard tab is not displaying any available dashboards, verify that the user has the appropriate authorization to view the applicable dashboards.
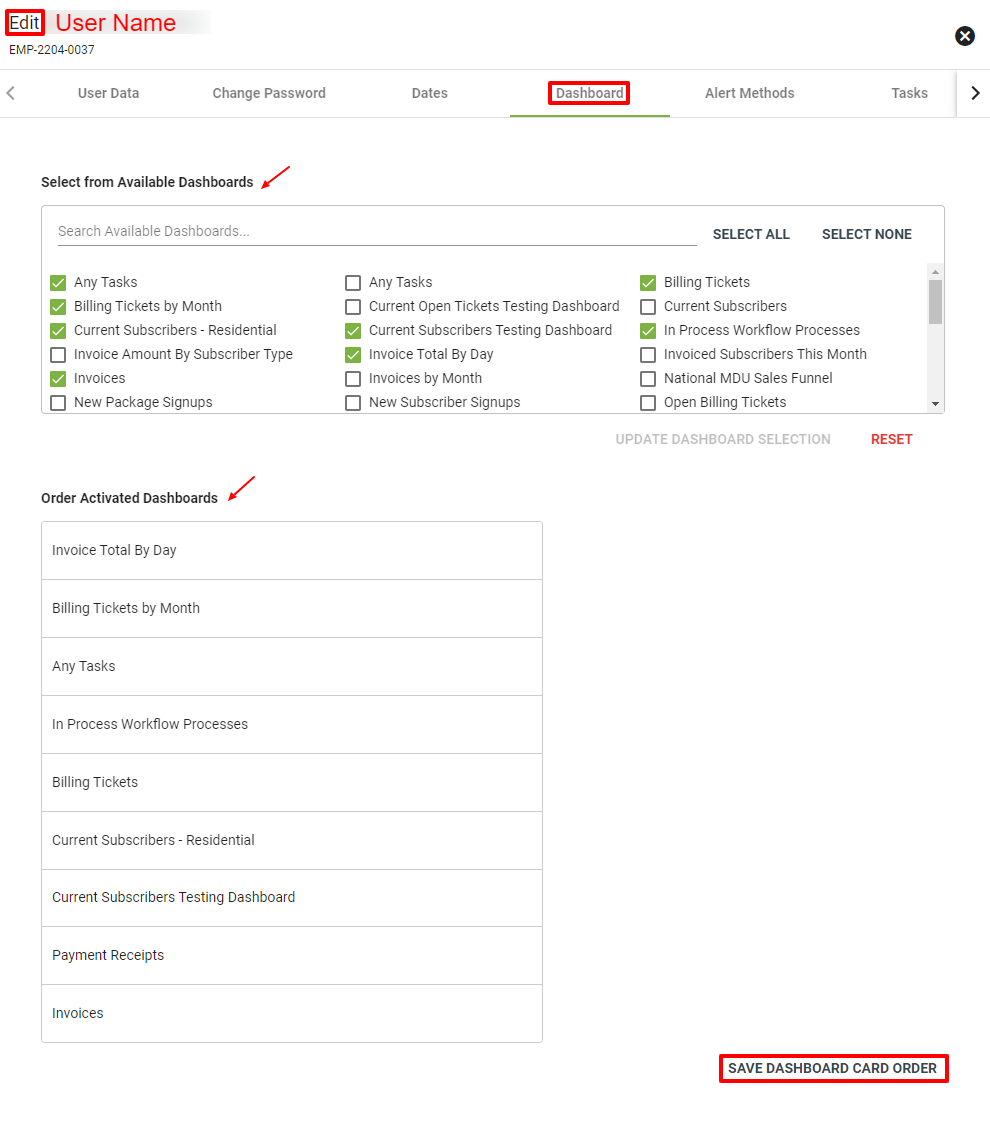
Select or deselect the applicable dashboards, then click UPDATE DASHBOARD SELECTION. To reset dashboard selections, click RESET.
Change how the dashboards are displayed by dragging and dropping them into a different order under Order Activated Dashboards.
Click SAVE DASHBOARD CARD ORDER to save the order of the cards.
Click the FAB 
Edit Tasks
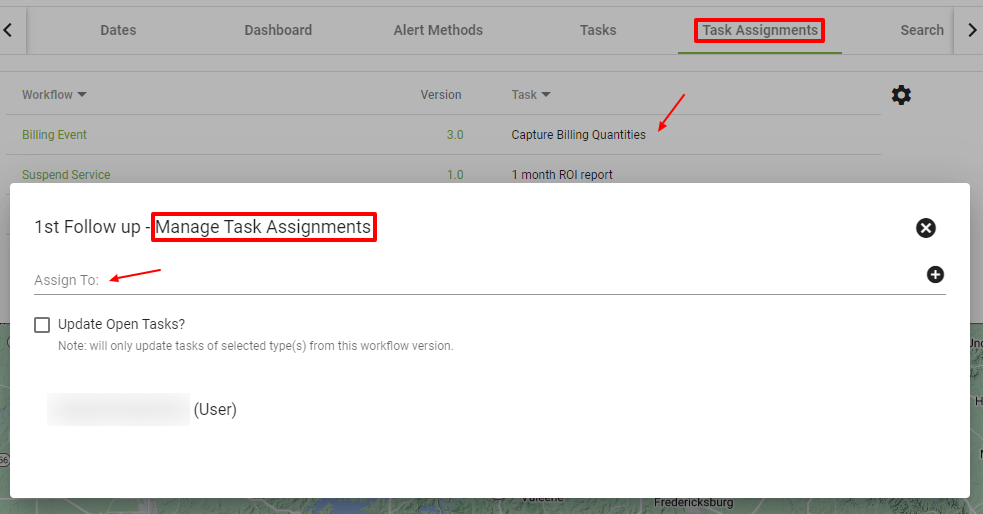
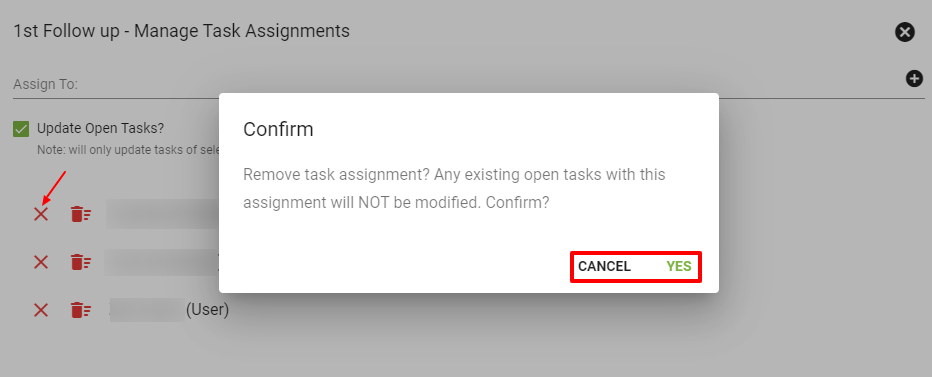
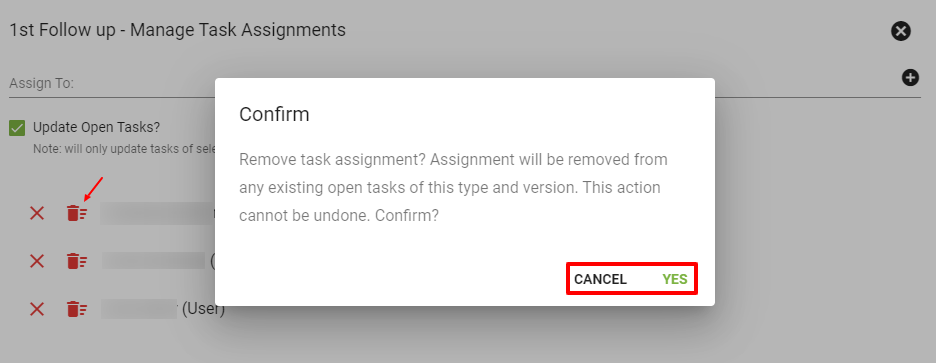
Select EDIT in the bottom right-hand corner of the User profile, then click on the Task Assignments tab.
Click on a line item under the Task column to view and add users to the task.
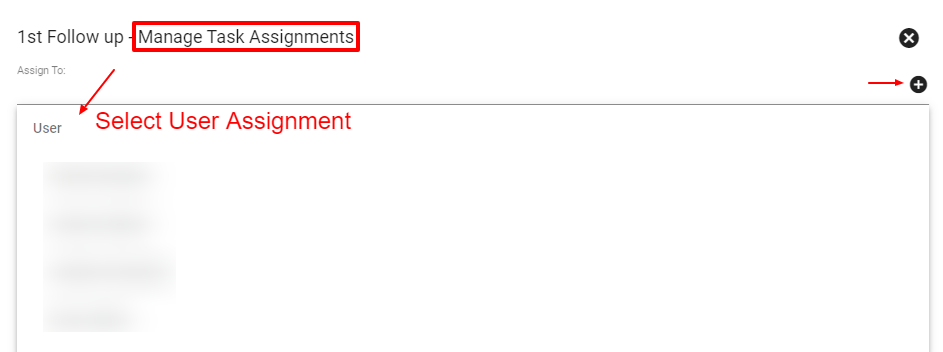
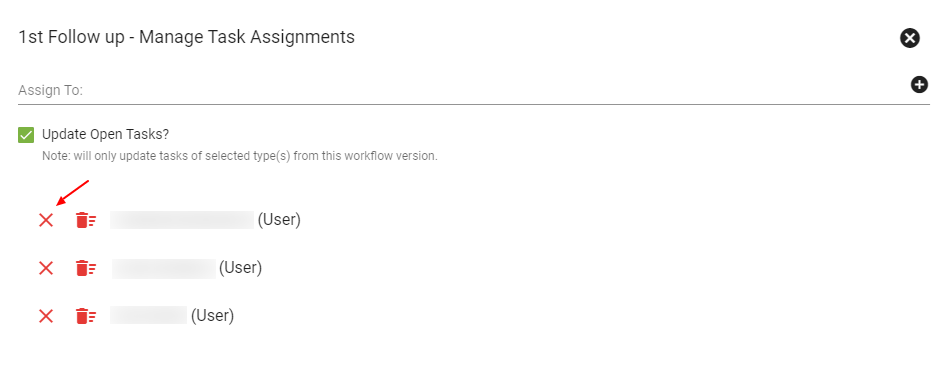
Click on the Assign To: drop down menu and select the Vision User to assign the task to. Multiple users can be assigned. Click the 
Add User
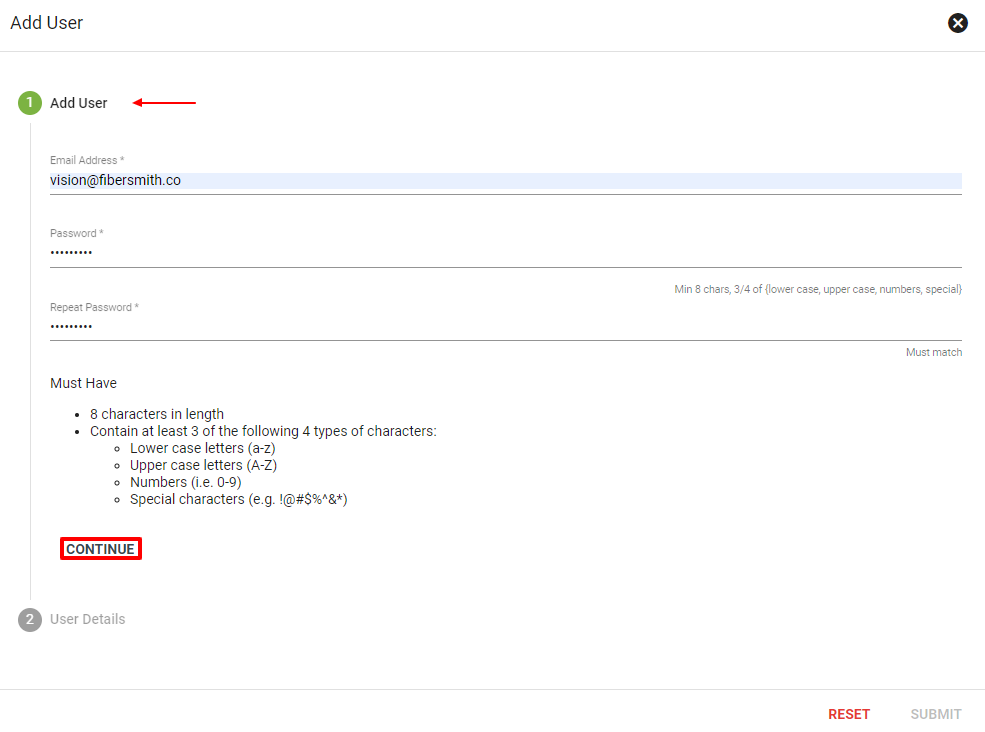
At the bottom right-hand corner of the User Employees page, click the FAB. Enter the user's email address then enter a password following the guidelines below. Then click CONTINUE.
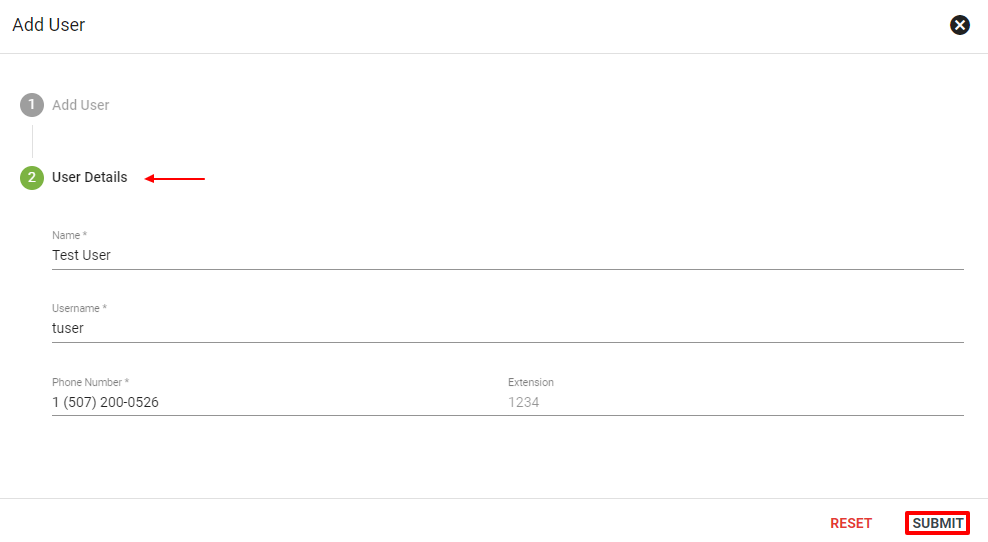
Enter user details and username, then click SUBMIT.
Reactivate a User
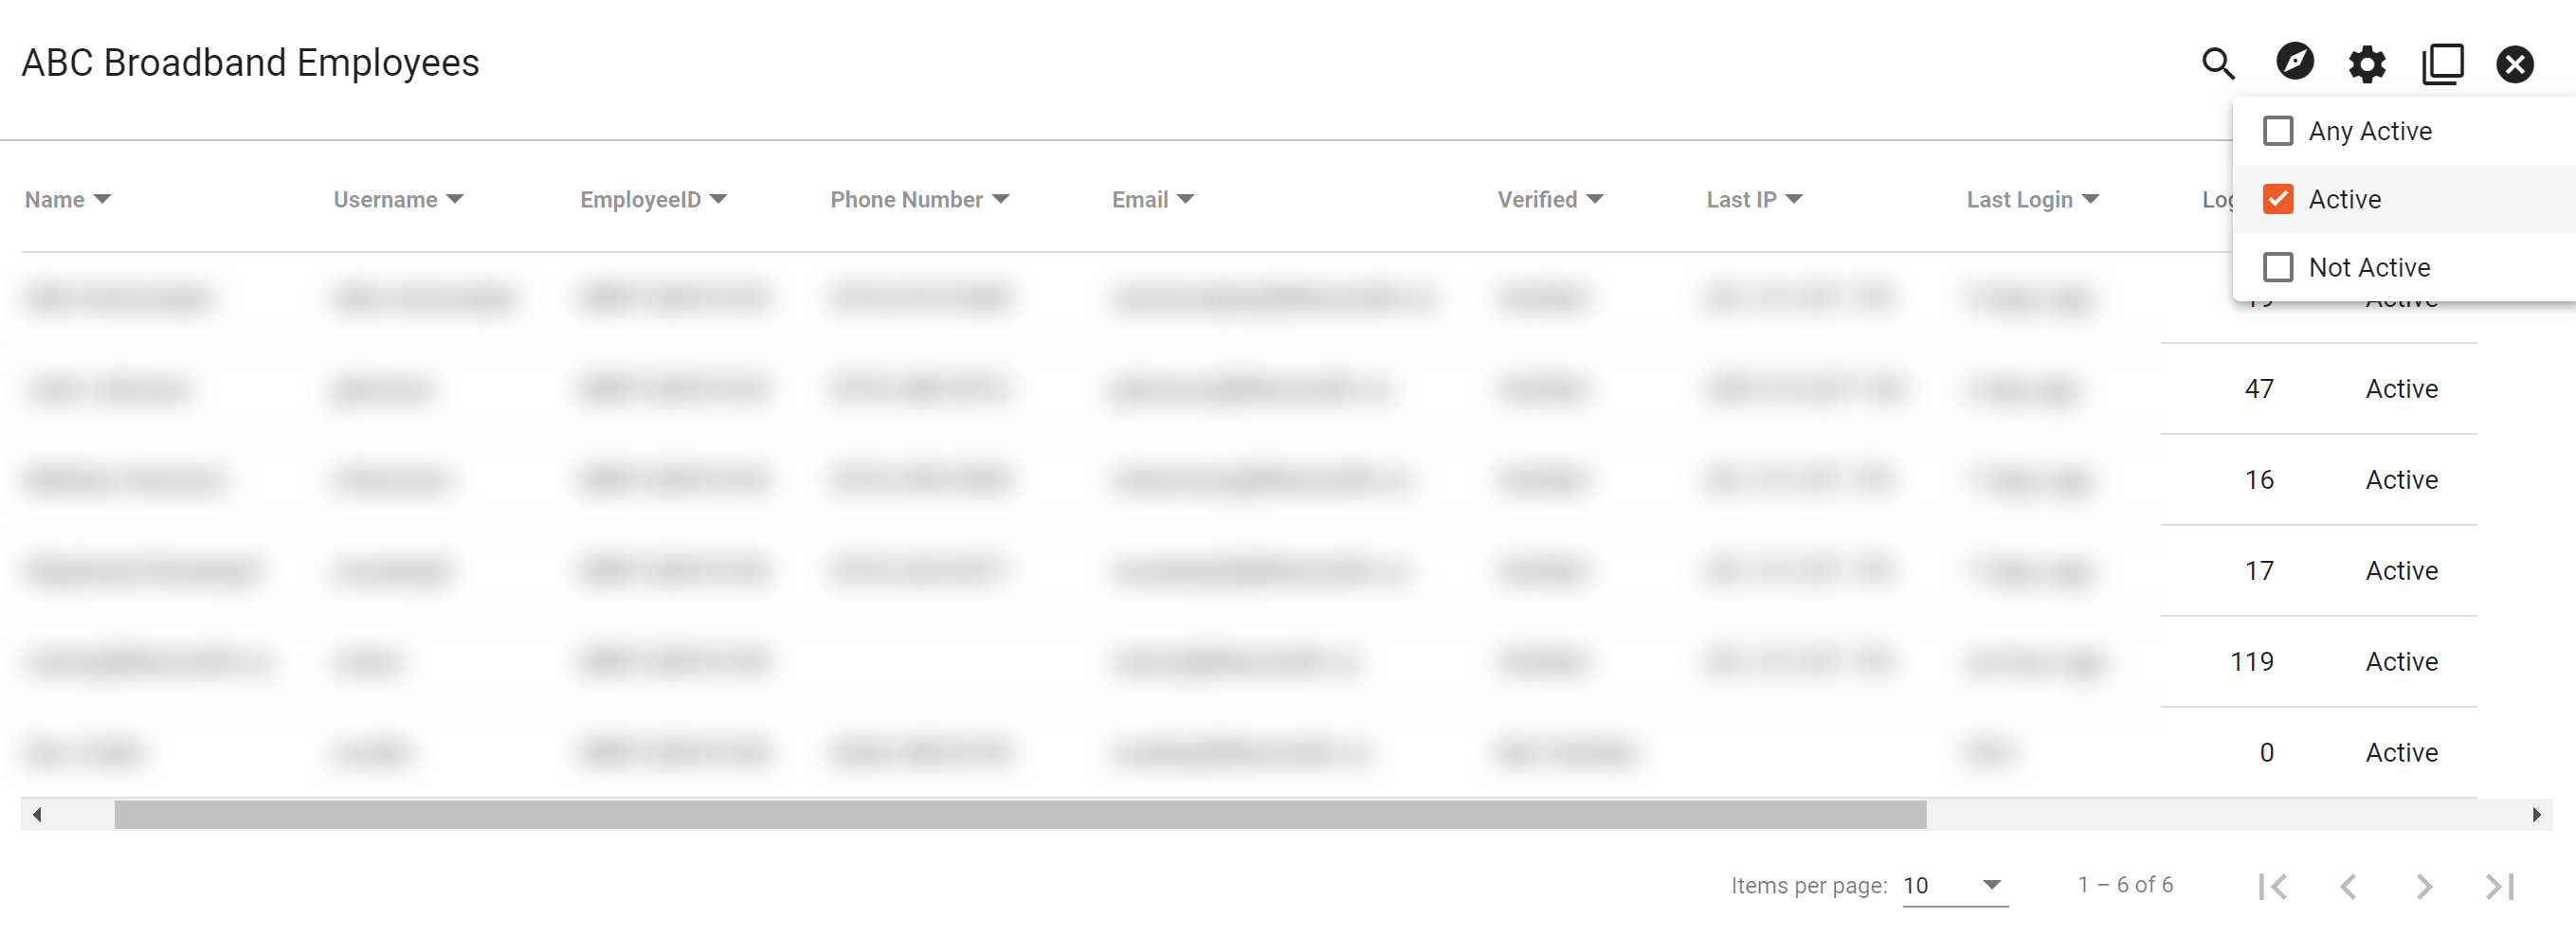
The list of users is defaulted to Active users and to see a user that was set as Inactive the column filter can be changed to view Not Active users.
After finding the User that needs to be reactivated click on the User and click Edit to change the status of the user. In the bottom right hand corner Click Set User Active to reactivate the user to the system
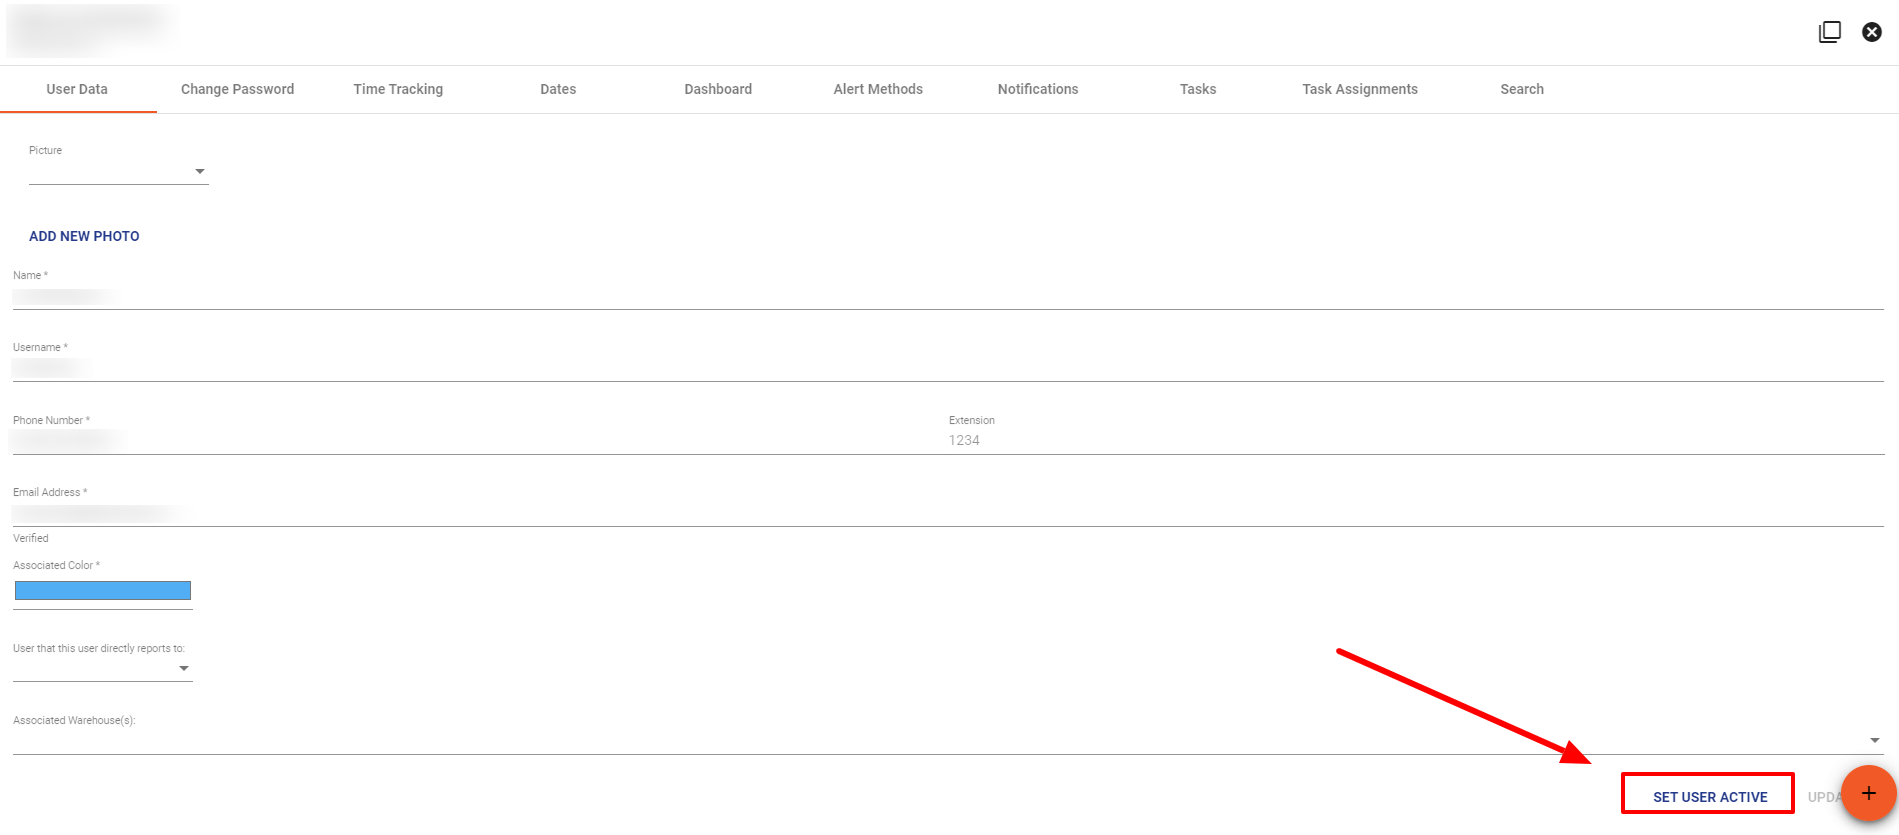
The User will now be able to use the system after setting them to active.
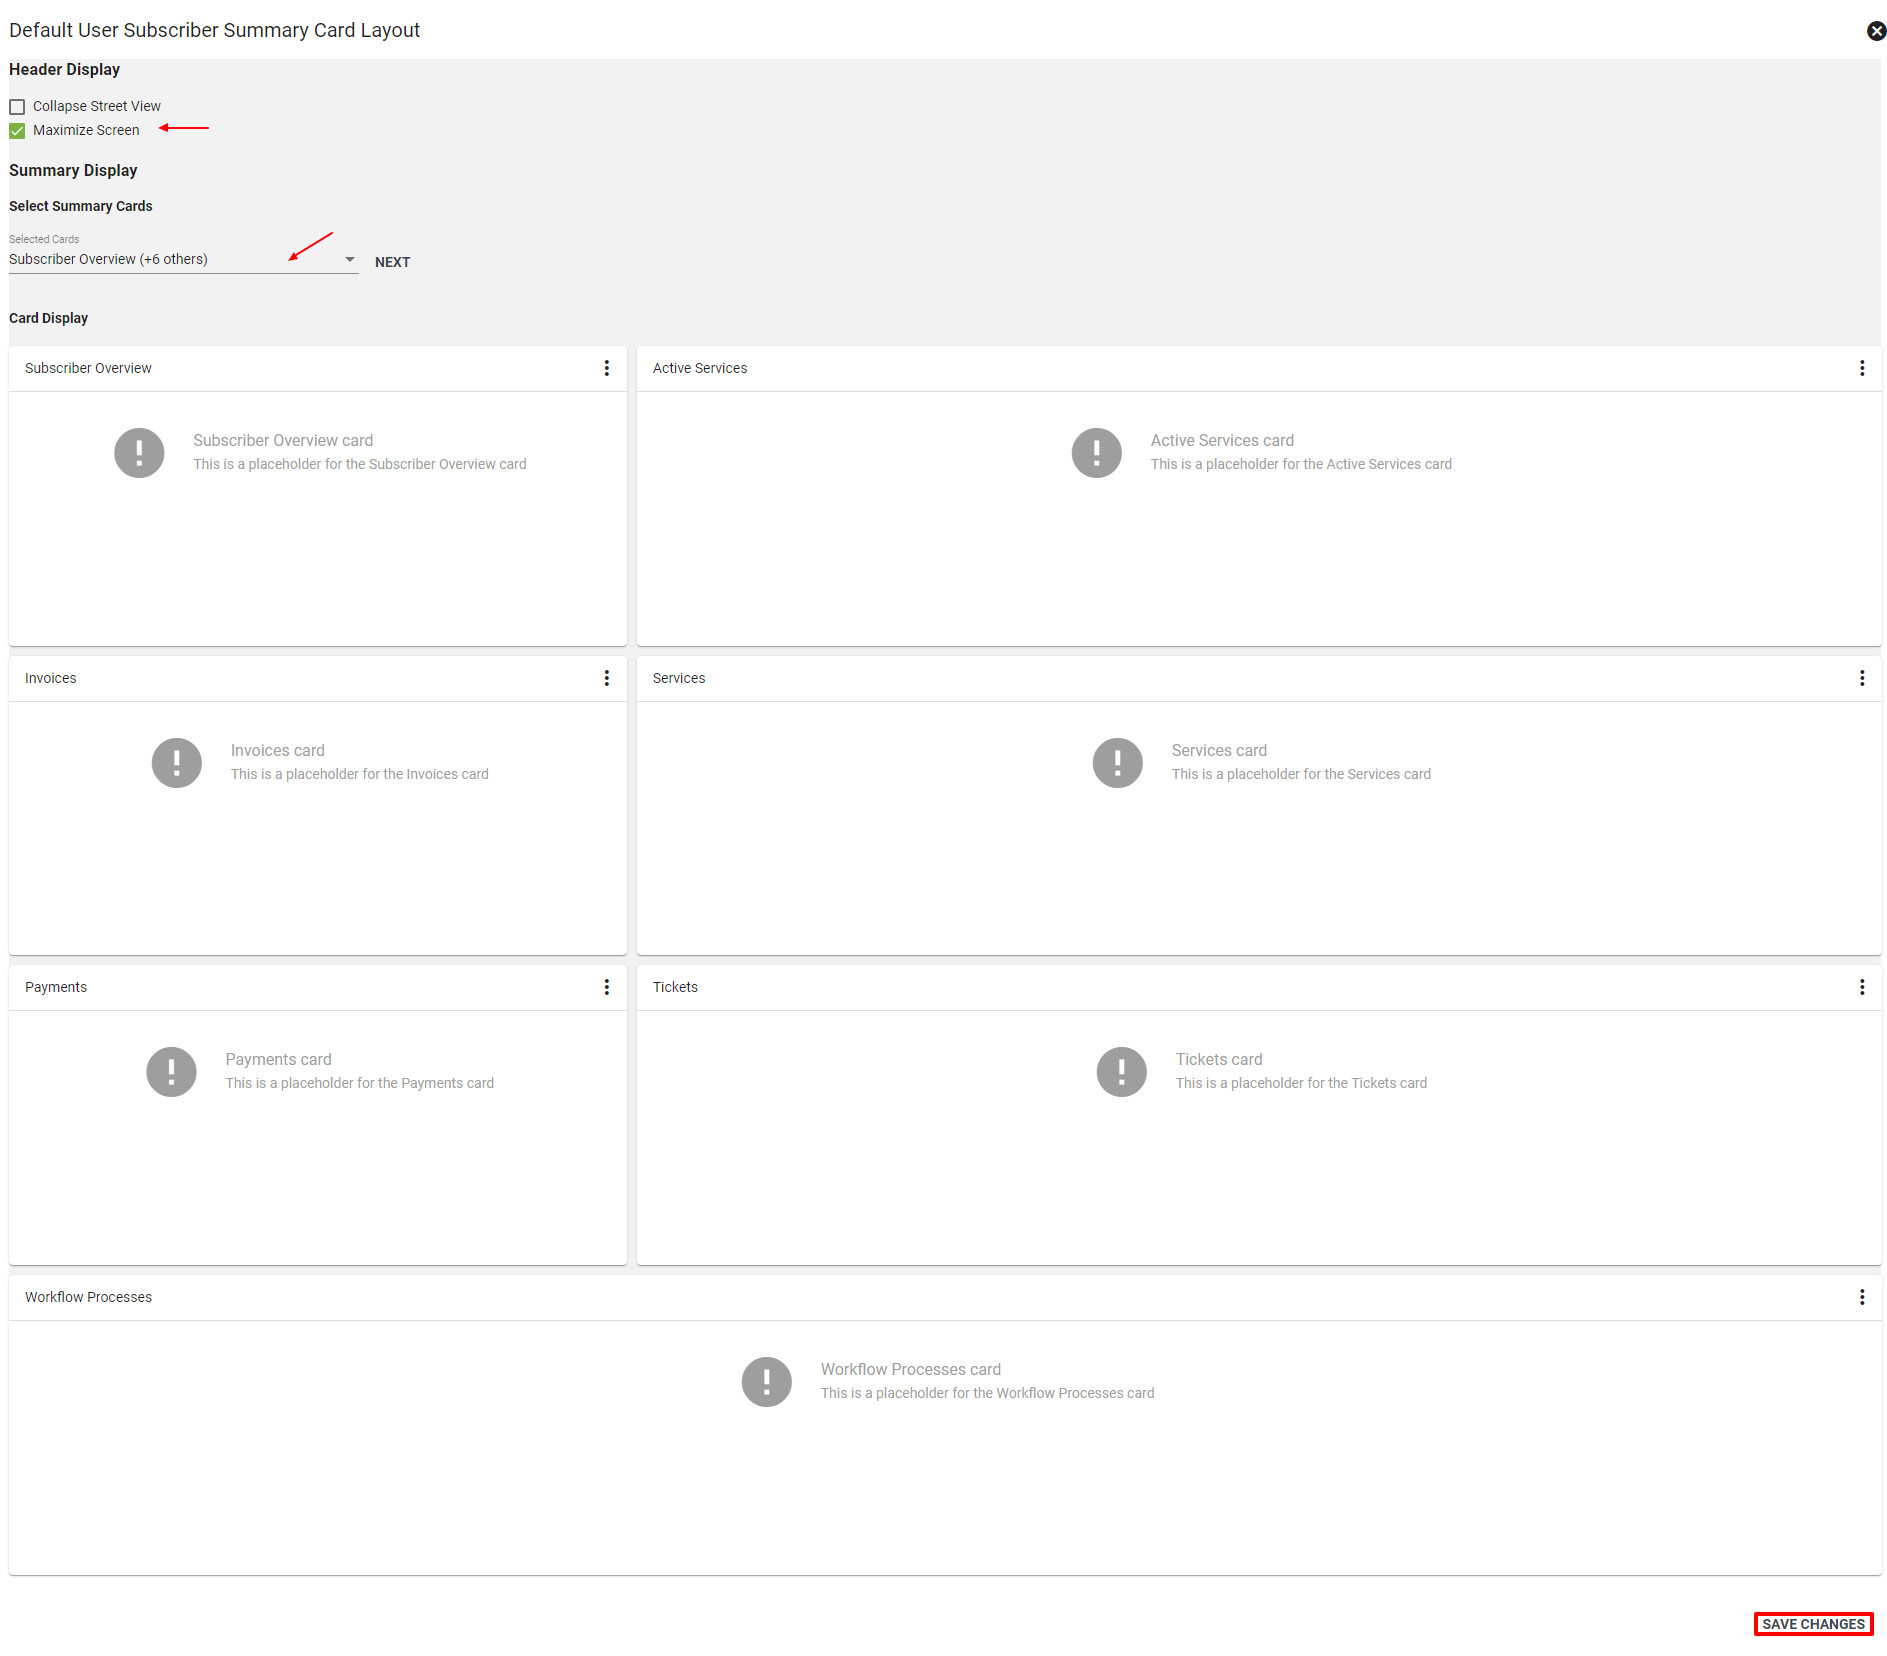
Default Summary Card Layout
Click the 
Choose the cards to display from the drop-down menu, then click NEXT.
Click the
Select SAVE CHANGES in the bottom righthand corner to save the display changes.
The default settings will be applied to new users that are added to the system and will not override any existing user settings.
Learn more about Subscriber Summary Cards.