Monitoring Templates
Monitoring Templates measure the responsiveness of your Network and Hardware and allow you to take action based on that data.
The Vision tenant provides a default monitoring template of ICMP ping, but also supports SNMP for gathering detailed information about your network.
Monitoring can be expanded to meet your business needs based off of your device type.
Please reach out to the Vision Support Team with any additional questions regarding configuring Monitoring Templates.

View Monitoring Template
Click on a specific Template to view more details.
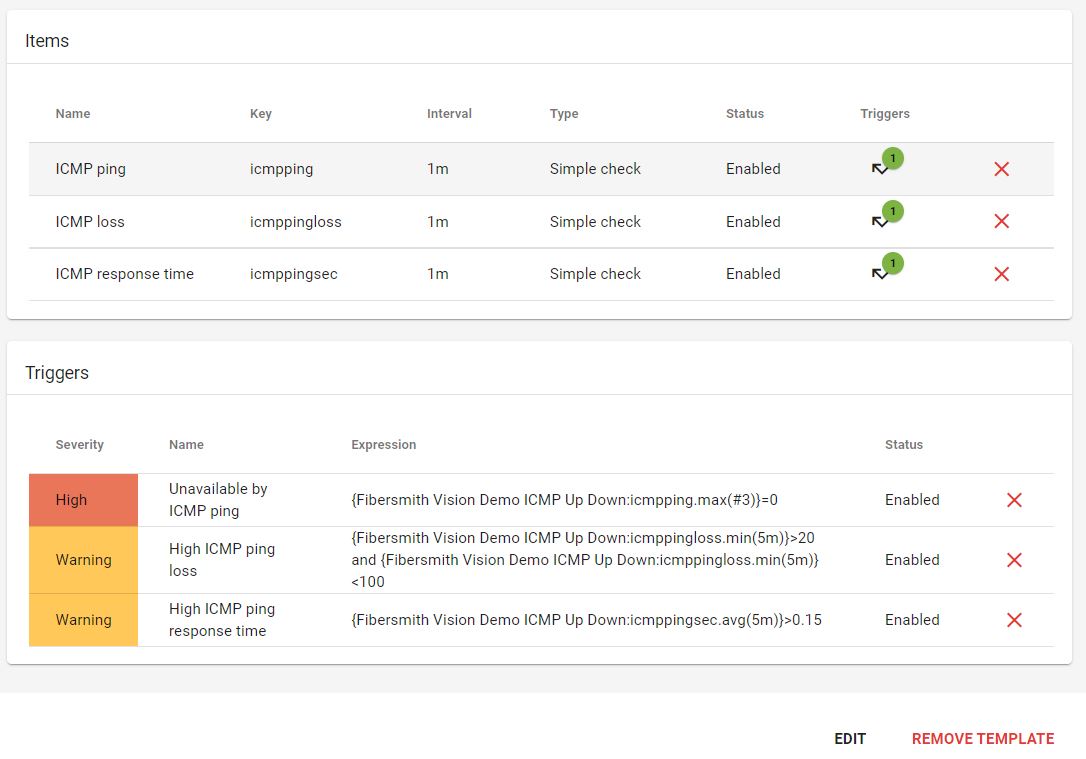
The Monitoring Template will display the affiliated Macros, the specfic data points that it is gathering and any triggered actions based on the data gathered.
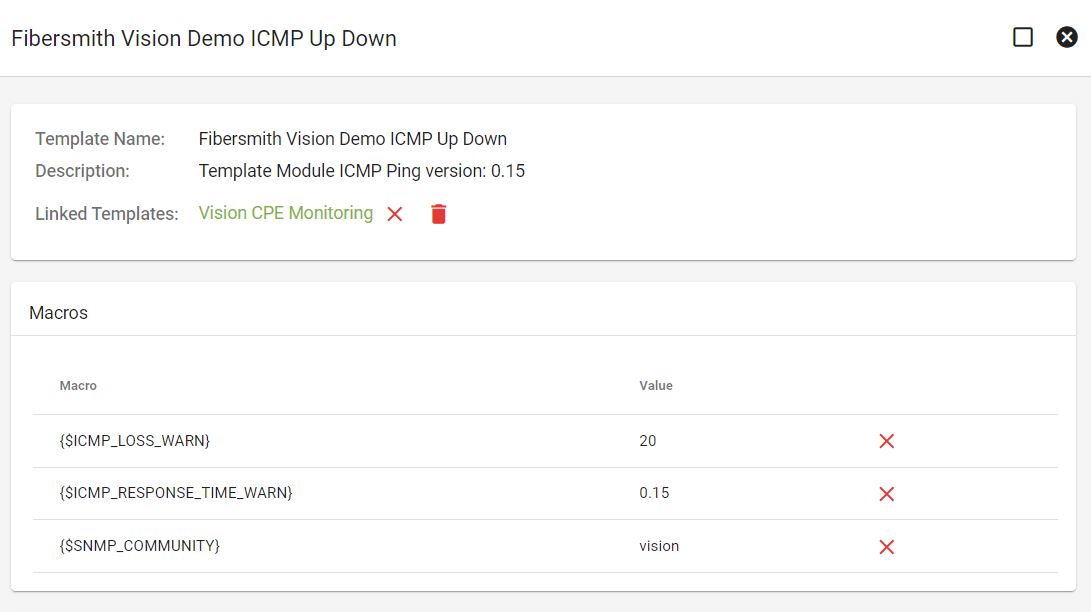
Click on the red X next to a line item to remove that specific macro, item or trigger.
The Template name, description and any other linked templates will display at the top of the page.
To unlink a Template, click the red X next to the Linked Templates line item.
Select EDIT in the bottom righthand corner to make changes to the Template, or DELETE to remove the Template.
Add Monitoring Template
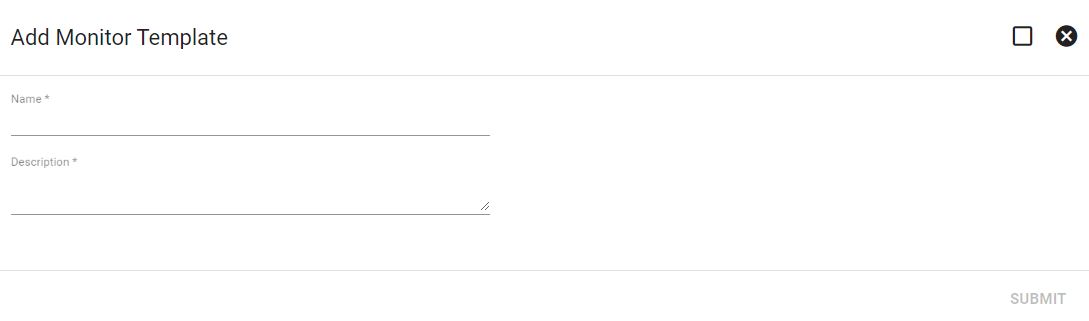
To create a new Template, click on the 
Input a name and description for the Template, then click SUBMIT.
After creating the Template, you will be given the option to add macros, items and triggers, or link Templates.
Add Item
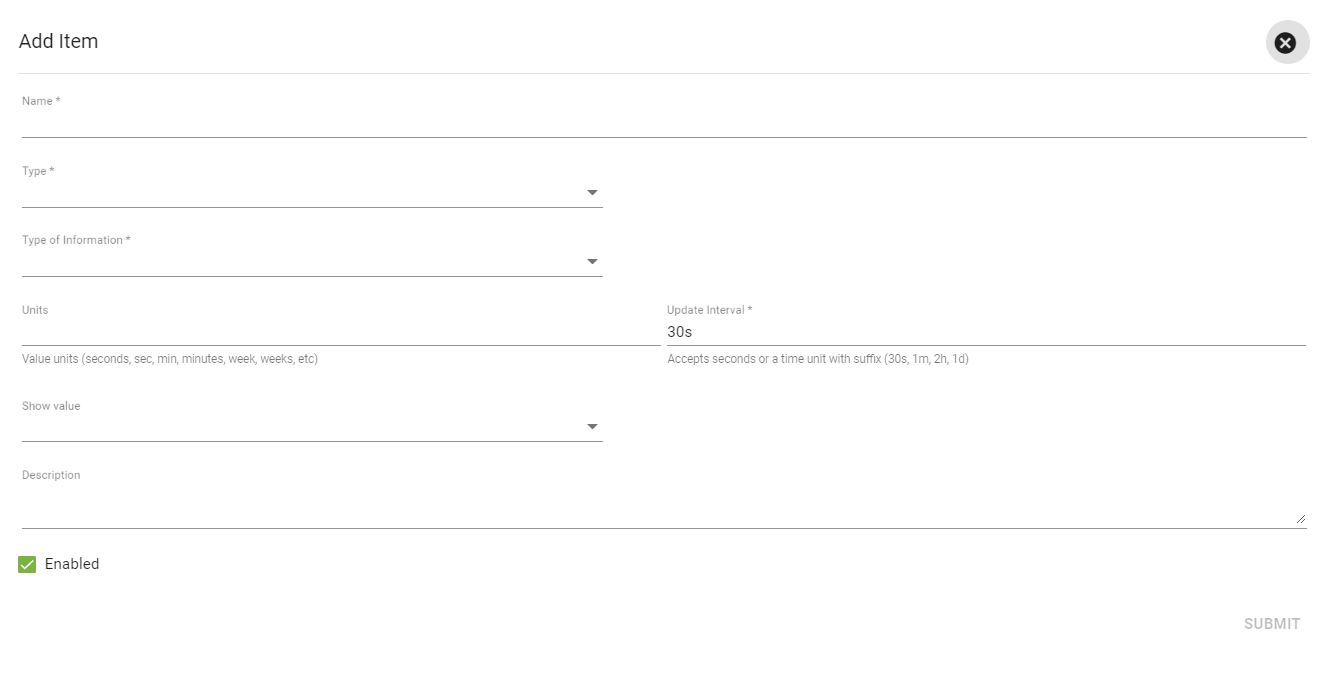
An item will gather specific data points about the piece of Hardware that the Template is Monitoring.
Click on the
Input the item name and select the type and type of information from the dropdown menu. Some Templates will require a specific key, like a SNMP OID, to be input here as well.
Make changes to the units and interval sections to dictate how frequently data will be gathered.
Check the box in the bottom left to determine whether the item will be enabled or disabled, then click SUBMIT.
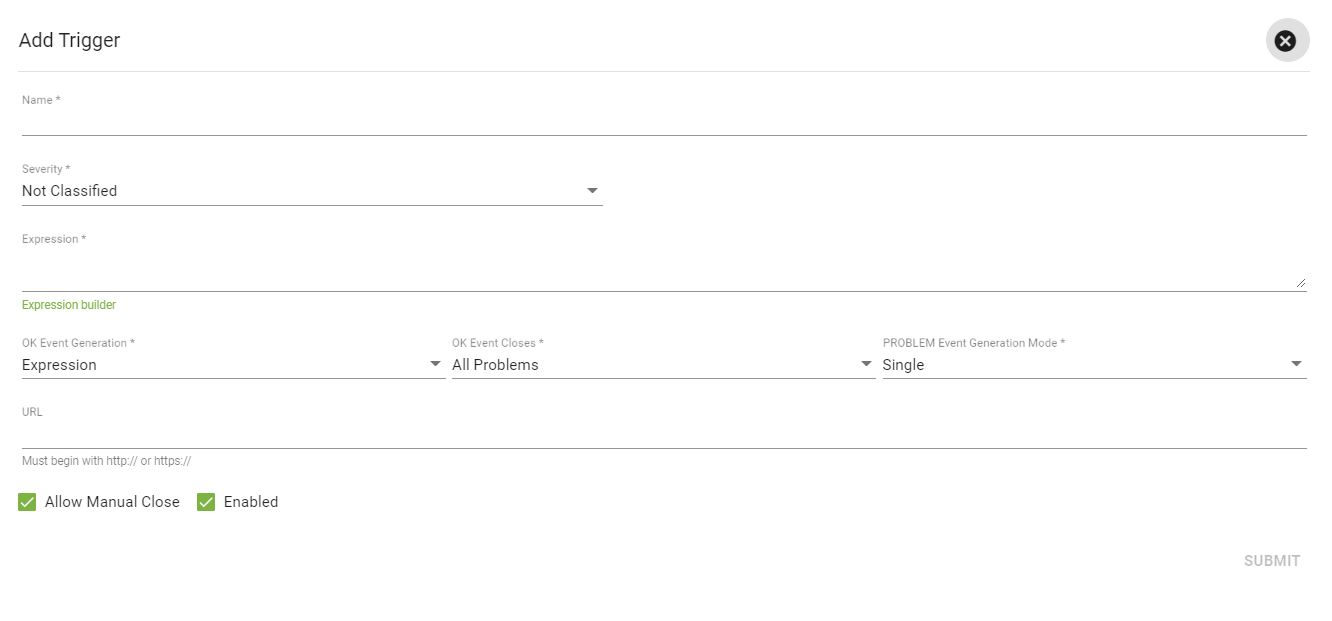
Add Trigger
A Trigger notifies you if data gathered by an item is outside of the allowed parameters. For example, an Item that monitors the ICMP ping status of a tower could have a Trigger that is set to notify you if the tower is pinged three times without discovering any signal.
Click on the
Input the name and select a severity from the dropdown menu. The severity level allows you to internally dictate the priority level for each notification.
The Trigger expression sets the parameters that define when a notification will be sent.
Select SUBMIT to save the new Trigger.
Add Macro
A Macro will take the place of the longer community string in your Monitoring Template.
Click on the
Input the name and value, then click SUBMIT.

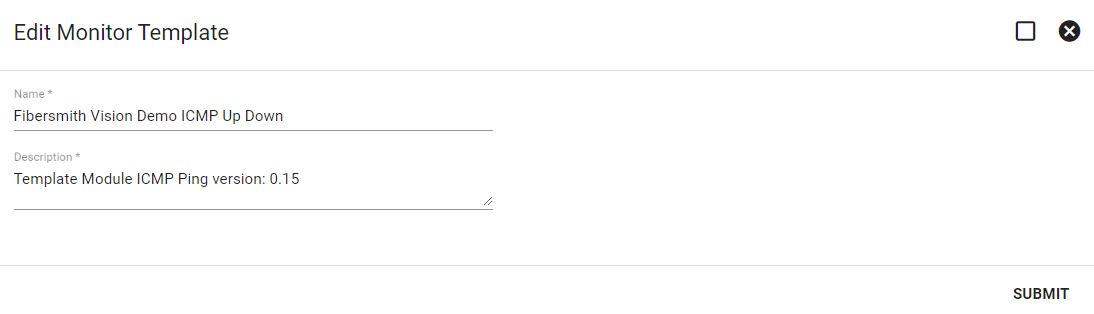
Edit Monitoring Template
Select EDIT in the bottom righthand corner of a Template to make changes to the Template name and description. Click SUBMIT to save any changes.
Click on a line item to edit individual items or triggers, or click the red X next to a line item to remove it.
TIP: Making a Template level change will apply those changes to all devices the Template is Monitoring.
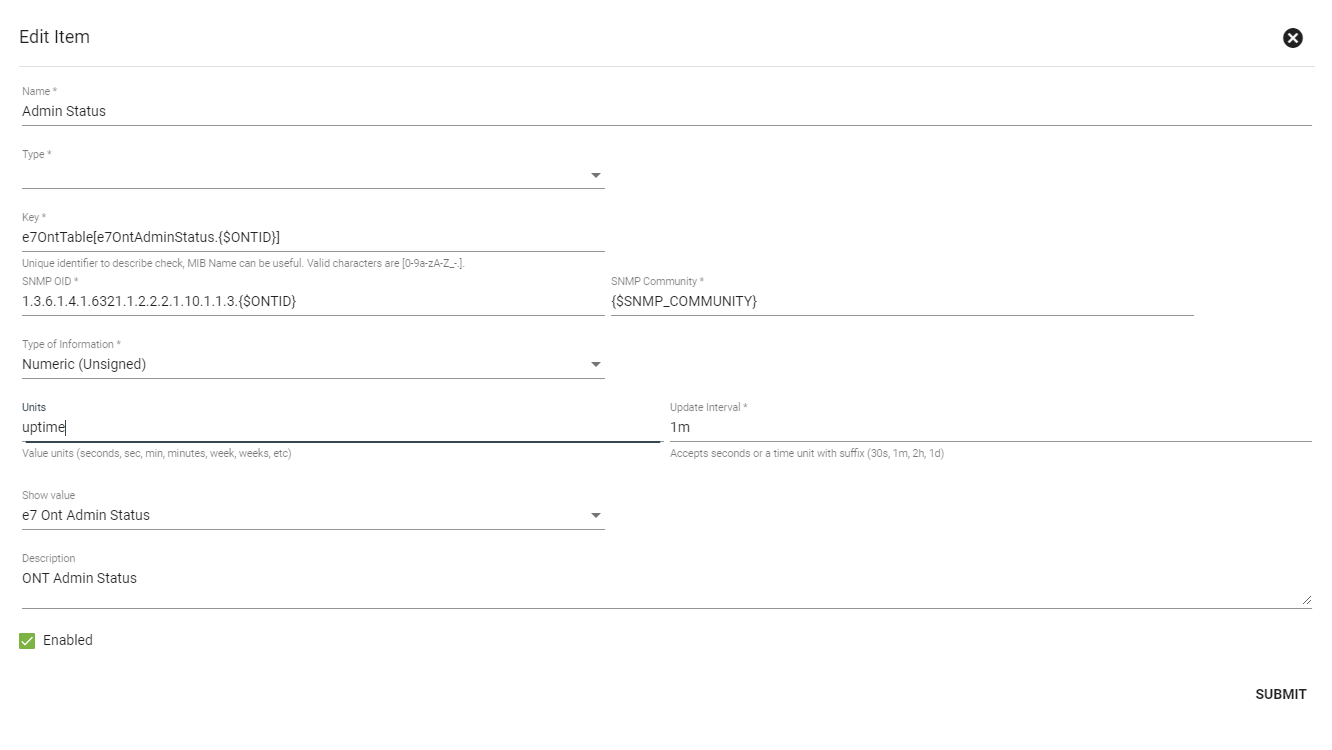
Edit Item
Click on an Item to make changes to attributes like the Item name, description or time interval.
The units field changes how specific data points are displayed within the system. Unit options are: bytes, bits per second (bps), unixtime and uptime.
Select SUBMIT to save changes.
Edit Trigger
Click on a Trigger to make changes to attributes like the Trigger name, severity level or to enable/disable the Trigger.
Select SUBMIT to save changes.


Link Template
Linking Templates allows you to associate one Template with another, and copy the new Templates items and triggers to the existing Template.
Select a Template to link to from the dropdown menu, then click SUBMIT.
