Mass Package Changes
The Mass Package Change tool allows admins to update subscriber service packages in bulk. This is useful when adjusting speeds, migrating legacy packages, performing area-based upgrades, or standardizing plans across the network.
This tool works by pairing an existing package with the package that will replace it, then running a workflow that applies the changes to all eligible subscribers.
Overview of the Workflow
To run a mass package update, you will:
-
Create or use an existing Bulk Package Change workflow.
-
Associate each original package with the new package you want subscribers moved to.
-
Configure your batch change, including optional service-area filters.
-
Review the summary to confirm impacted subscribers.
-
Queue and run the batch.
-
Review the generated batch report after completion.
Each pair of packages requires its own batch.
Example (price upgrade):
-
1 Gig → 1 Gig (new version)
-
100 Mbps → 100 Mbps (new version)
Step 1: Create a Bulk Package Change Workflow
Navigate to the workflow builder and make a new workflow of type "Change Subscriber Package"
This workflow defines the logic for replacing one package with another. If a workflow already exists in your environment, you can reuse it. Otherwise, create a new instance using the Bulk Package Change template.
Basic Bulk Package Change Template:
(This example is for a price upgrade but you can configure the mass change to whatever needs you would like)
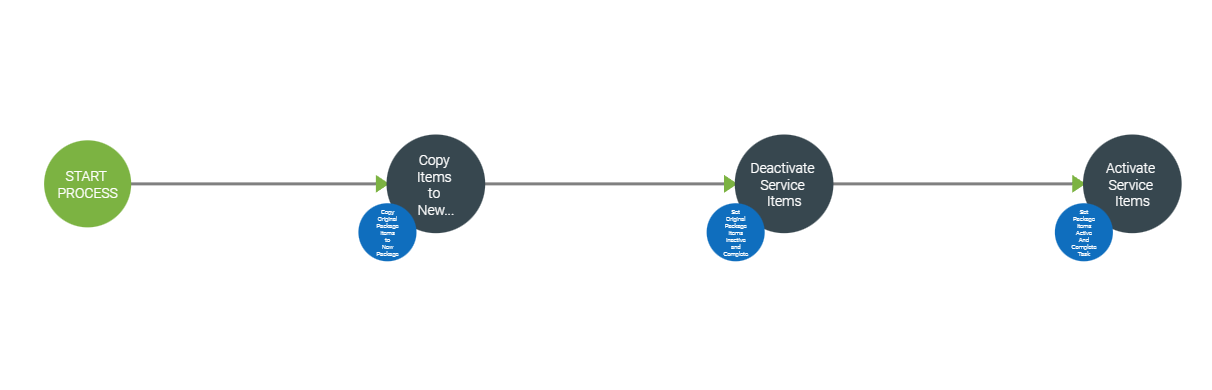
For this template, it has three nodes, each with an automatic function that is run on creation.
Task 1.)
Name: Copy Items to New Package
Function: Copy Original Package Items to New Package and Complete Task
Task 2.)
Name: Deactivate Service Items
Function: Set Original Package Items Inactive and Complete Task
Task 3.)
Name: Activate Service Items
Function: Set Package Items Active And Complete Task
Step 2: Associate Original Packages with New Packages
Inside the workflow configuration, you will map the packages being replaced.
For each batch, select:
-
Original Package (package currently assigned to subscribers)
-
New Package (package subscribers should be moved to)
You will repeat this association for every package type you want to update.

Step 3: Set Up the Mass Change
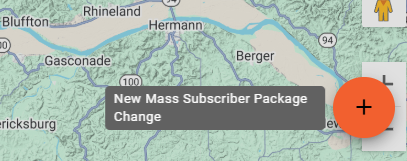
Once the workflow is configured, you can set up your mass change batch.
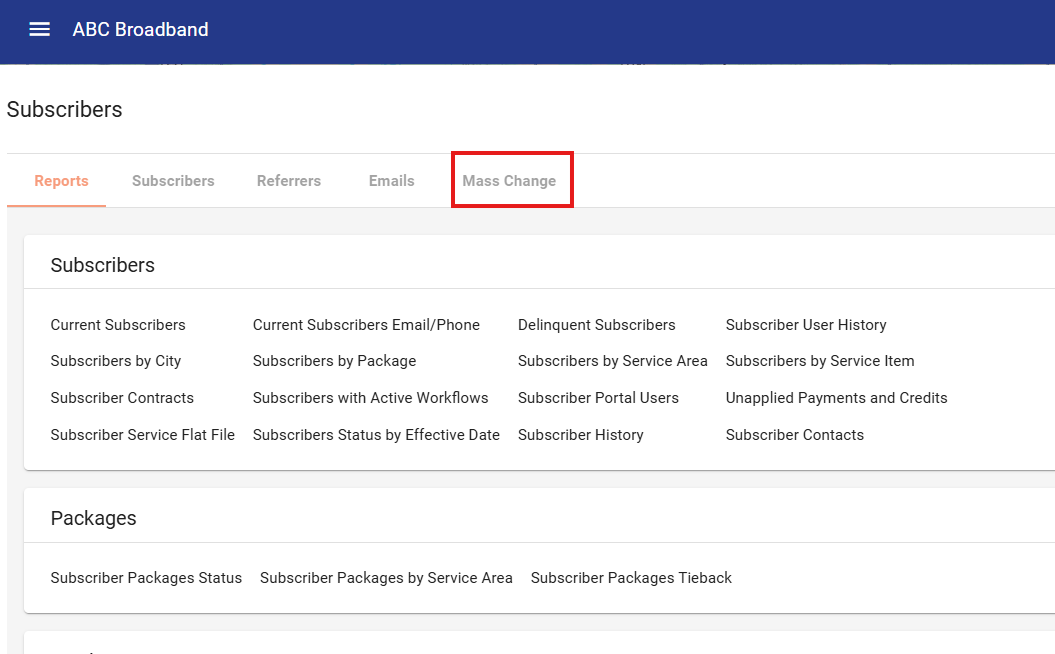
Go to Operations>Subscribers>Mass Change
Settings include:
-
Package Pairing (original → new)
-
Scheduling the time of the change
-
Service Area Filters
You can limit the update to specific service areas, which is helpful when only certain regions should receive the package change. -
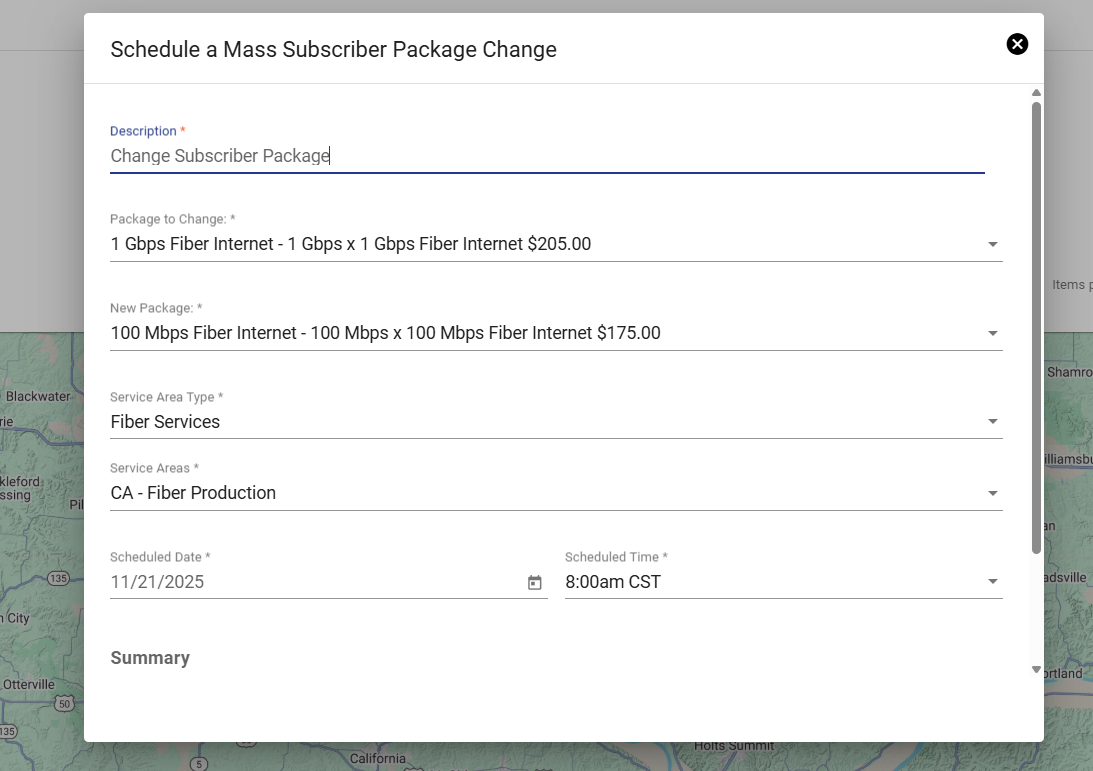
A preview list will populate based on the filters you apply.
Step 4: Review Impacted Subscribers
At the bottom of the mass change setup screen, you will see a Summary showing:
-
Total subscribers affected
-
Accounts included
-
Any accounts excluded due to eligibility rules
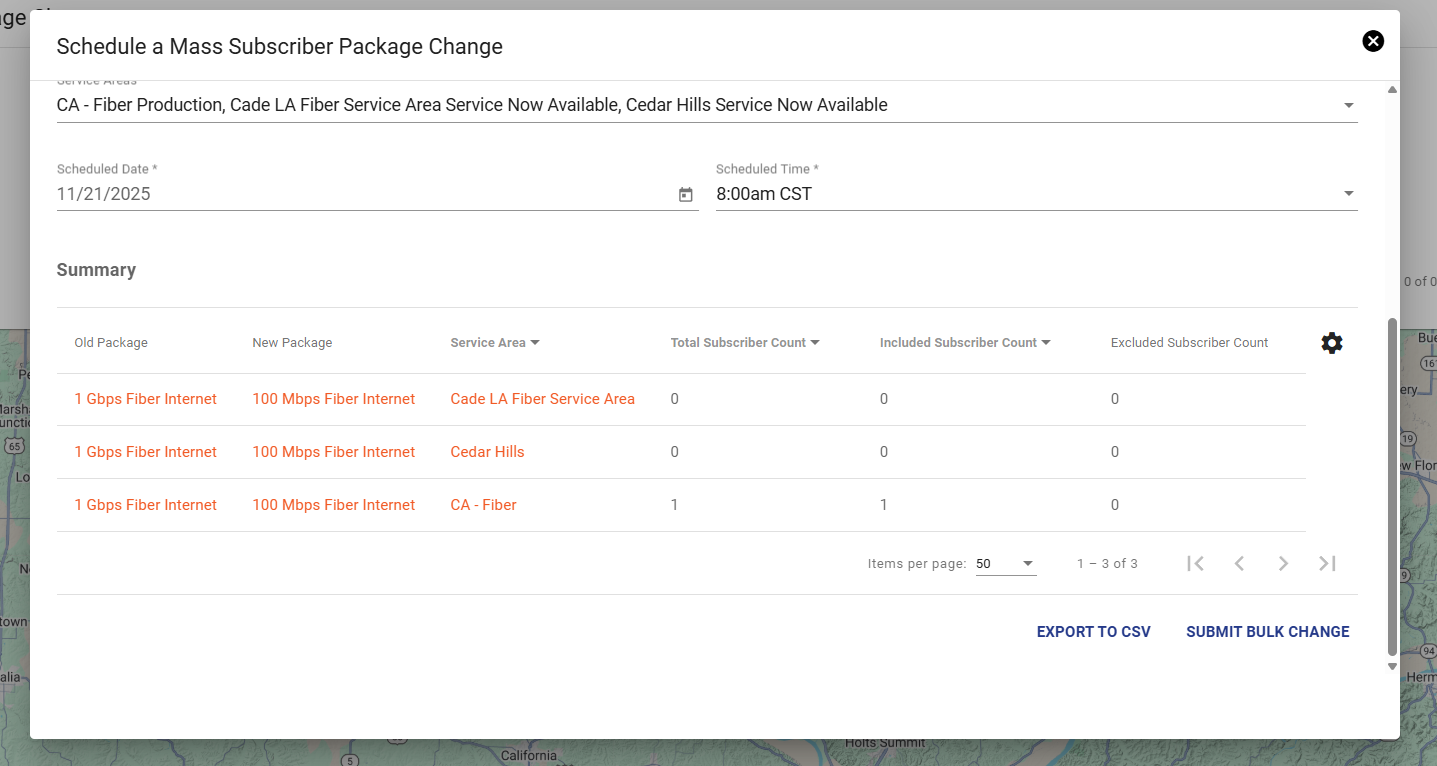
This provides a final verification before queuing the change.
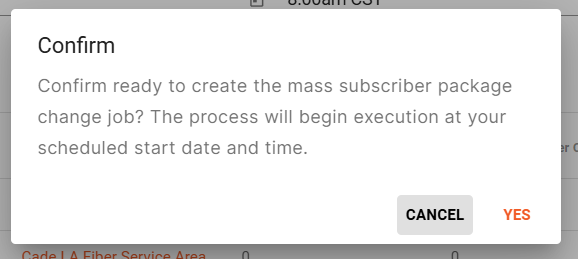
Step 5: Queue the Batch
When the configuration looks correct, click Queue Batch.
Queued batches will appear in the workflow queue, allowing you to monitor their status.

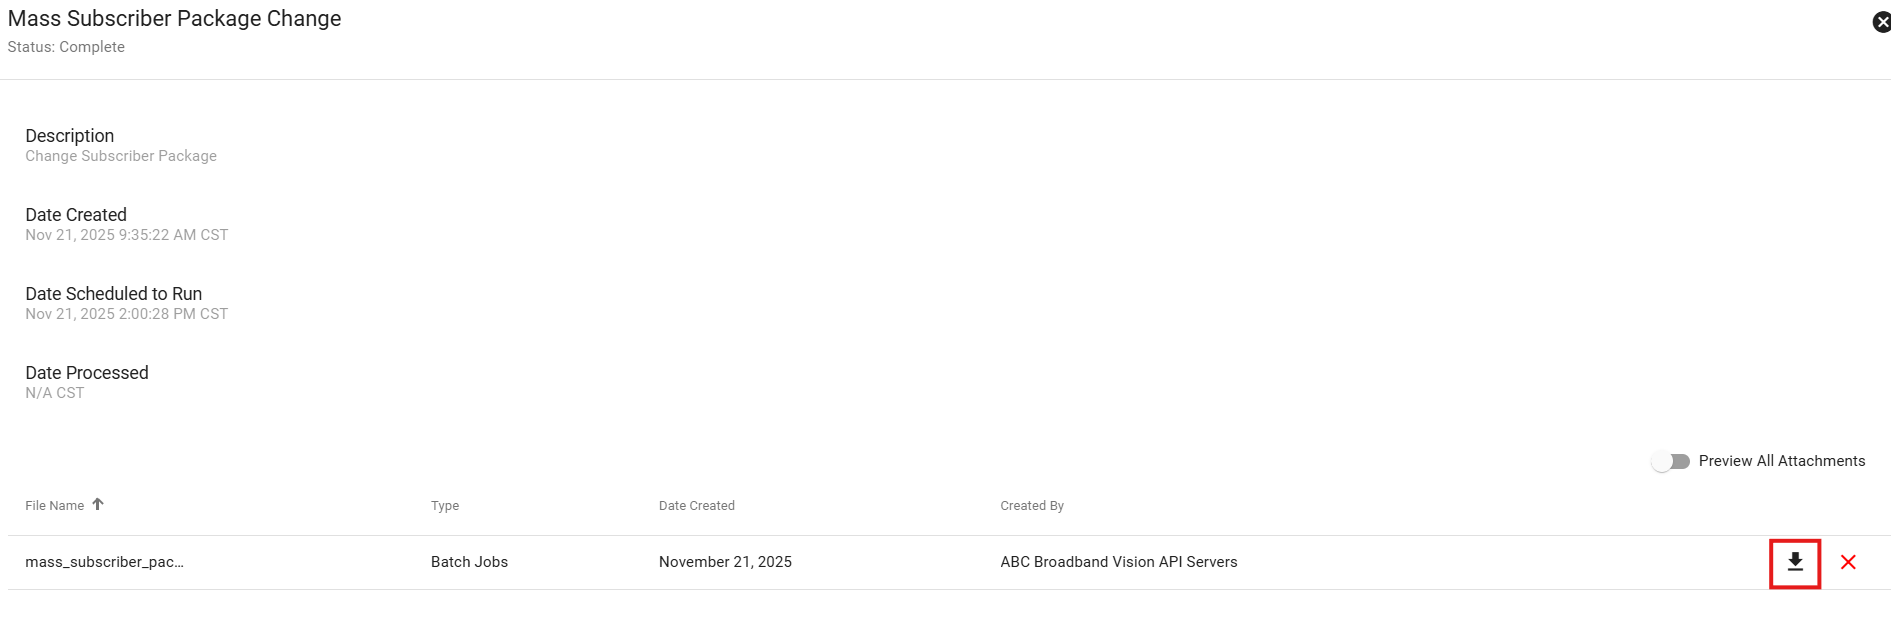
Step 6: Run the Batch and Review the Report
After the batch runs, the system generates a Batch Report.
This report includes:
-
All subscribers updated
-
Timestamp and workflow ID
-
Any failed or skipped records (It will not be able to change a package if the original package workflow is incomplete)
-
Before-and-after package details
The batch report allows for full manual review and auditing after the change is applied.
To access this report, click on the batch from the Mass Subscriber Package Change Page and at the bottom you will see a download button for the report.

Notes & Best Practices
-
Migrations are done in batches of 50 to avoid system delays.
-
Each unique package pairing requires its own batch job.
-
Use service-area filtering to avoid unintentional updates across your entire network.
-
Always review the summary before queuing the batch to confirm accuracy.
-
It will not be able to change a package if the original package workflow is incomplete.