Subscriber Onboarding
Onboarding simply means adding new subscriber into the system. That can be a new customer or a lead who is interested in service.
Vision is set up with a familiar shopping cart process to step you through adding a new subscriber into the system.
Follow the step-by-step prompts for a quick and easy way to add a service to a subscriber's account.
Reminder: Location rules everything. Only the services, offers and packages available are pulled up as qualified to the subscriber's location.
Read more about Onboarding Subscribers and Leads here.
Add a Subscriber via the Dashboard
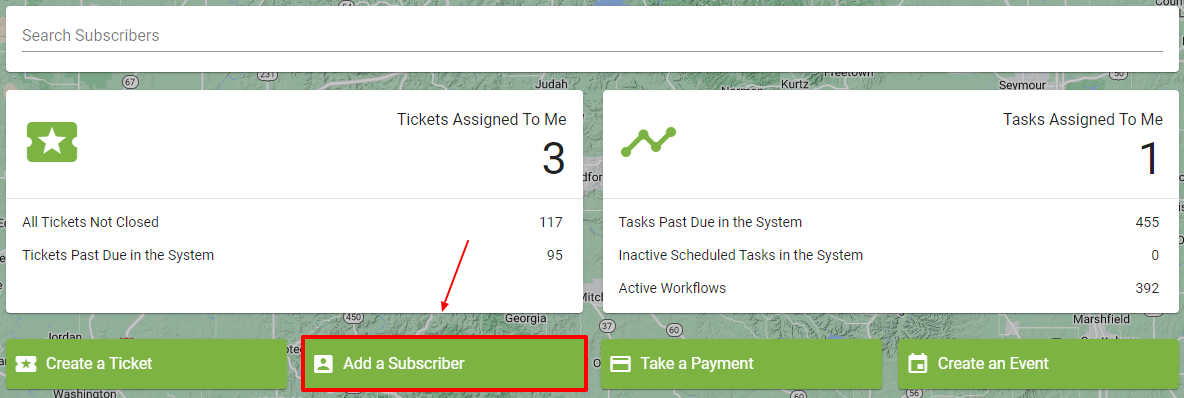
Click ![]() on the Vision homepage or dashboard. (This is a quick way to add a fiber Internet Subscriber when you do not need to double check visuals on the map or line of sight for wireless Internet service.)
on the Vision homepage or dashboard. (This is a quick way to add a fiber Internet Subscriber when you do not need to double check visuals on the map or line of sight for wireless Internet service.)
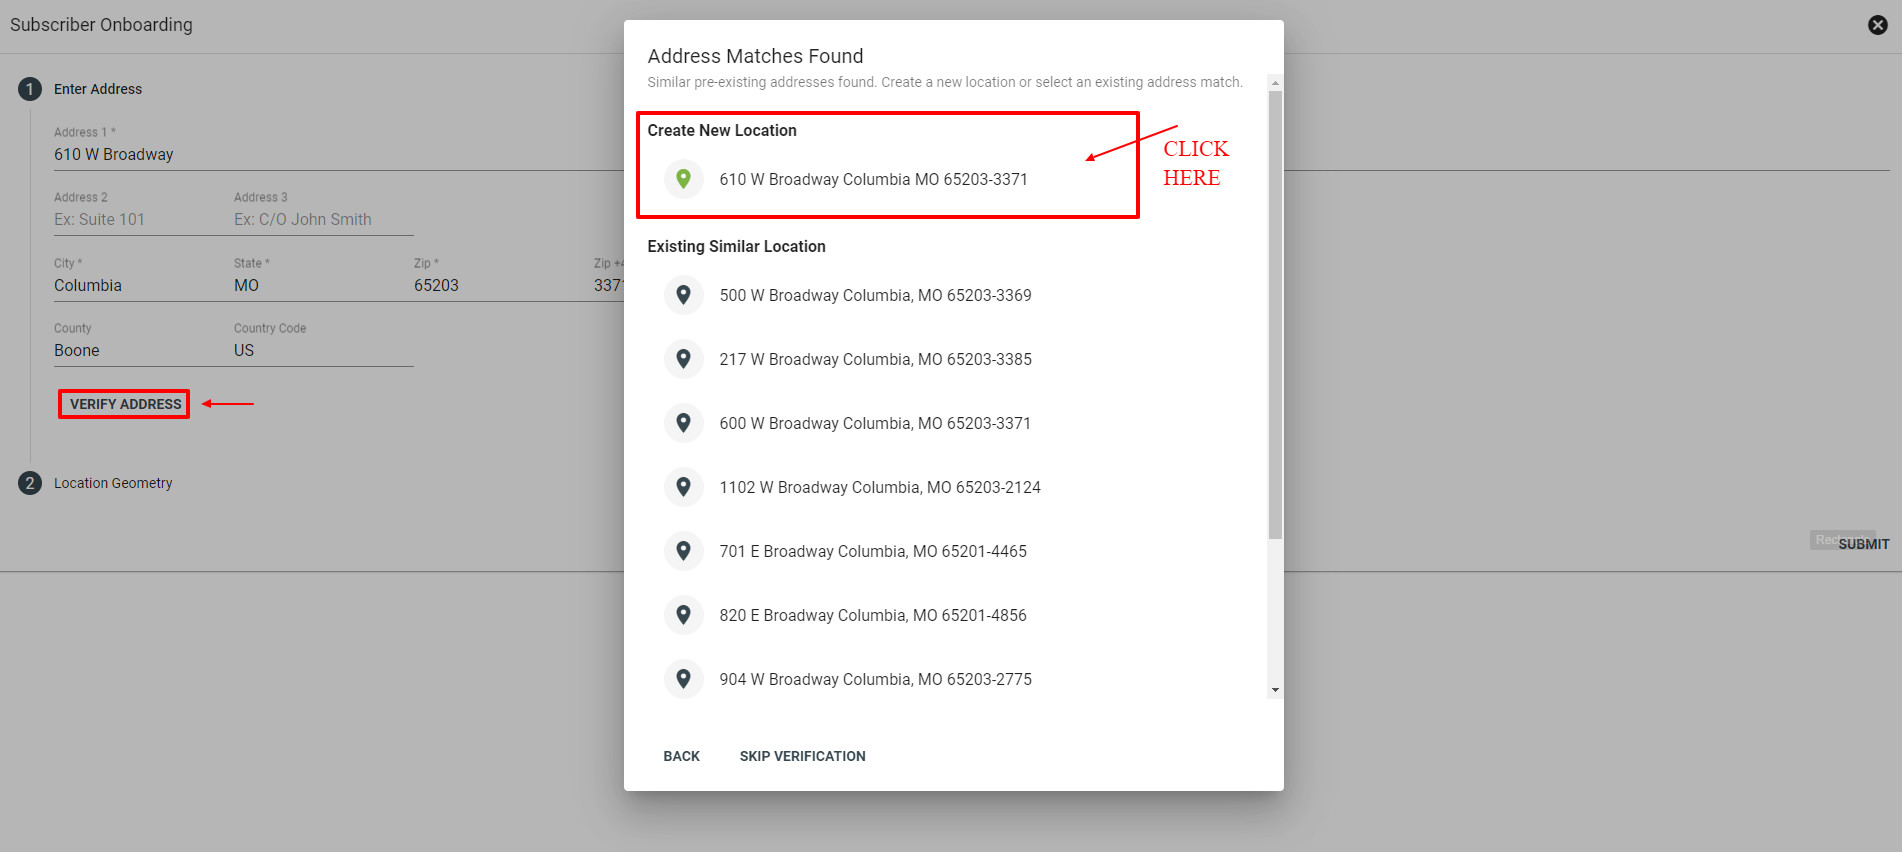
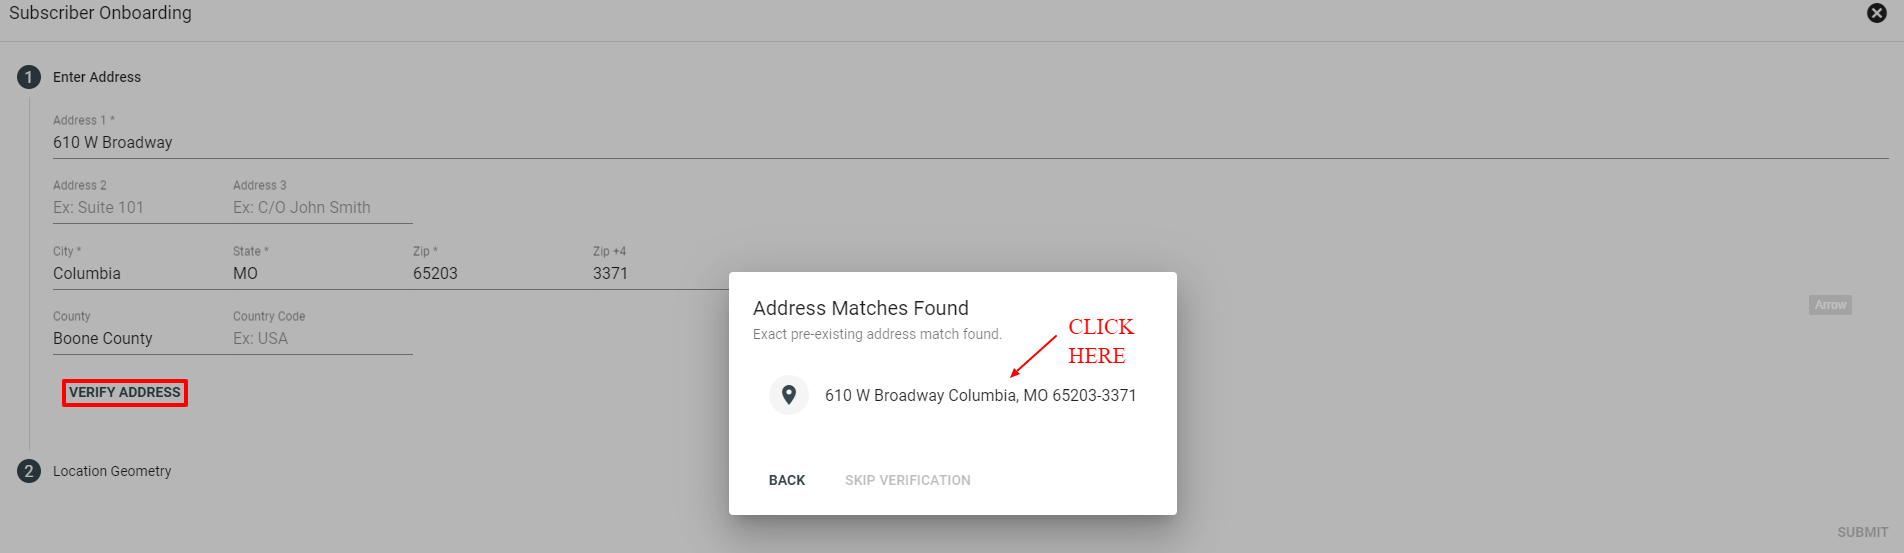
Enter in the Subscriber's address, then click VERIFY ADDRESS.
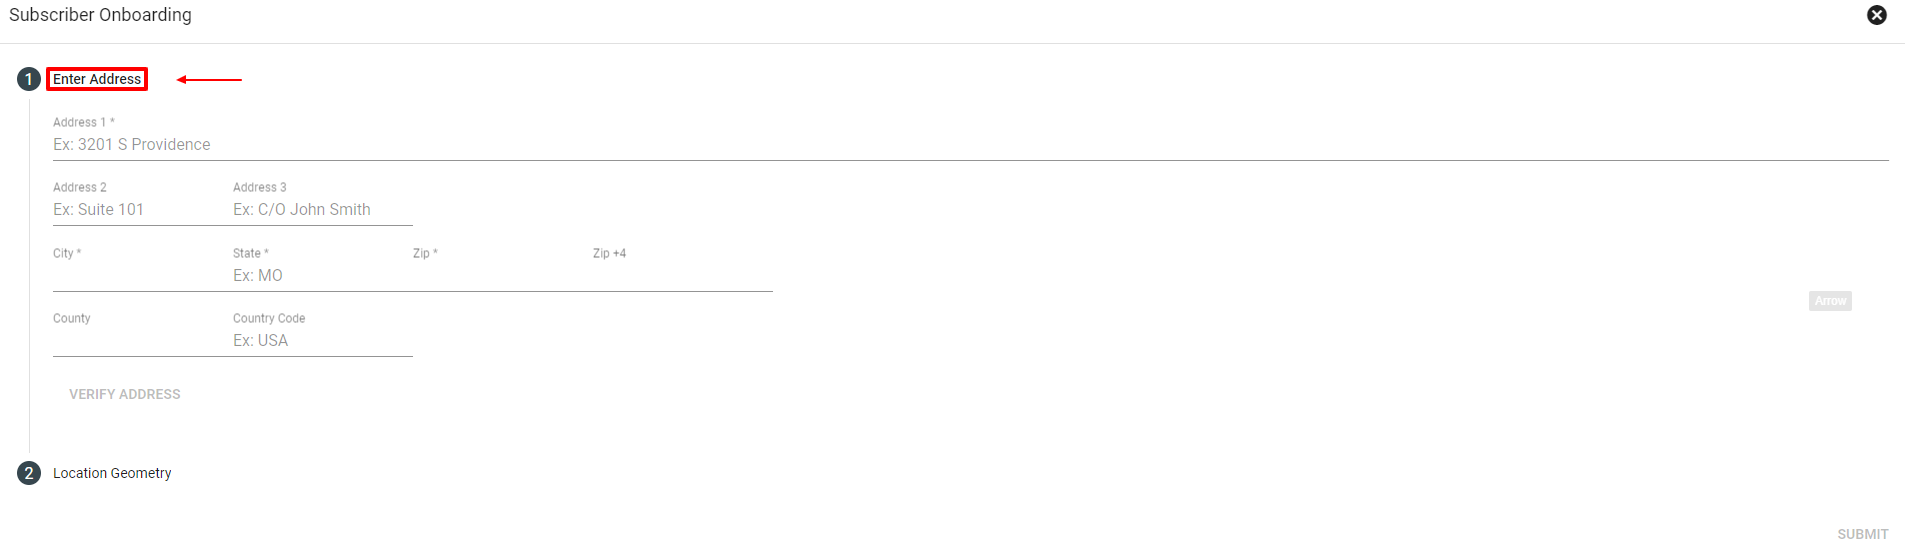
If the address is already in the database, it will return one result. Or you will see additional similar pre-existing addresses. Click on the verified address. If no match comes up, click Skip Verification.
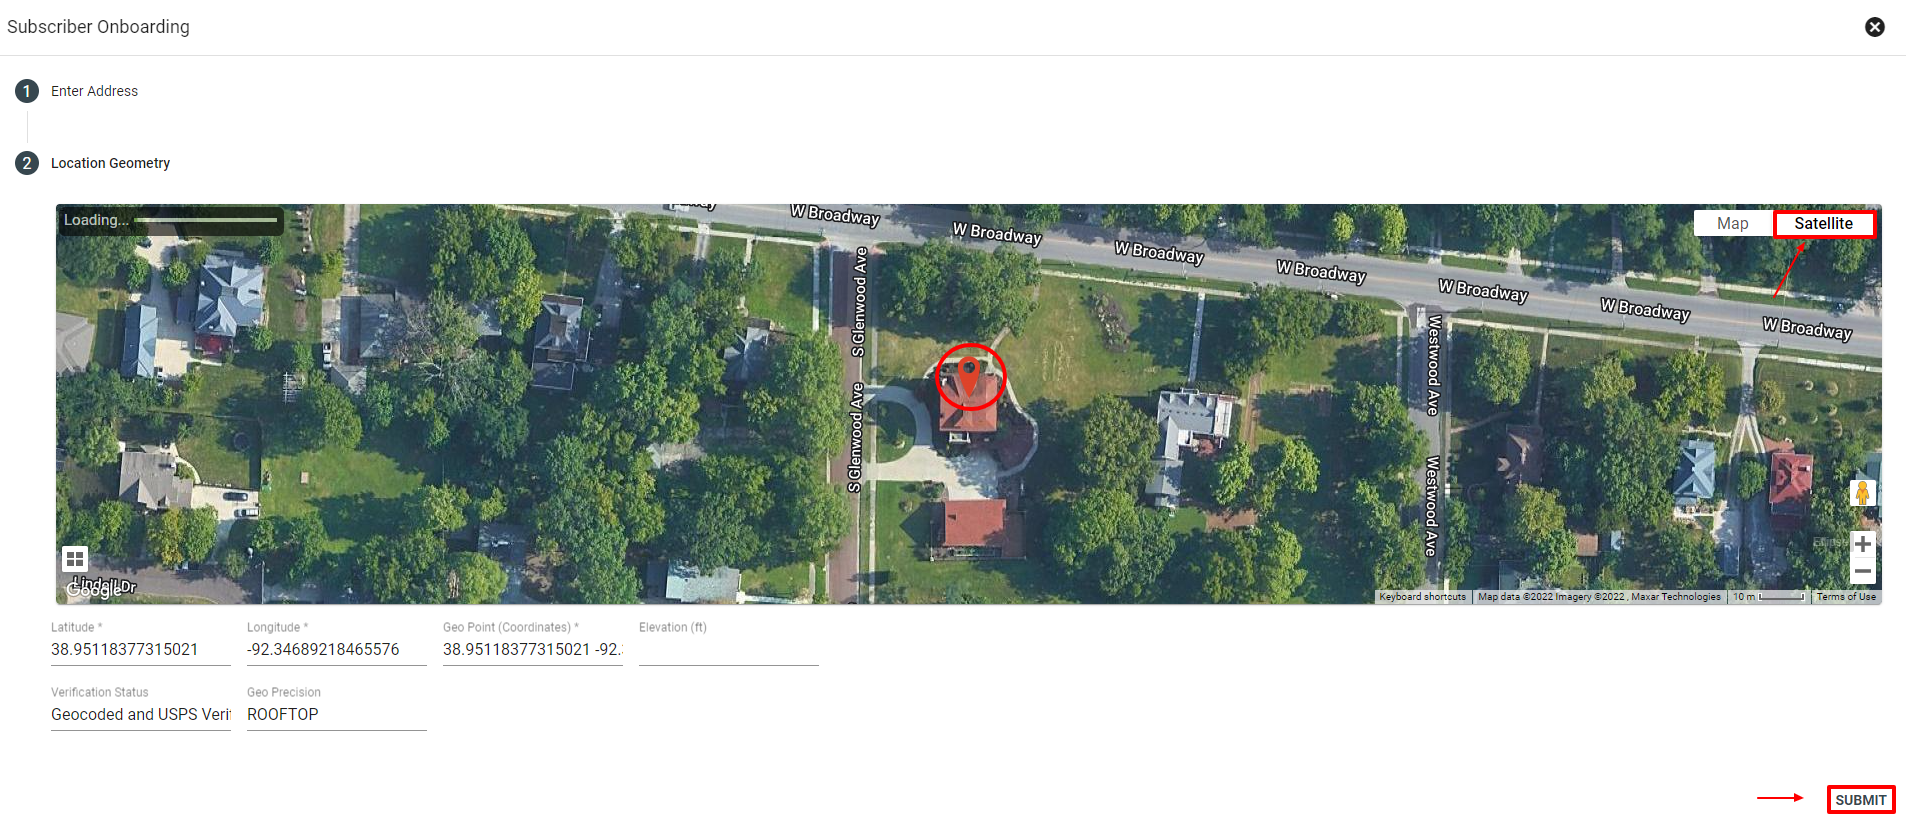
Confirm the rooftop pin location and click SUBMIT. Make sure you are in satellite view.
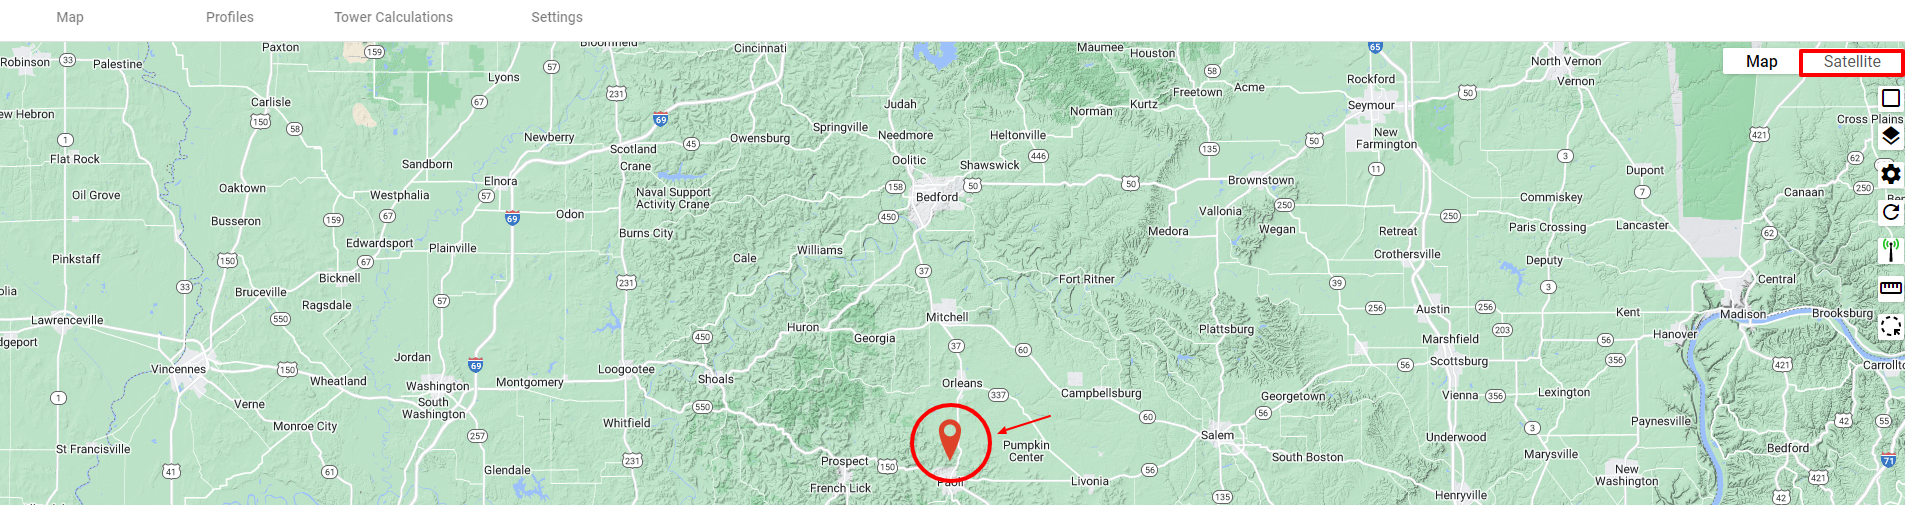
Add a Subscriber via the Map (Recommended for Wireless)
Click ![]() Line of Sight Tool on the homepage to either place a pin, or search for an address.
Line of Sight Tool on the homepage to either place a pin, or search for an address.
Using maps allows you to toggle select layers to view available services. Once your pin is placed you can check the line of sight profile for wireless service as well as all tower calculations in relation to your location. You can also use Google Streetview to check the surrounding area for potential interference.
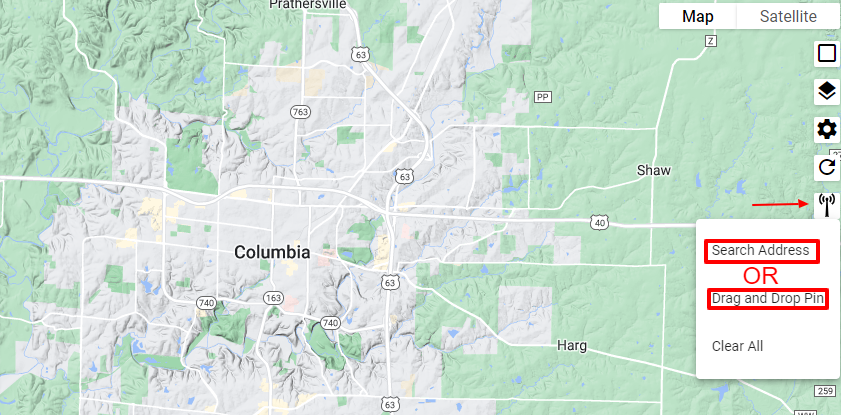
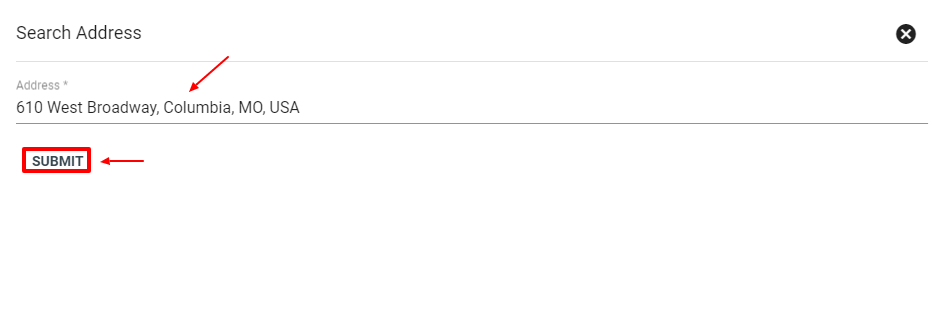
Option 1: Search Address- Enter the address and select SUBMIT
Option 2: Drag and Drop Pin- Switch to satellite view and zoom in to move the pin to the correct location.
Confirm the rooftop pin location and click the 
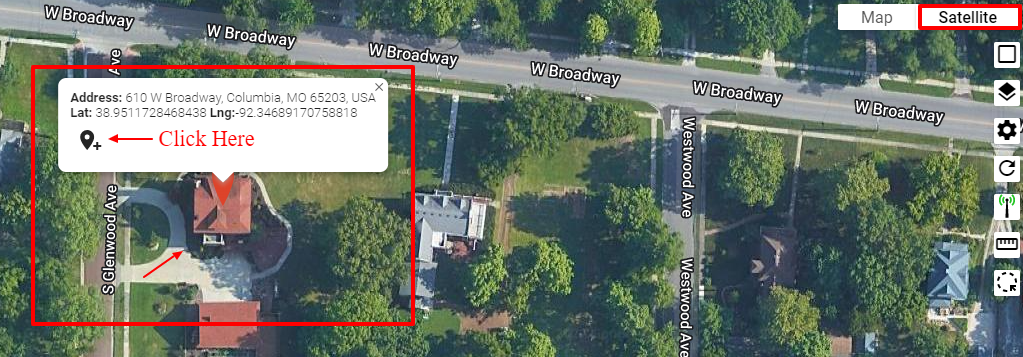
Click VERIFY ADDRESS. If there is a match found, click on that match.
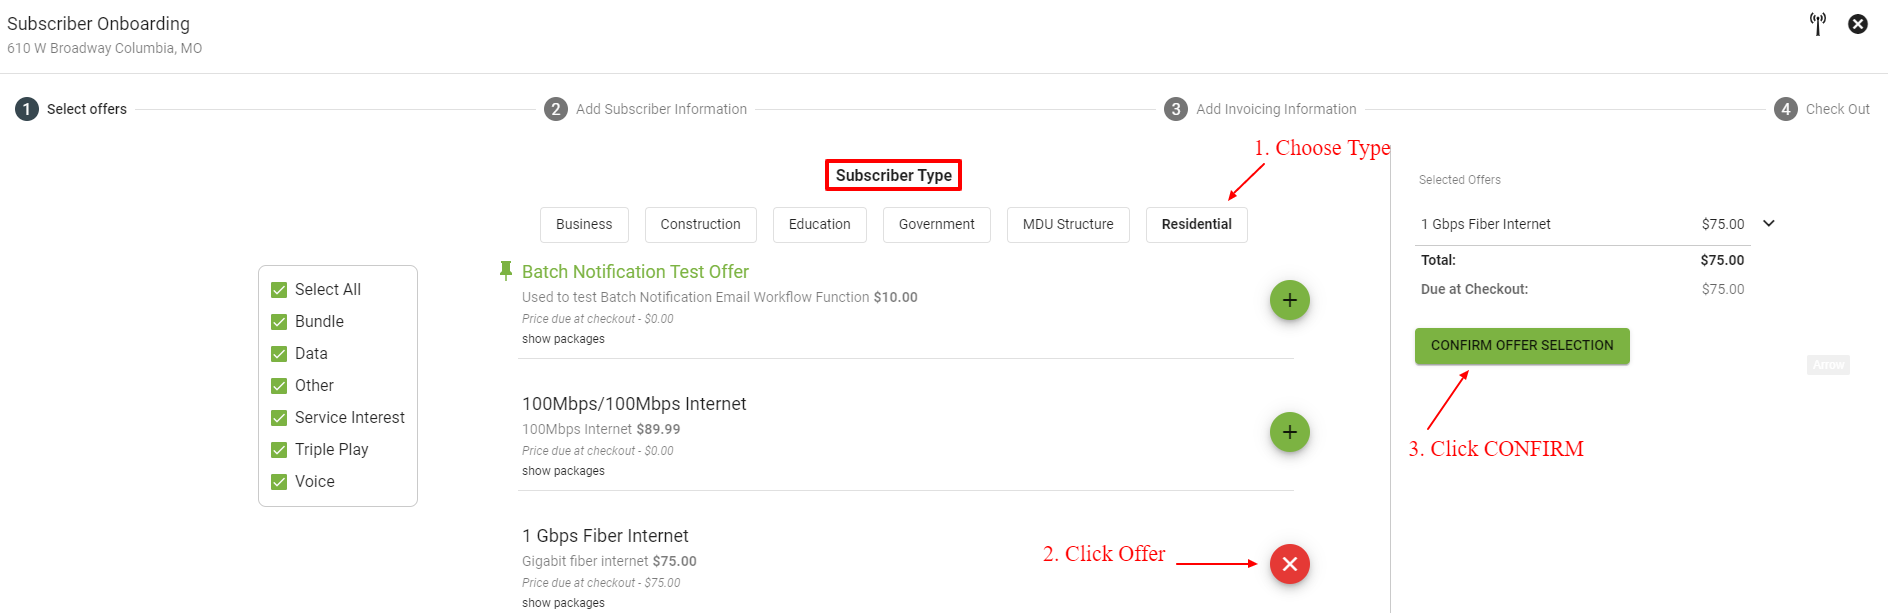
Select the Subscriber Type (Business or Residential, etc. as set up by the Admin) to display the available offers. Offers can be viewed by type by using the checkboxes to the left. Click the ![]() button next to the desired offer. Then click
button next to the desired offer. Then click 
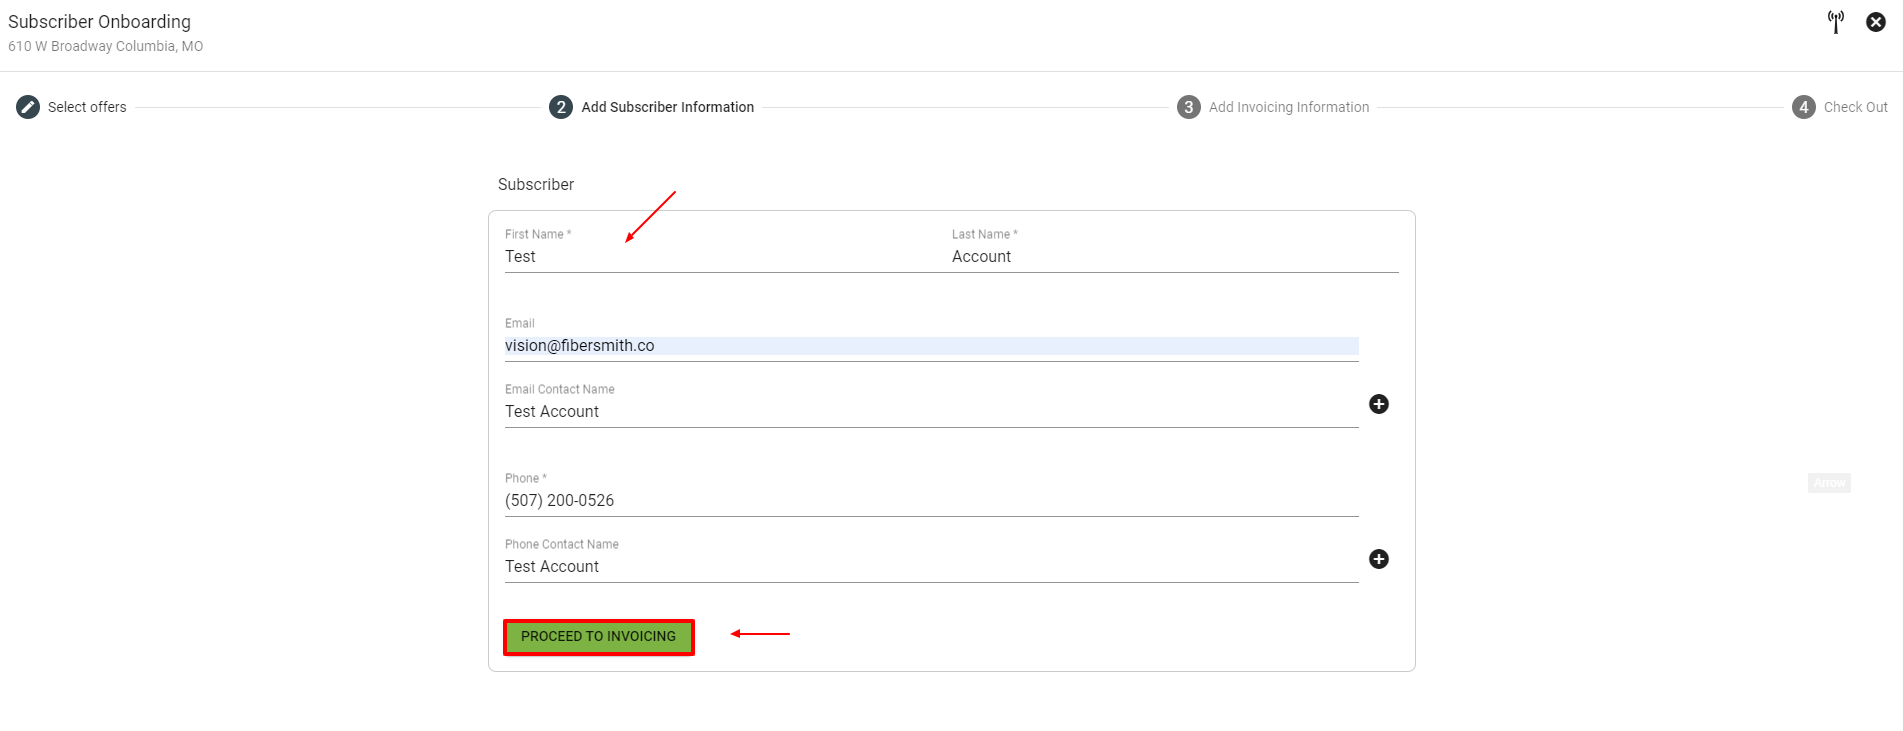
Next, enter in the subscriber contact information.
Then, click PROCEED TO INVOICING.
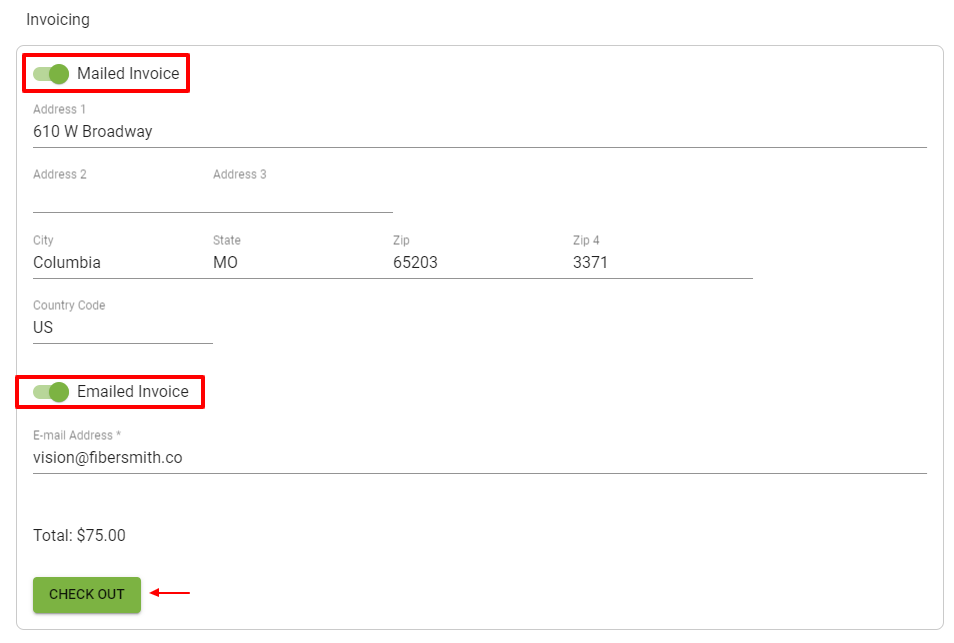
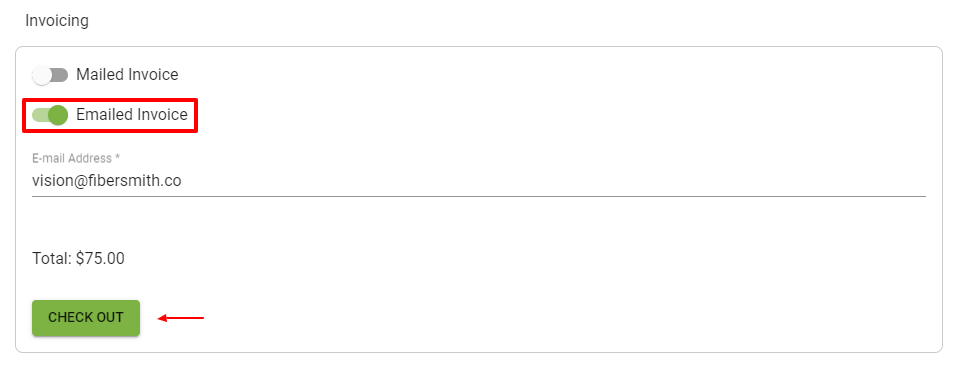
Choose how the Subscriber will be invoiced, there are three options to choose from. (Mailed & Emailed, Mailed Only, or Emailed Only) If it is an interest package the total invoice should be $0.00. Then click CHECK OUT.
Option 1 Option 2
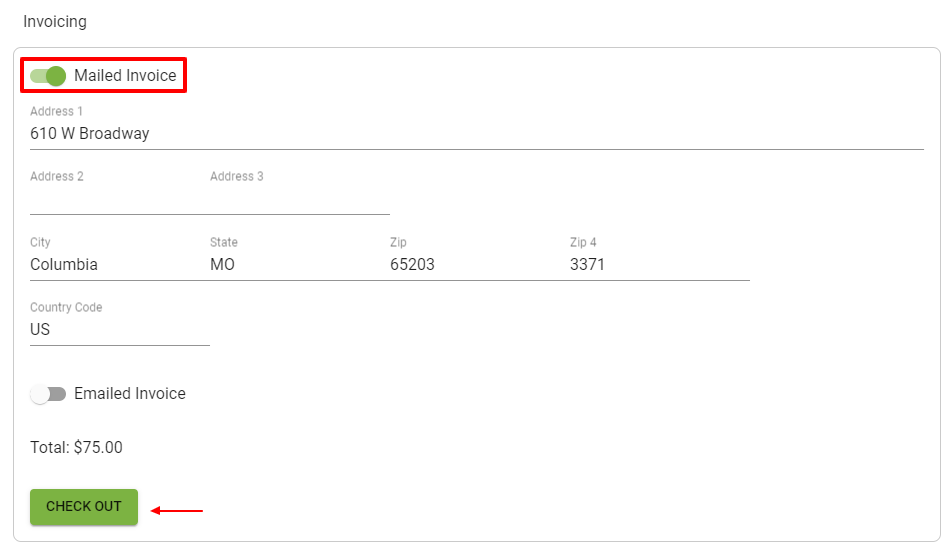
Option 3
Select a payment type from the drop down menu.

Payment Types
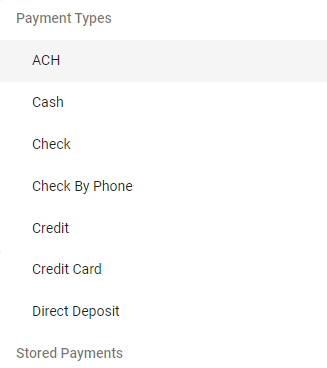
If you select credit card as your payment type, there are options to save the payment method and to set automatic recurring payments.
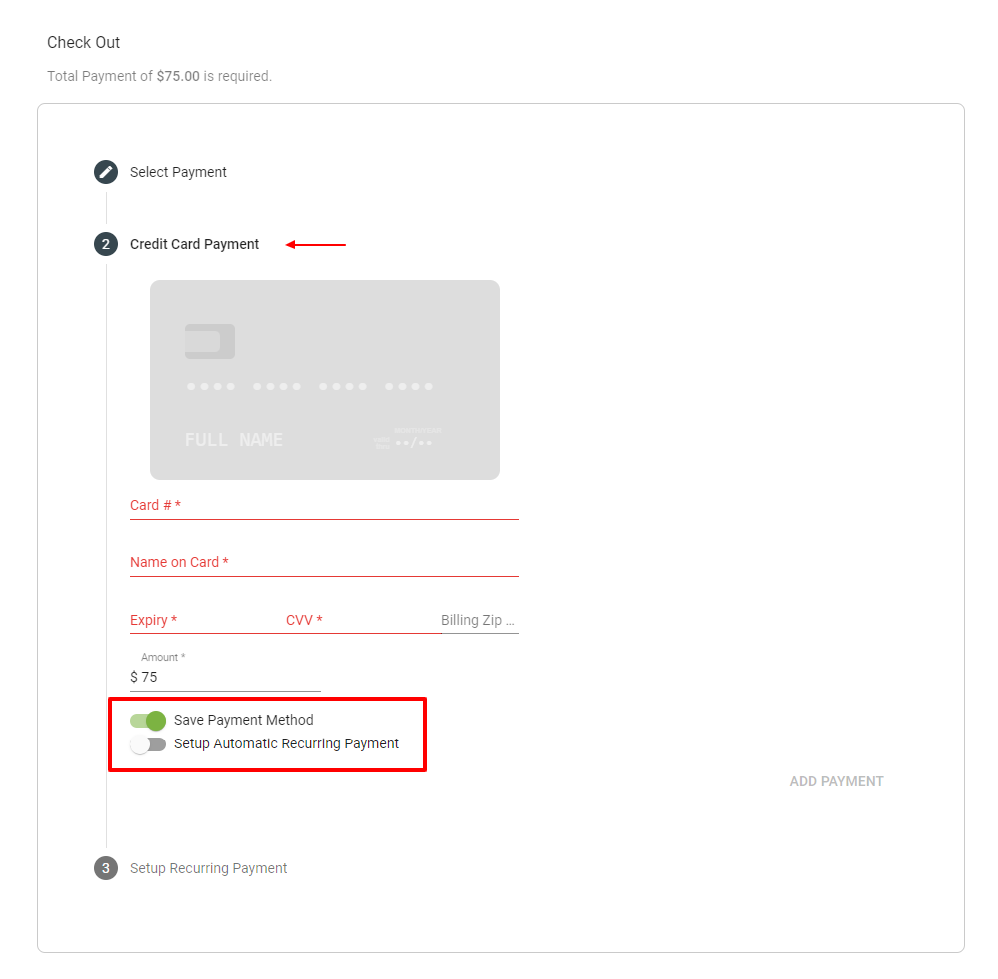
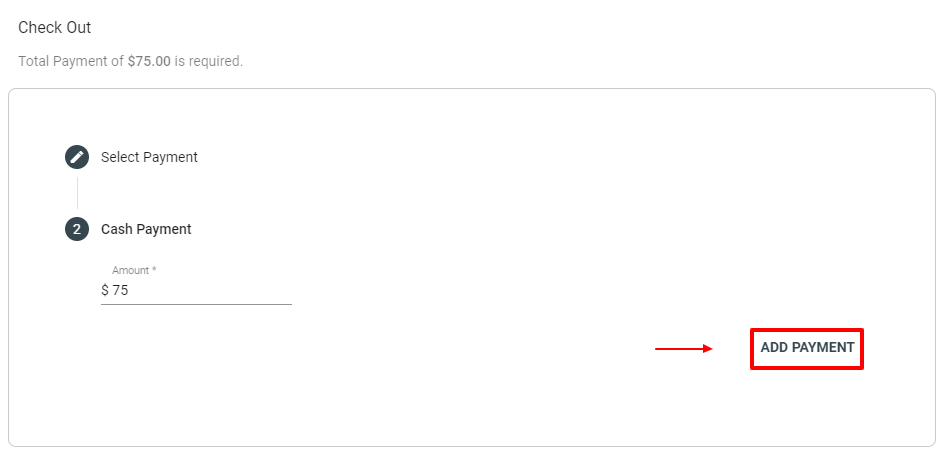
After entering payment information, click ADD PAYMENT.
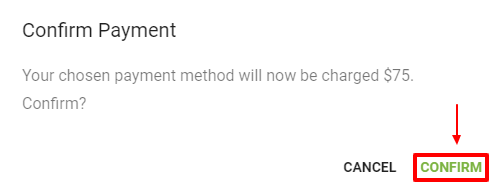
Click CONFIRM to confirm payment.
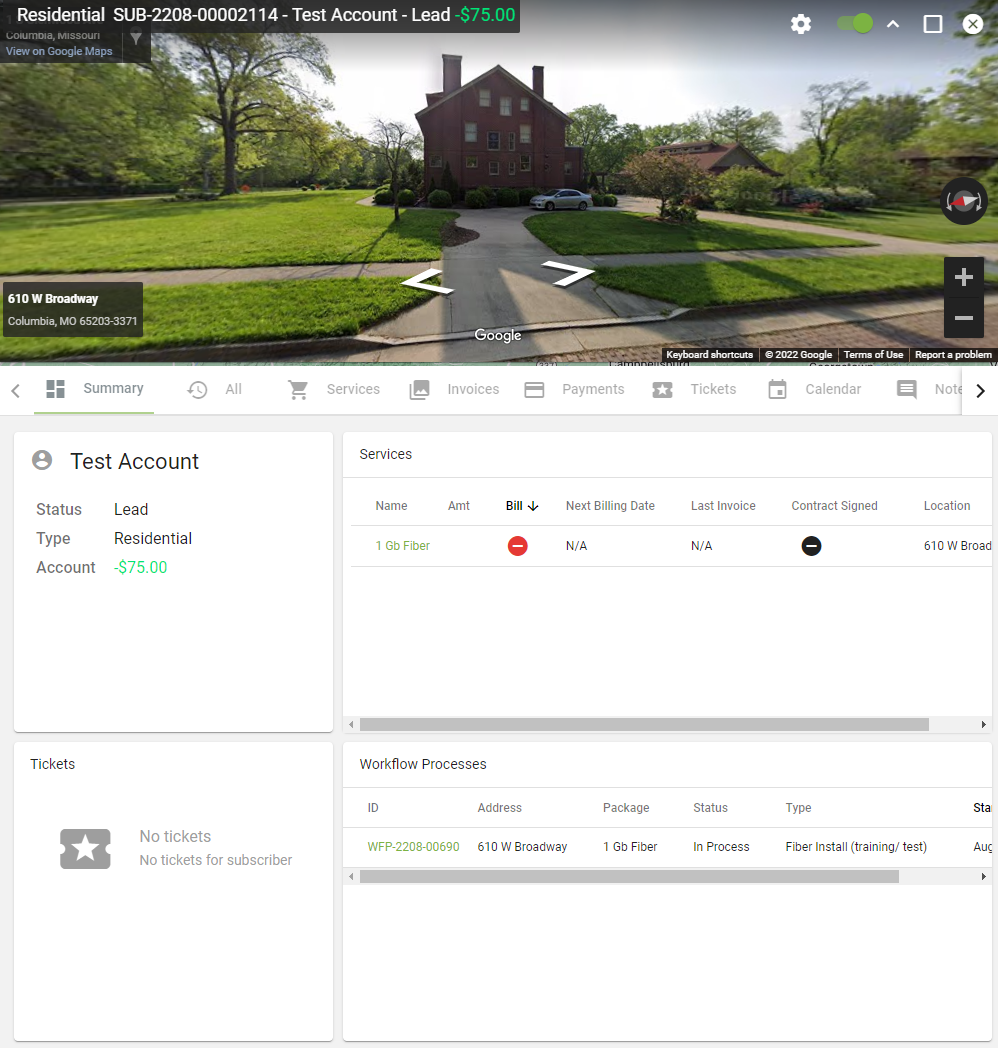
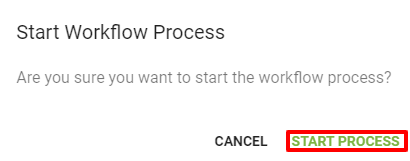
Then you will be able to view the new Subscriber Account Page. Remember to make sure the workflow is launched if needed and then subscriber status will automatically flip.