Workflow Example - Suspend Service
When a subscriber's service needs to be suspended, a dynamic Workflow can put into place a processed and automated path.
The following example details a service suspension workflow that can be implemented into the network.
Learn more about:

Add a workflow
Suspension workflows can be used in a variety of situations and can be tailored for business, residential and government accounts.
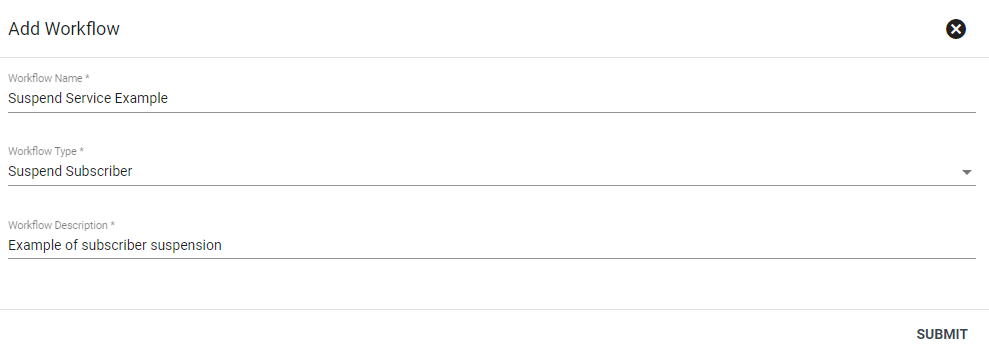
Start by creating a new workflow and select a workflow type from the drop-down menu. Input a workflow description, then click SUBMIT to create the new workflow.
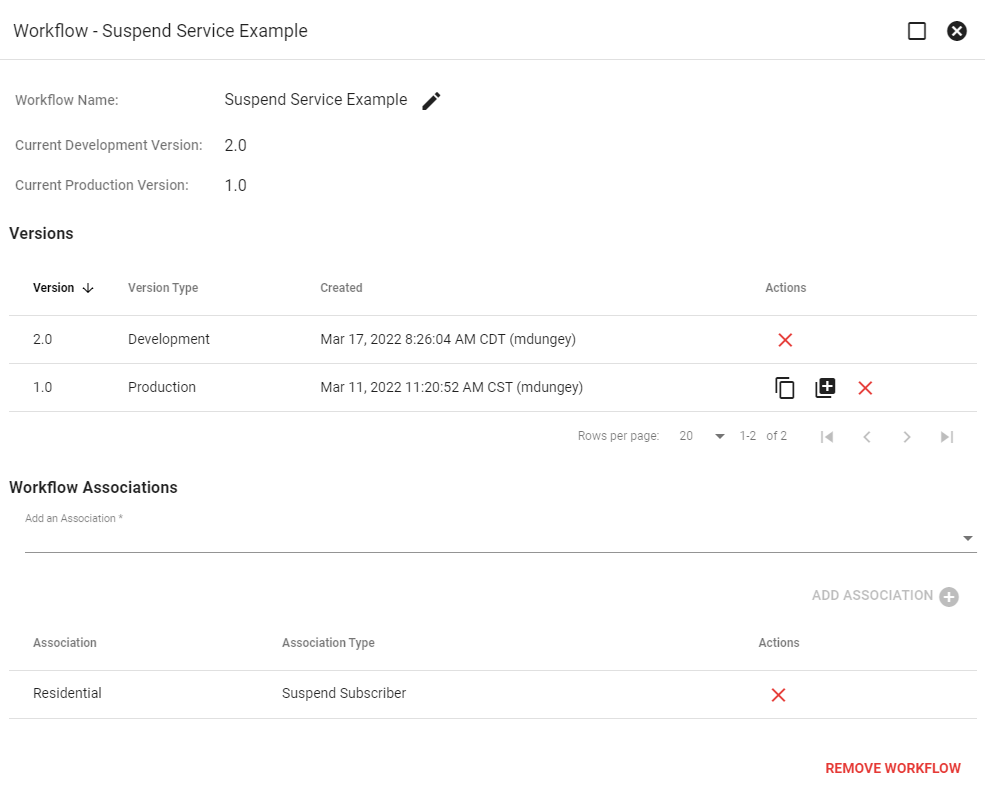
Click on the workflow version to view and add to the workflow. Workflows that are in development will only display the option to delete 


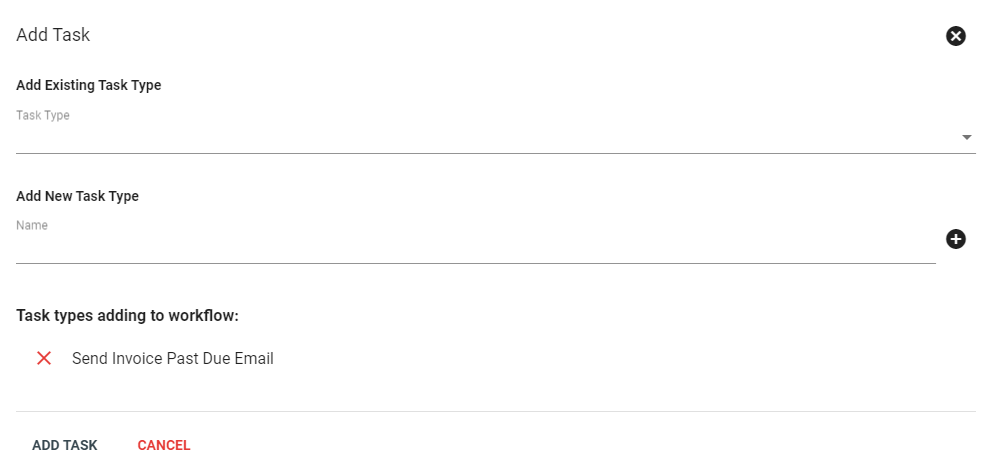
To add a task to the workflow, click on the + icon in the lower righthand corner, then select the add task 
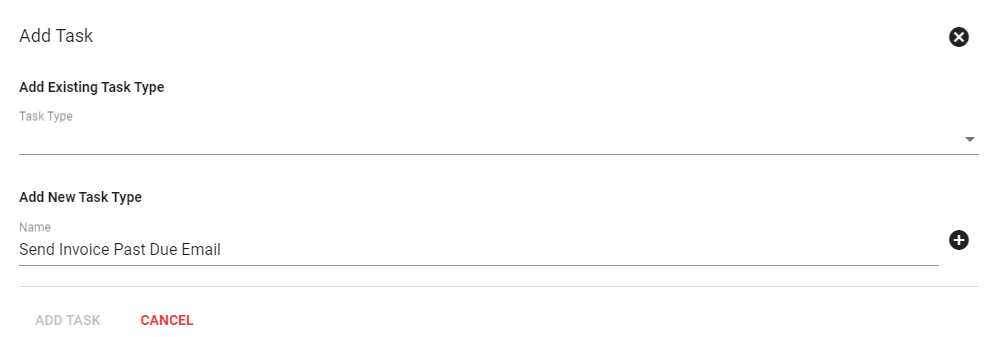
If creating a new task type, make sure to click the + icon to create the new task, then select the ADD TASK button to add the task to the workflow.
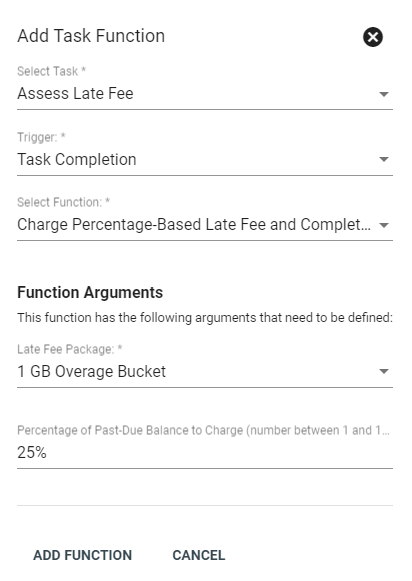
To add a function to the workflow, click the + icon in the lower righthand corner to add a
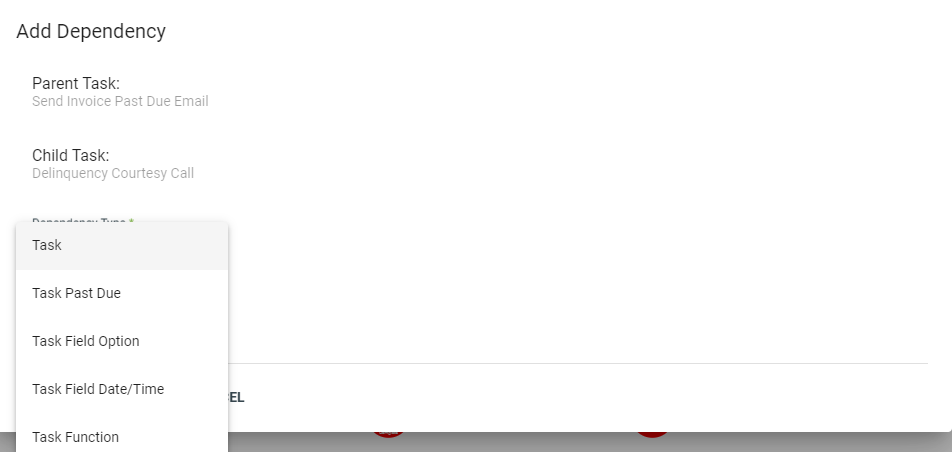
Create task dependencies by clicking and dragging from the first task to the second task. Choose a dependency type from the drop-down menu.
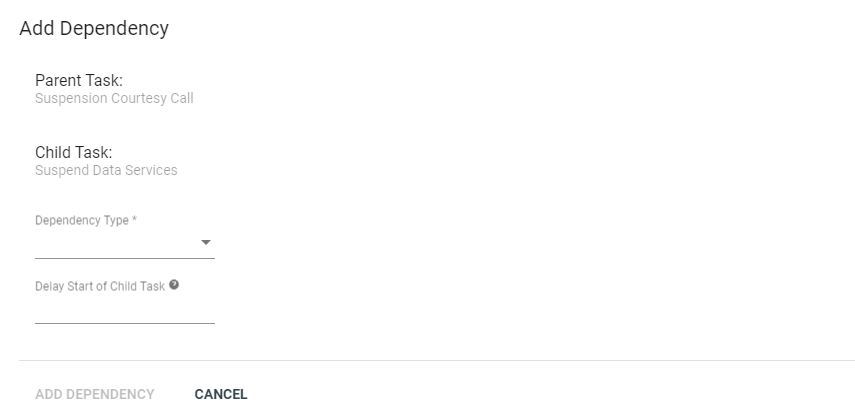
Choose a dependency type from the drop-down menu and input a delay start time if applicable.
Click ADD DEPENDENCY to create the task dependency.

Suspension workflow tasks
A standard suspension workflow will have a few key components.
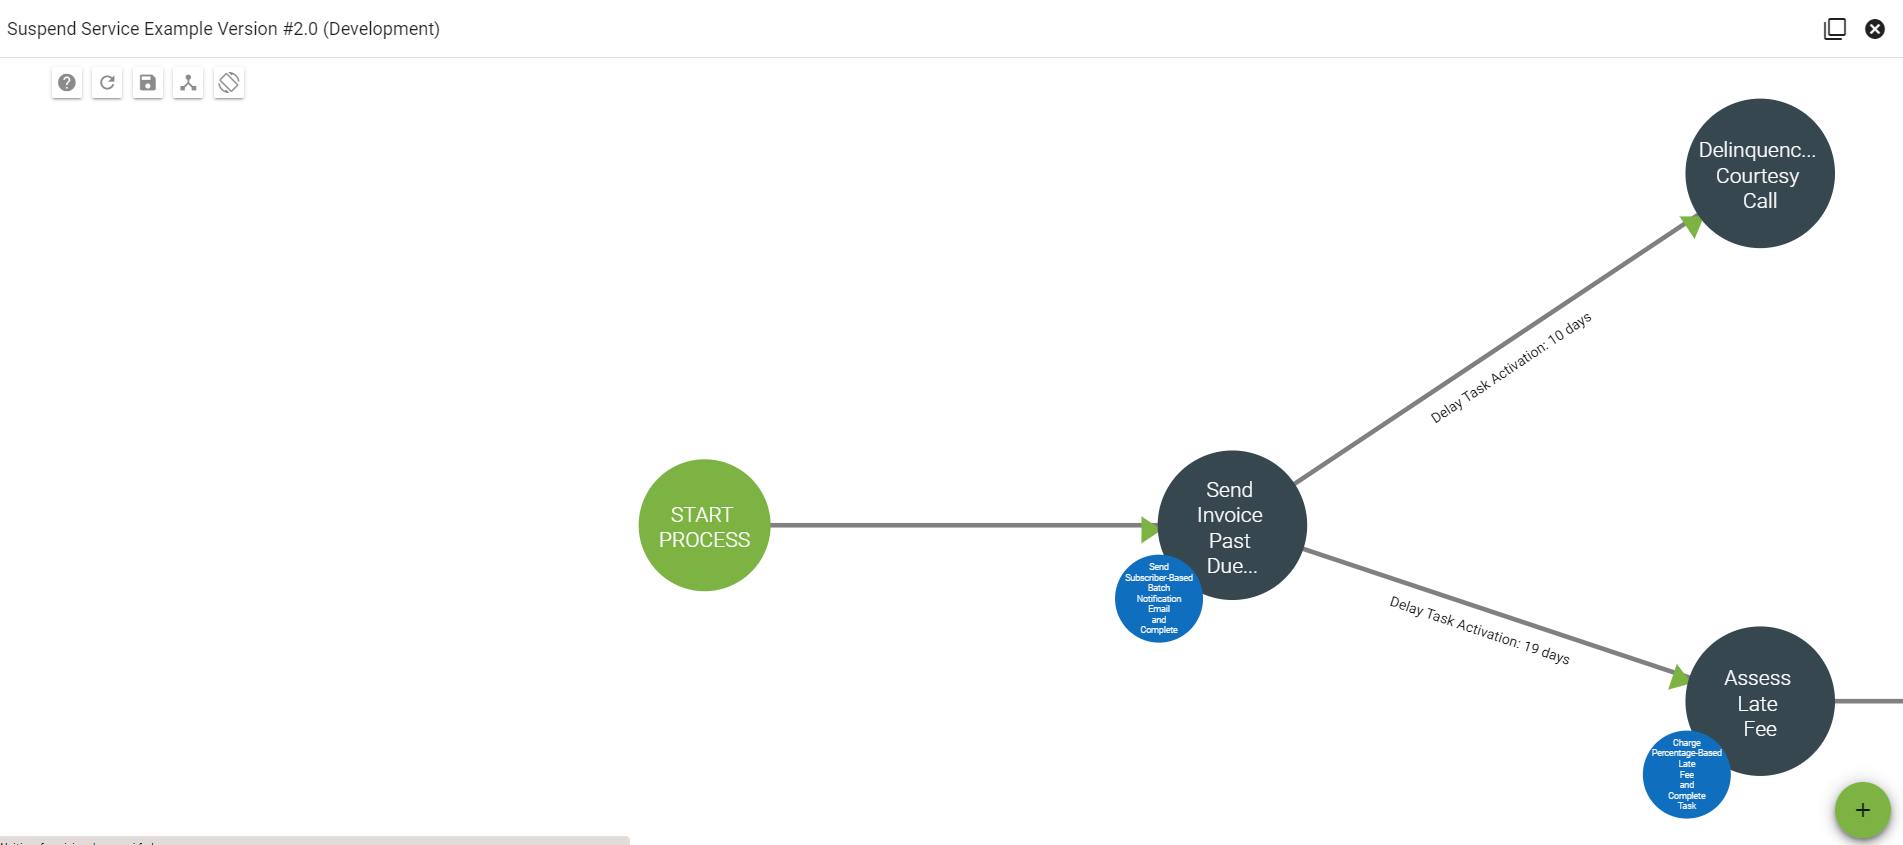
Part one:
The process will typically start with a "Send invoice past due email" with a "send subscriber-based batch notification email and complete" function attached.
The next tasks and functions can be:
- "Assess late fee" task and "charge percentage-based late fee and complete task" function delayed by X days. The function is triggered based on task creation.
- "Delinquency courtesy call" task delayed by X days.
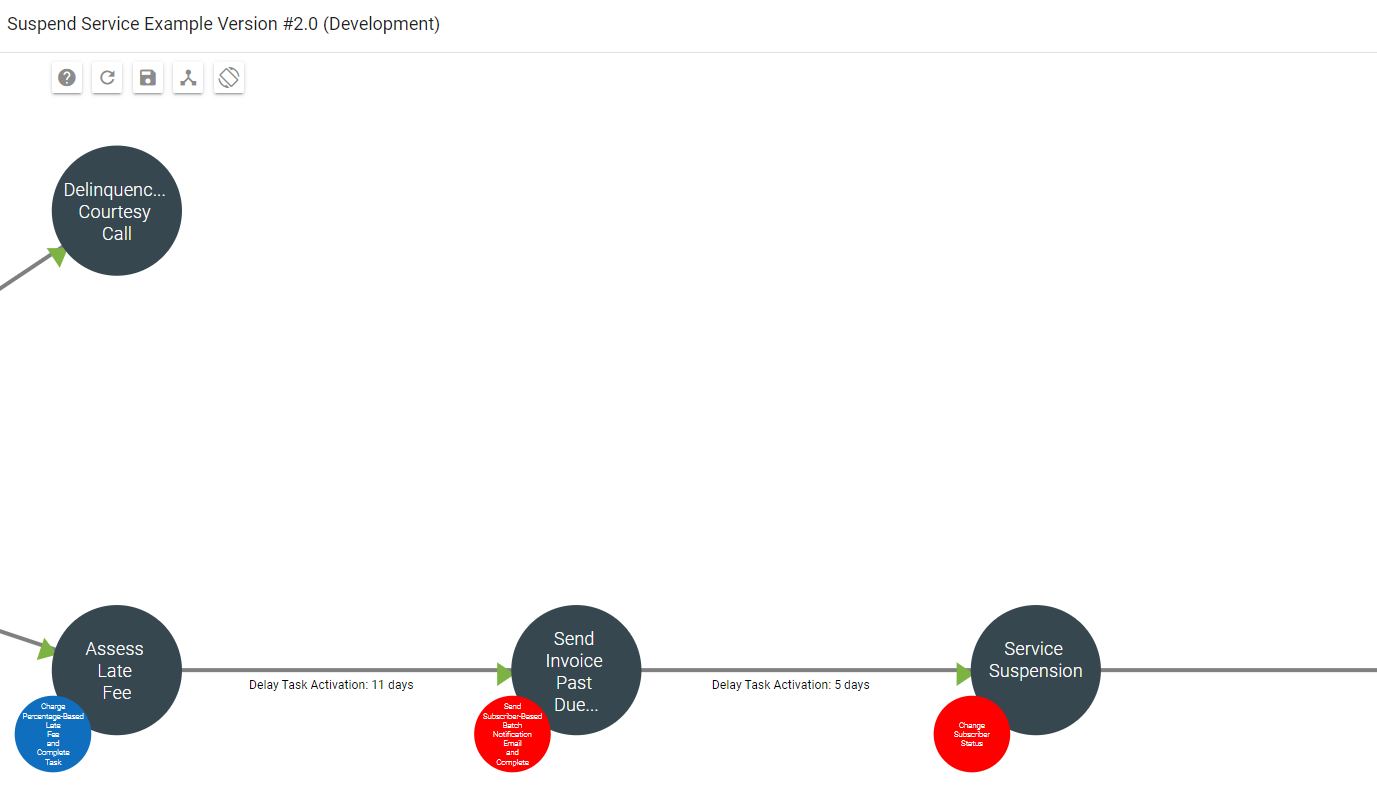
Part two:
Typical next tasks and functions include:
- "Send invoice past due final notice" task and a "Send subscriber-based batch notification email and complete task" function delayed by X time. This function is triggered by task completion.
- "Service suspension" task and a "Change subscriber status" function triggered by task completion.
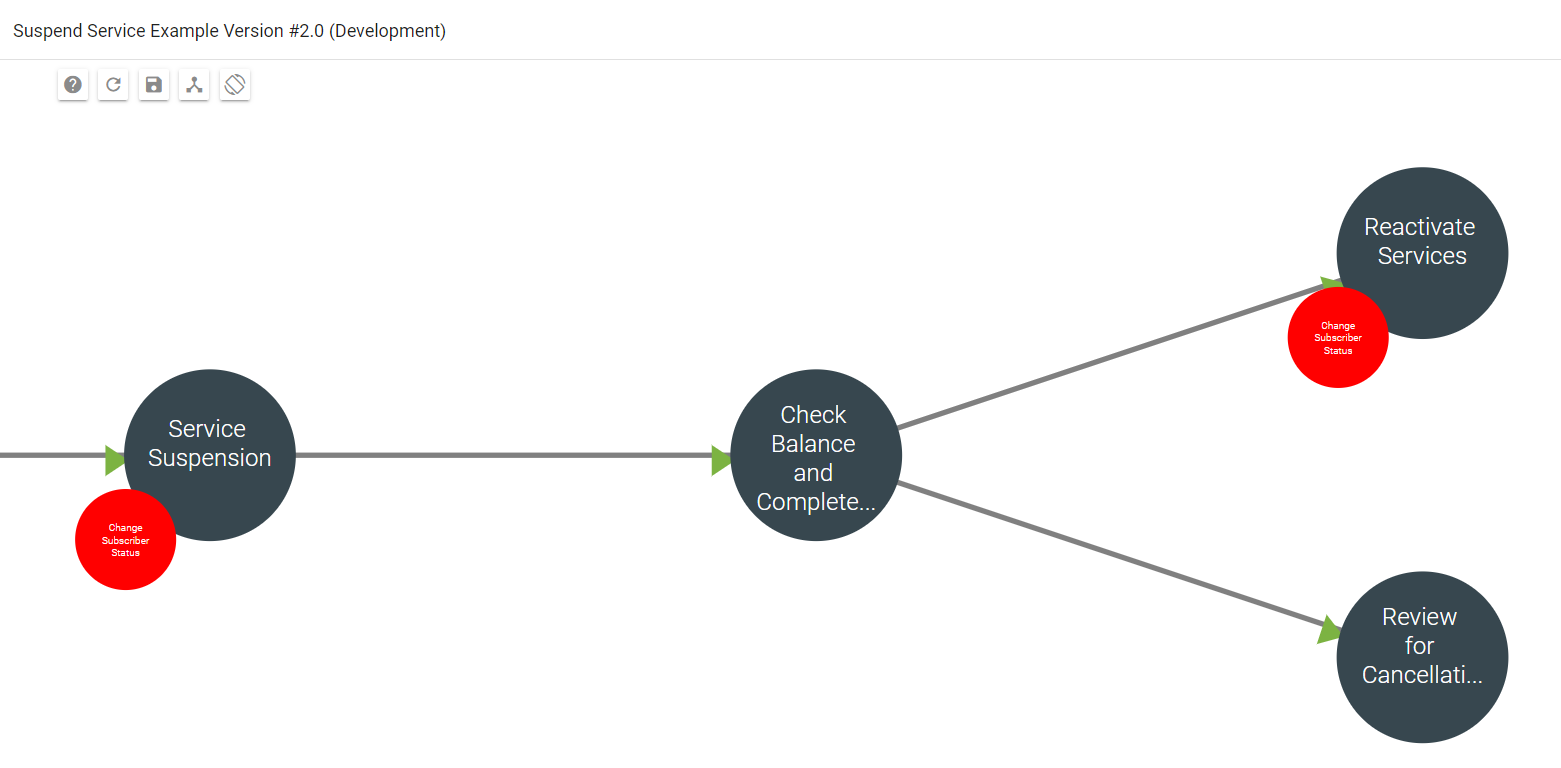
Part three:
Typical next tasks and functions include:
- "Check balance and complete suspension" task.
- "Reactivate services" task and "change subscriber status" function triggered by task completion. This task is dependent on the "Check balance and complete suspension" task.
- "Review for cancellation" task. This task is dependent on the "Check balance and complete suspension" task.
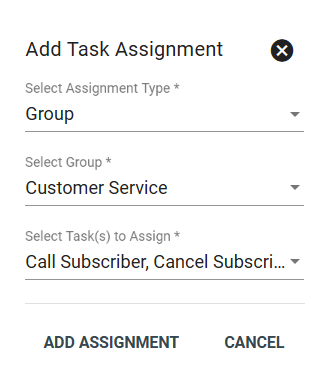
Now we'll add assignments to our tasks by clicking 

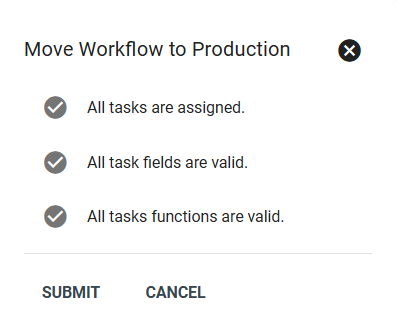
To move this Workflow to production click