Getting Familiar with the New Map
The updated map includes several changes to how map settings, satellite imagery, and subscriber locations are displayed. While the available information remains similar, some controls have moved and subscriber markers are now grouped to make larger service areas easier to navigate.
Quick Links
Map Controls
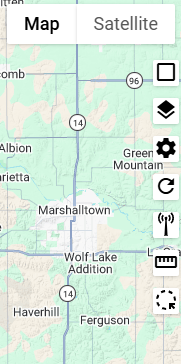
On the old map, map controls and settings are located along the right side of the screen.
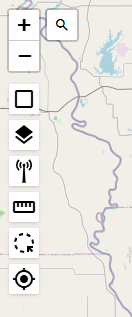
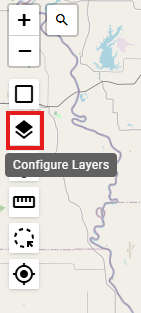
On the new map, these controls are located along the left side of the screen. This includes tools for searching, managing layers, and adjusting what information appears on the map.
Address Search
One new feature in the map controls is address searching.
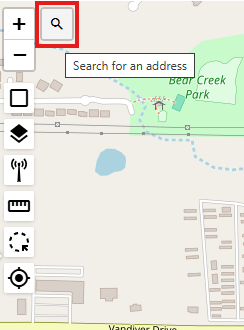
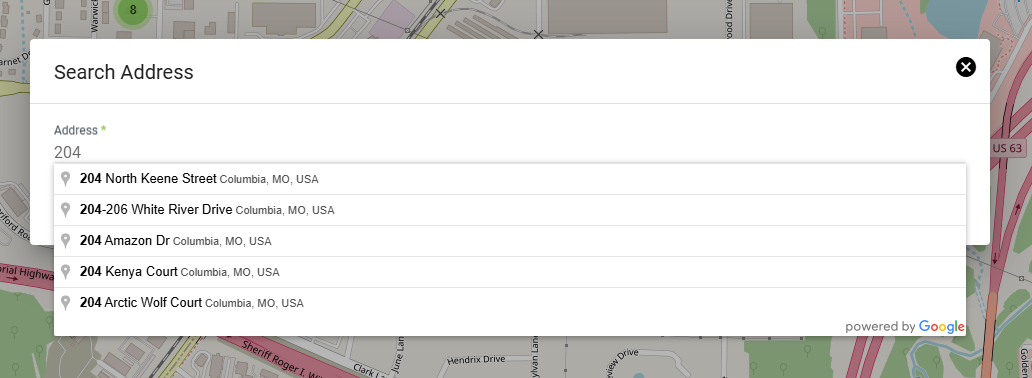
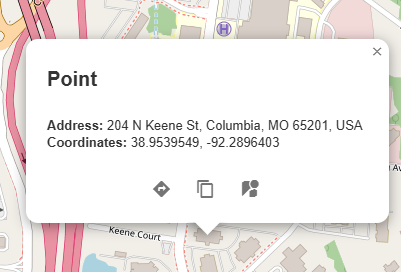
Click on the search icon in the top right to pull up the search screen. Here you can input any address and be immediately transported there on the map.
Satellite View
The process for changing the map background differs between versions:
-
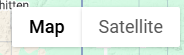
Old map: Select Satellite in the upper-right corner of the map.
-
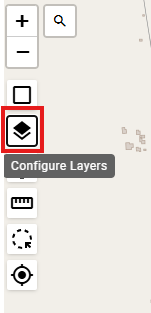
New map: Open the Configure Layers menu on the left side, then go to Map Options and change the base map to Satellite.
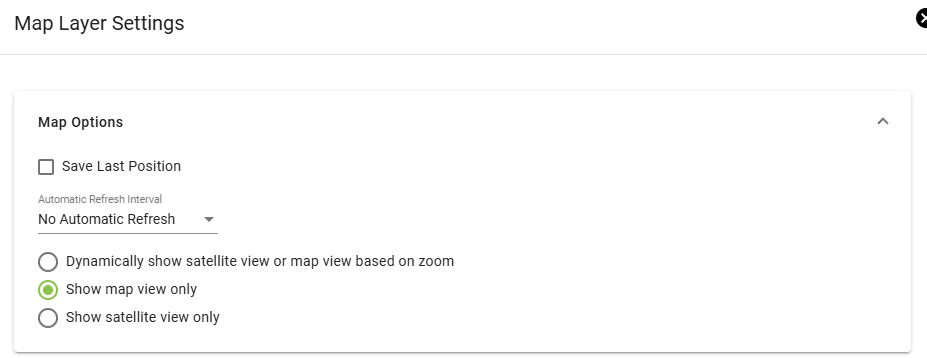
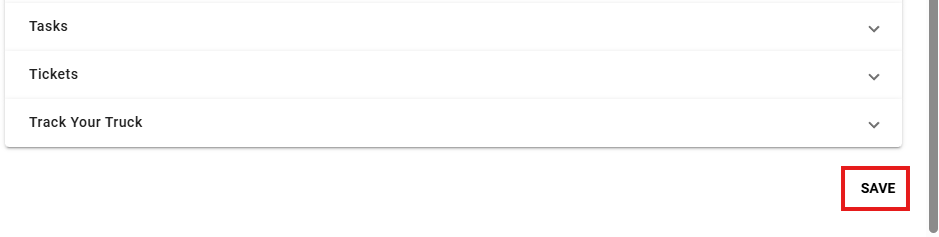
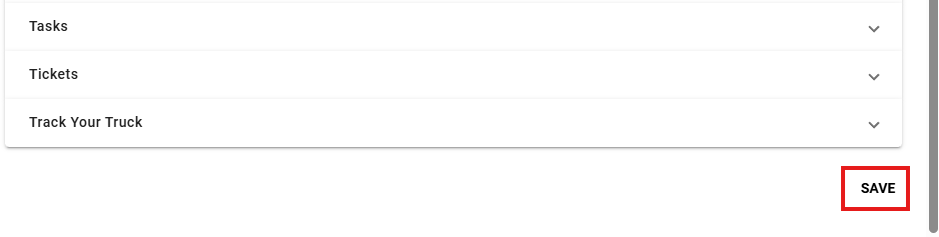
To return to the standard map view, open the same setting and select the regular map option. To save changes, ensure that after clicking your desired change, you scroll to the bottom and click save in the bottom right.
Subscriber Clustering
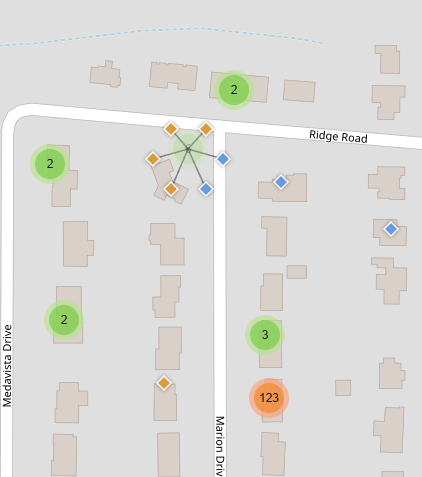
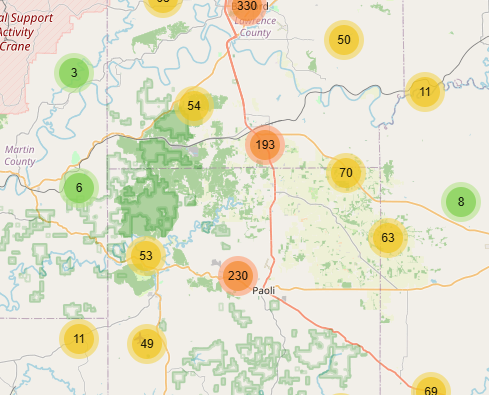
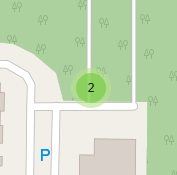
The new map groups nearby subscribers into numbered circles when the map is zoomed out. The number inside each circle represents how many subscribers are included in that area.
As you zoom in, larger groups automatically separate into smaller groups. Continuing to zoom will eventually display individual subscriber locations.
The color of each circle provides a visual indication of the number of subscribers in the group:
-
Green indicates a smaller number of subscribers.
-
Yellow indicates a moderate number of subscribers.
-
Orange indicates a larger concentration of subscribers.
This clustering reduces the number of individual markers shown at once, making the map easier to read and improving visibility across larger geographic areas.
You can click on a cluster to get it to display the contents of it.
Street View
Street View is accessed differently depending on which version of the map you are using.
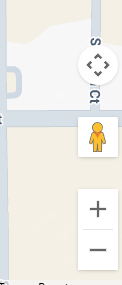
On the old map, select and drag the yellow Street View figure from the lower-right corner of the map to the location you want to view.
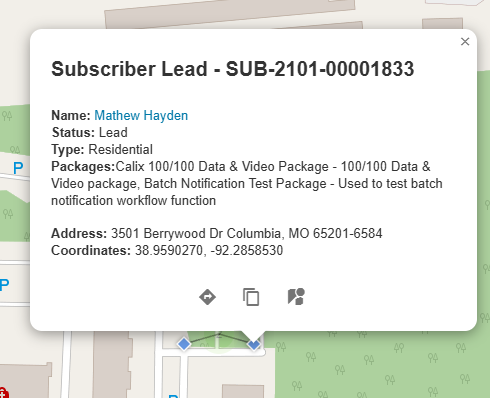
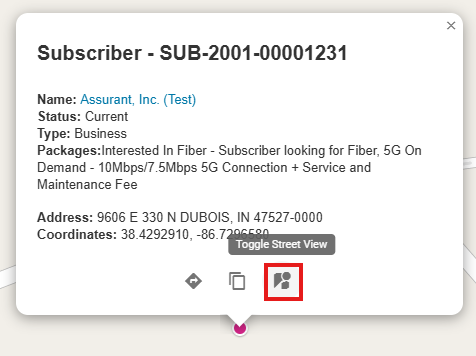
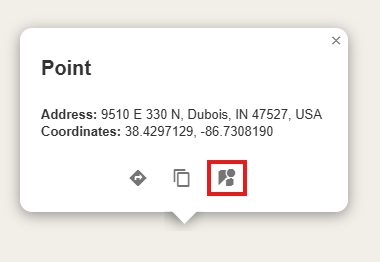
On the new map, click a subscriber point or right-click any location on the map to open the location dialog. Select the far-right icon in the dialog to toggle Street View for that location.
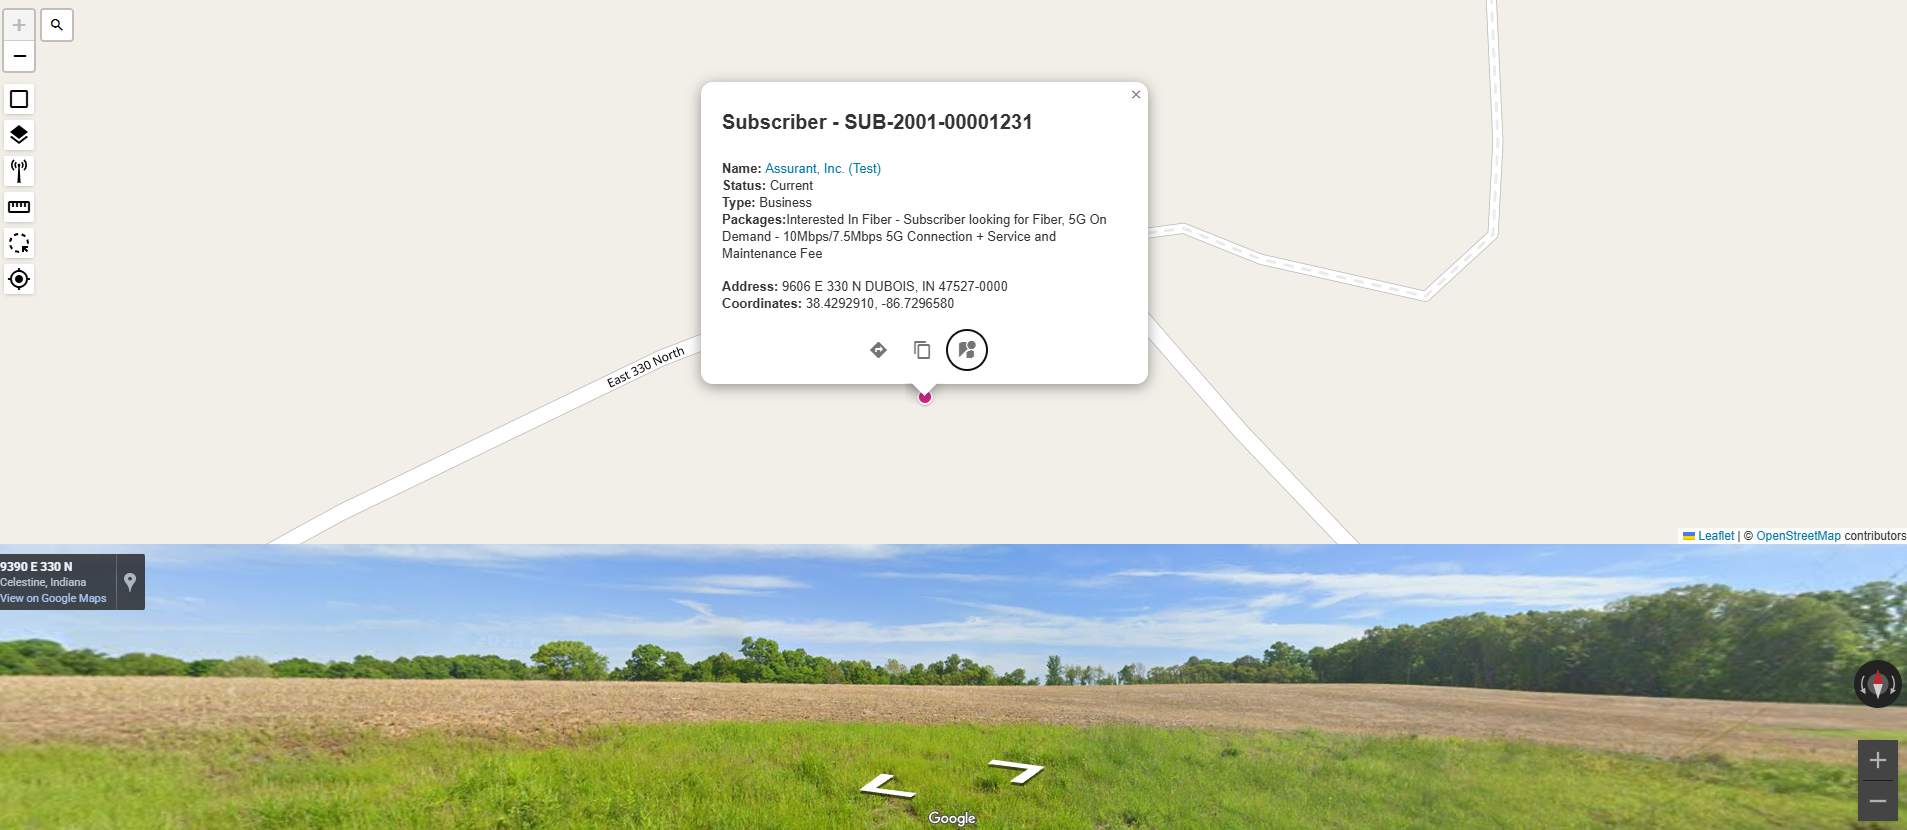
When Street View is enabled, it appears along the bottom of the map. This split view allows you to continue viewing and navigating the standard map while also seeing the selected location in Street View.
Customizing Map Layers
Note: In order to save any layer changes, you must scroll to the bottom and click SAVE.
The new map allows you to customize how each layer appears. Within a layer’s settings, you can enable or disable the layer, choose a base marker color, and select the marker shape used on the map.
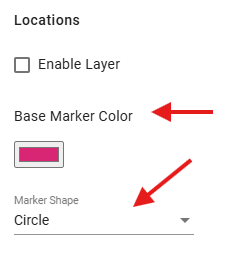
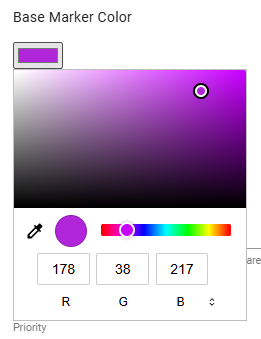
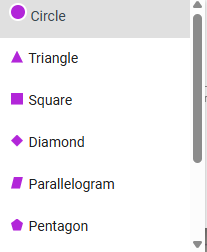
Some layers may include additional options based on the type of information they display. For example, subscriber markers can be colored or filtered by subscriber details such as status or type.
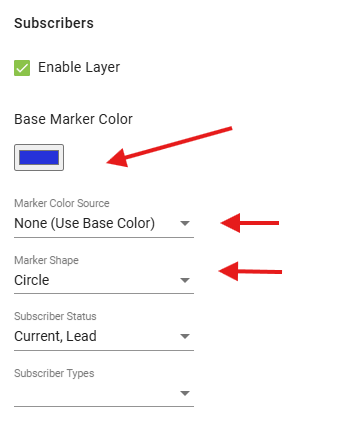
These customization options make it easier to distinguish between different map layers and focus on the information most relevant to your work.