Marketing
The Marketing Tool within Vision allows your team to easily plan, create, and track your marketing initiatives using a familiar format. Having the Marketing Tool fully integrated with your network allows you to easily manage and accurately assess touch points, leading to increased subscriber base growth.
- View/Edit Campaign
- Add Campaign
- Using Functions to Manage Marketing Campaigns
- Marketing Campaign Admin
- Marketing Campaign Reports
- Public Shopping Cart Logs
- Postcards
Learn more about Vision's Public Shopping Cart, Email Templates, Door-to-door Interface, and SMS Templates here.
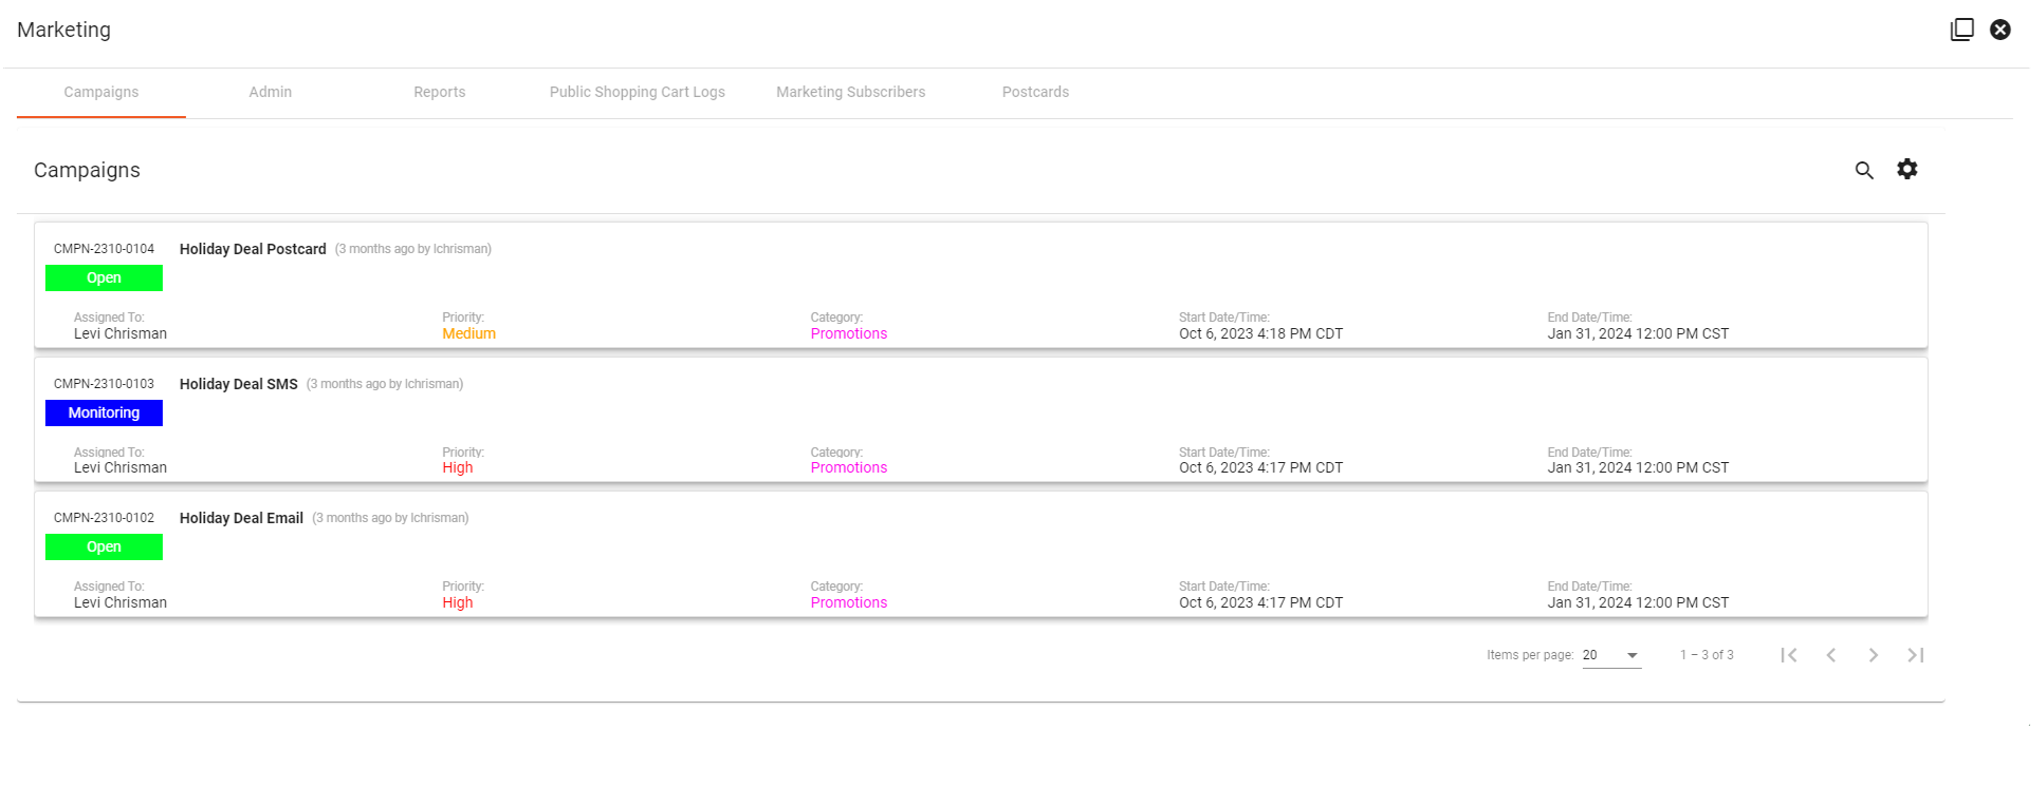
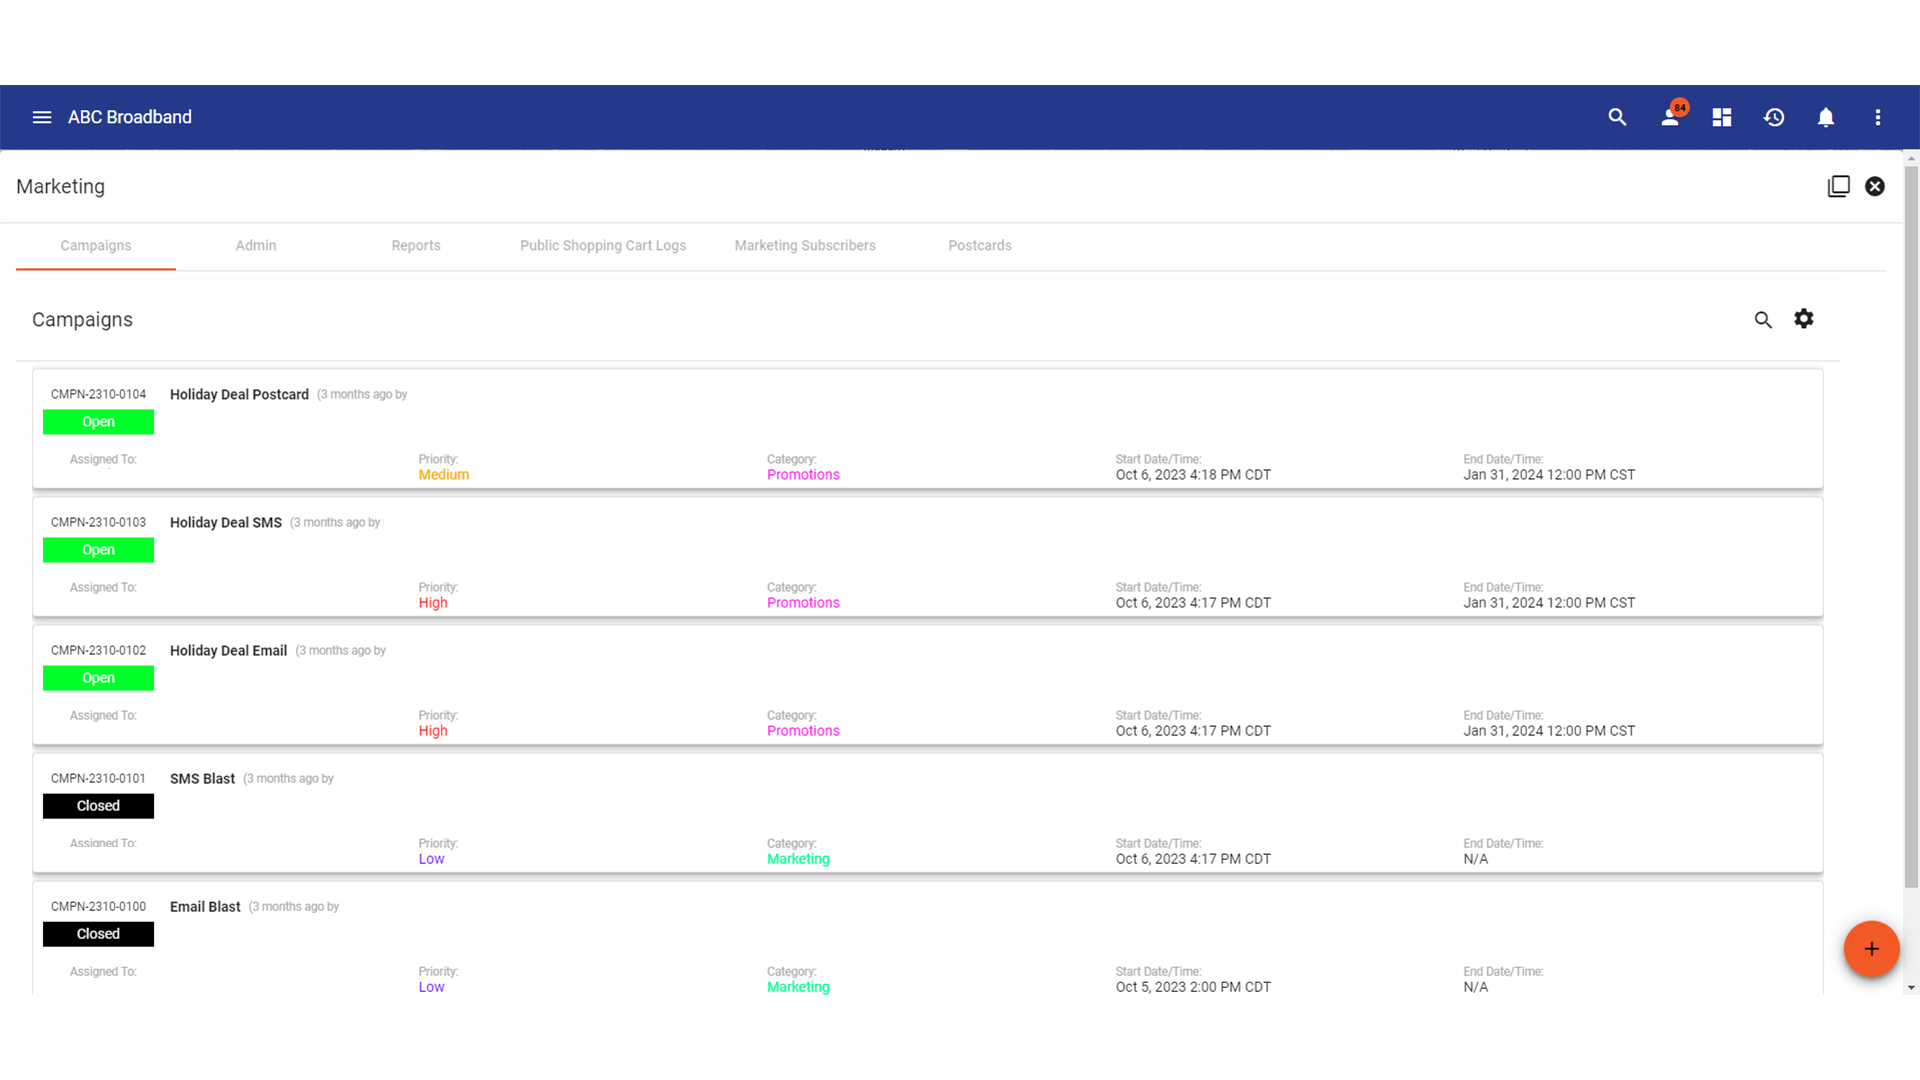
From the menu click Operations and then Marketing. Here you can view all open, monitoring, planning, and closed campaigns. Click on a campaign description to view more information.
View/Edit Campaign
Campaigns within Vision are set up similarly to Tickets. Click a field on the Campaign to make changes (assignments, priorities, etc.).
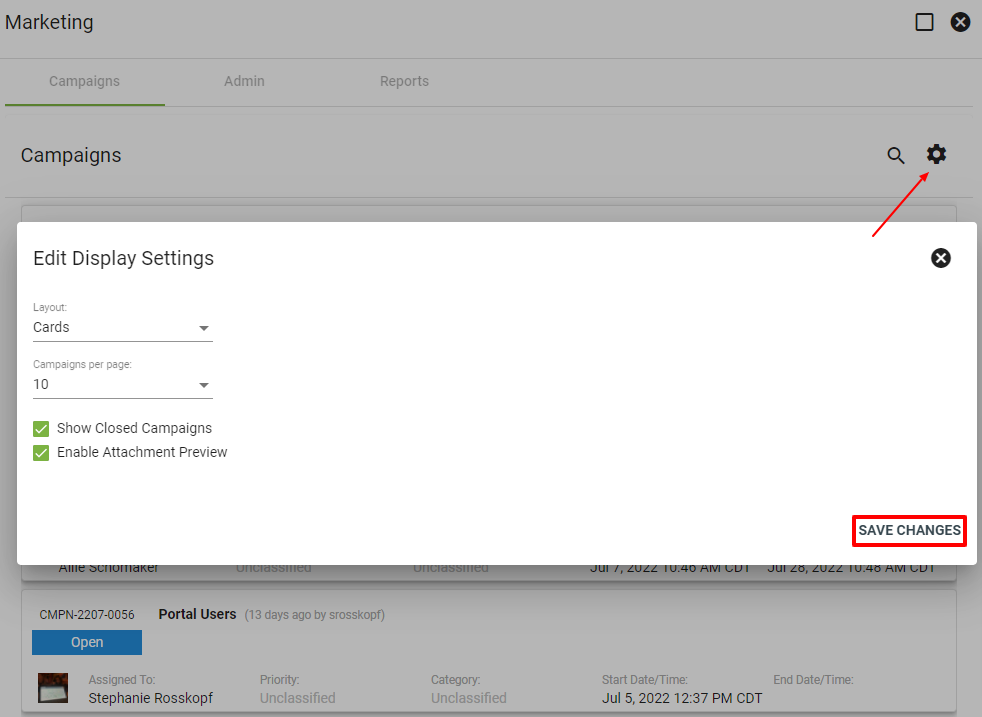
Click on the gear icon 
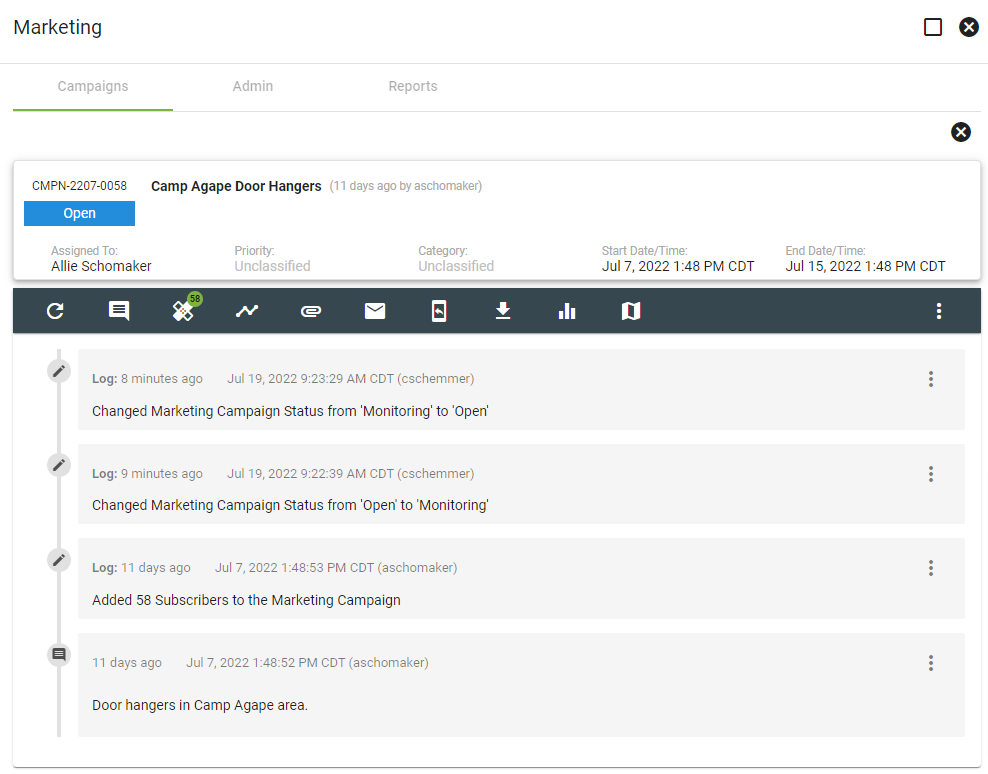
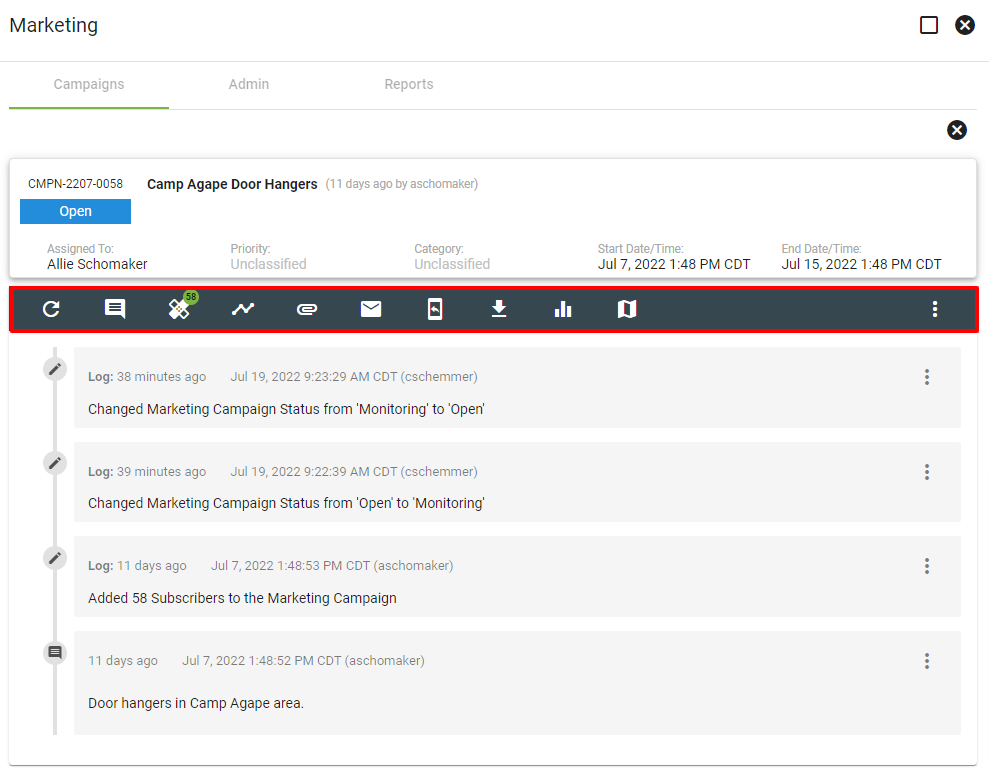
Below the Campaign card you have the following toolbar options:


 Add Post to Facebook
Add Note
Add notes to the campaign log using the content editor. When finished click ADD NOTE.
Notes can include items like screenshots of advertising pieces (postcards, doorhangers, print ads, etc) and desired talking points for sales reps to use when talking to leads over the phone.

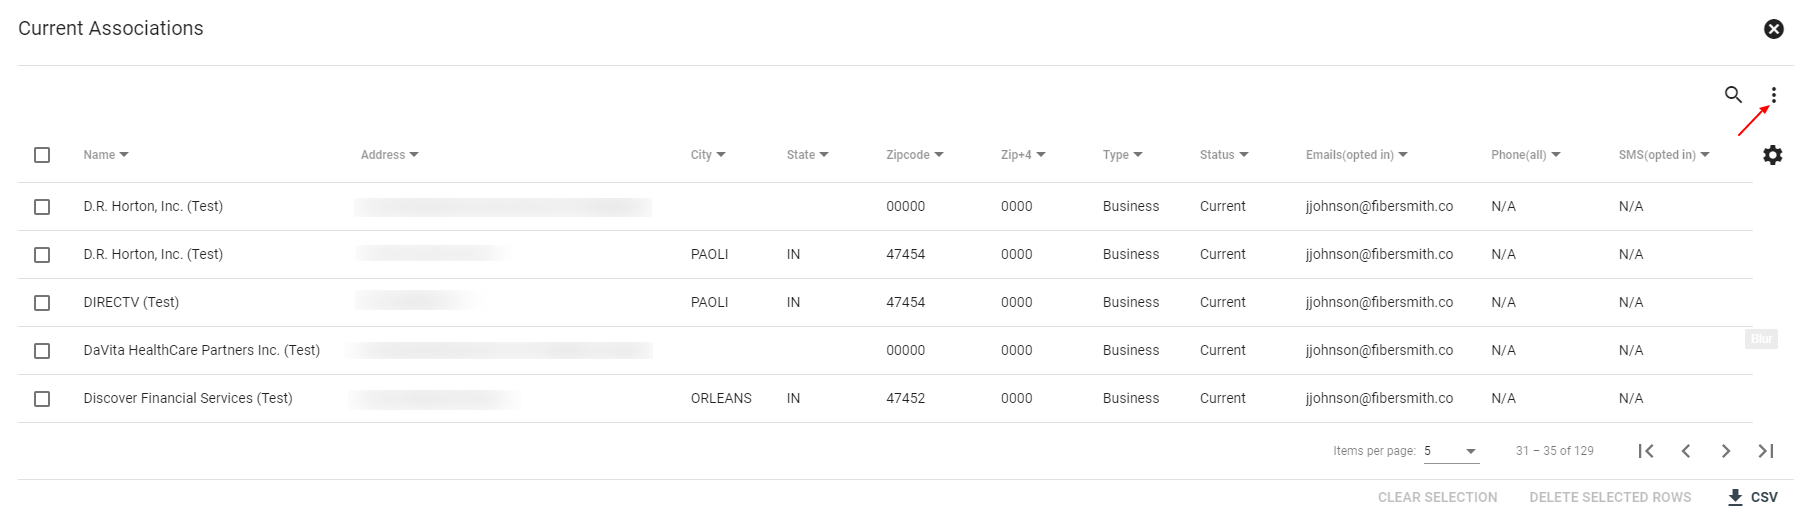
Edit Associations
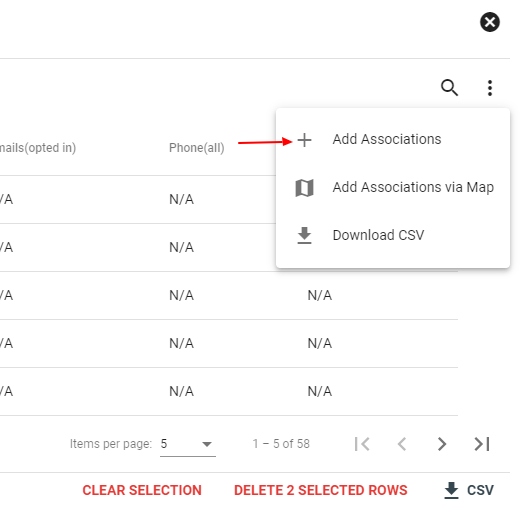
Here you can view Subscribers Associated with this Campaign. Use the 3-Dot menu to add more Subscriber Associations. Click on the gear icon to change the column display options. You can search for associations within the list. You can select rows to delete or delete particular subscribers you do not want to include in the marketing campaign. You can also download the CSV file.
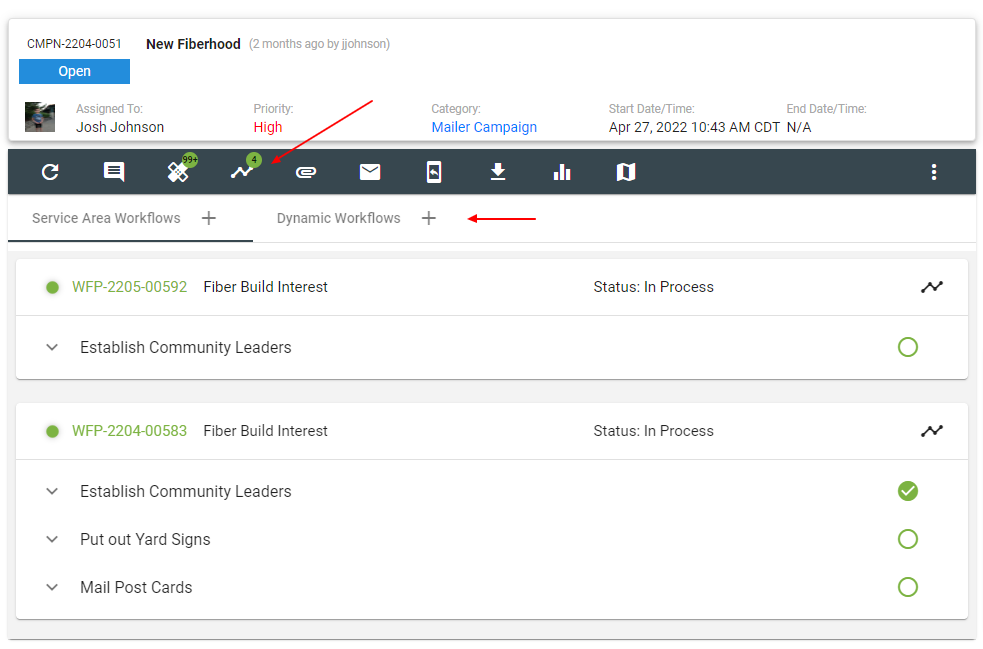
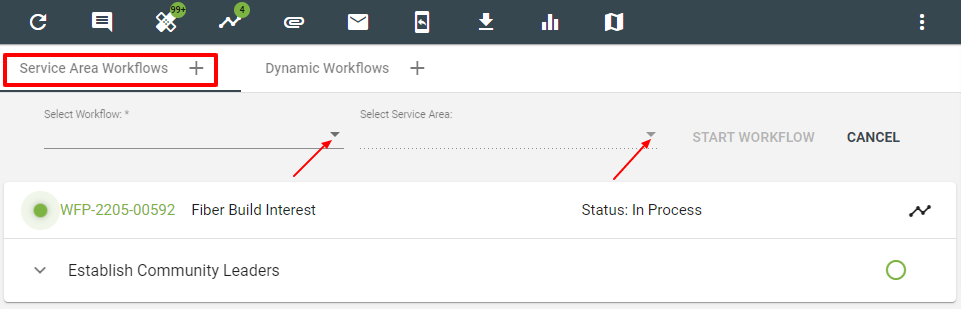
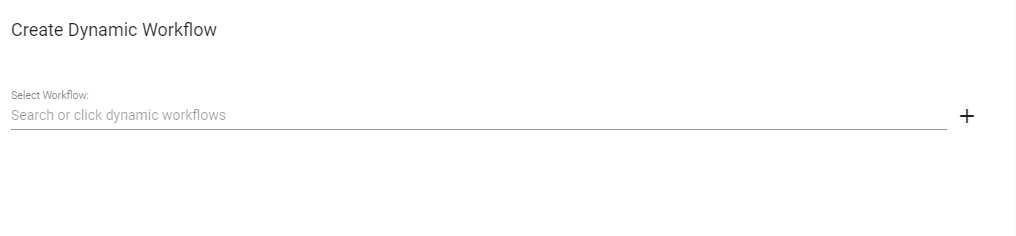
Workflows
Adding Workflows will ensure that tasks associated with a Marketing Campaign are followed. You can tell which associated Workflows are complete and which are in process. You can either start a new Dynamic Workflow or choose from a Service Area Workflows created in the past. Click on the workflow ID number to view the workflow or click on the drop-down arrow to view more information.
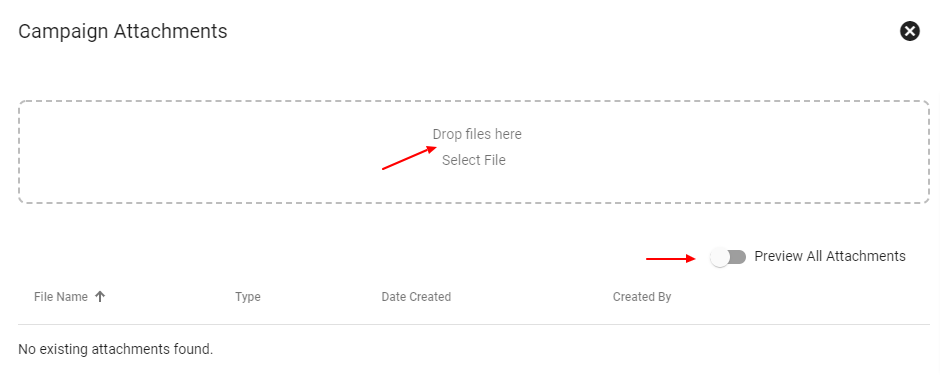
Attachments
Here you can view and add relevant attachments to this Campaign.
Send an Email
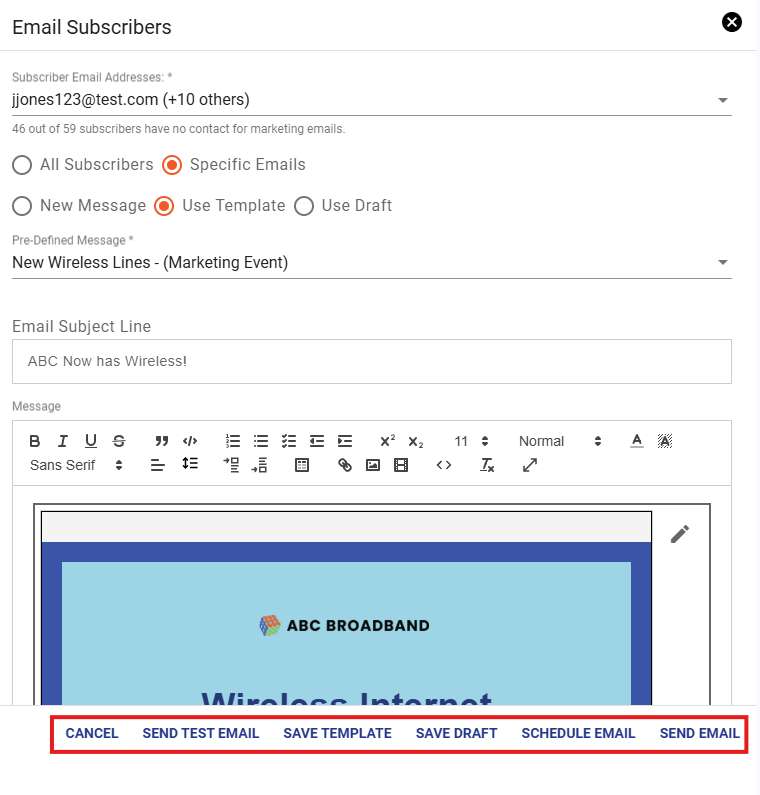
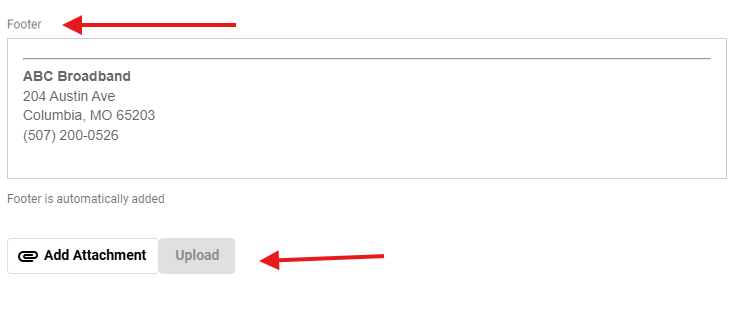
Here you can create and send an email to associated Subscribers. You can either create a new message or use a previously created template. At the bottom you can select cancel, send a test email, save as a template, or send the email. The option to send an email will only display if there is at least one subscriber email associated with the campaign. You have capability to add emojis in subject line of the message. Emails sent do have an interface that is compliant with Gmail. When creating an email, subscriber variables (#subscriberfirstname) are added to customize the emails with the subscriber’s name. An email footer is added to all marketing campaign emails and is customizable through the admin interface.
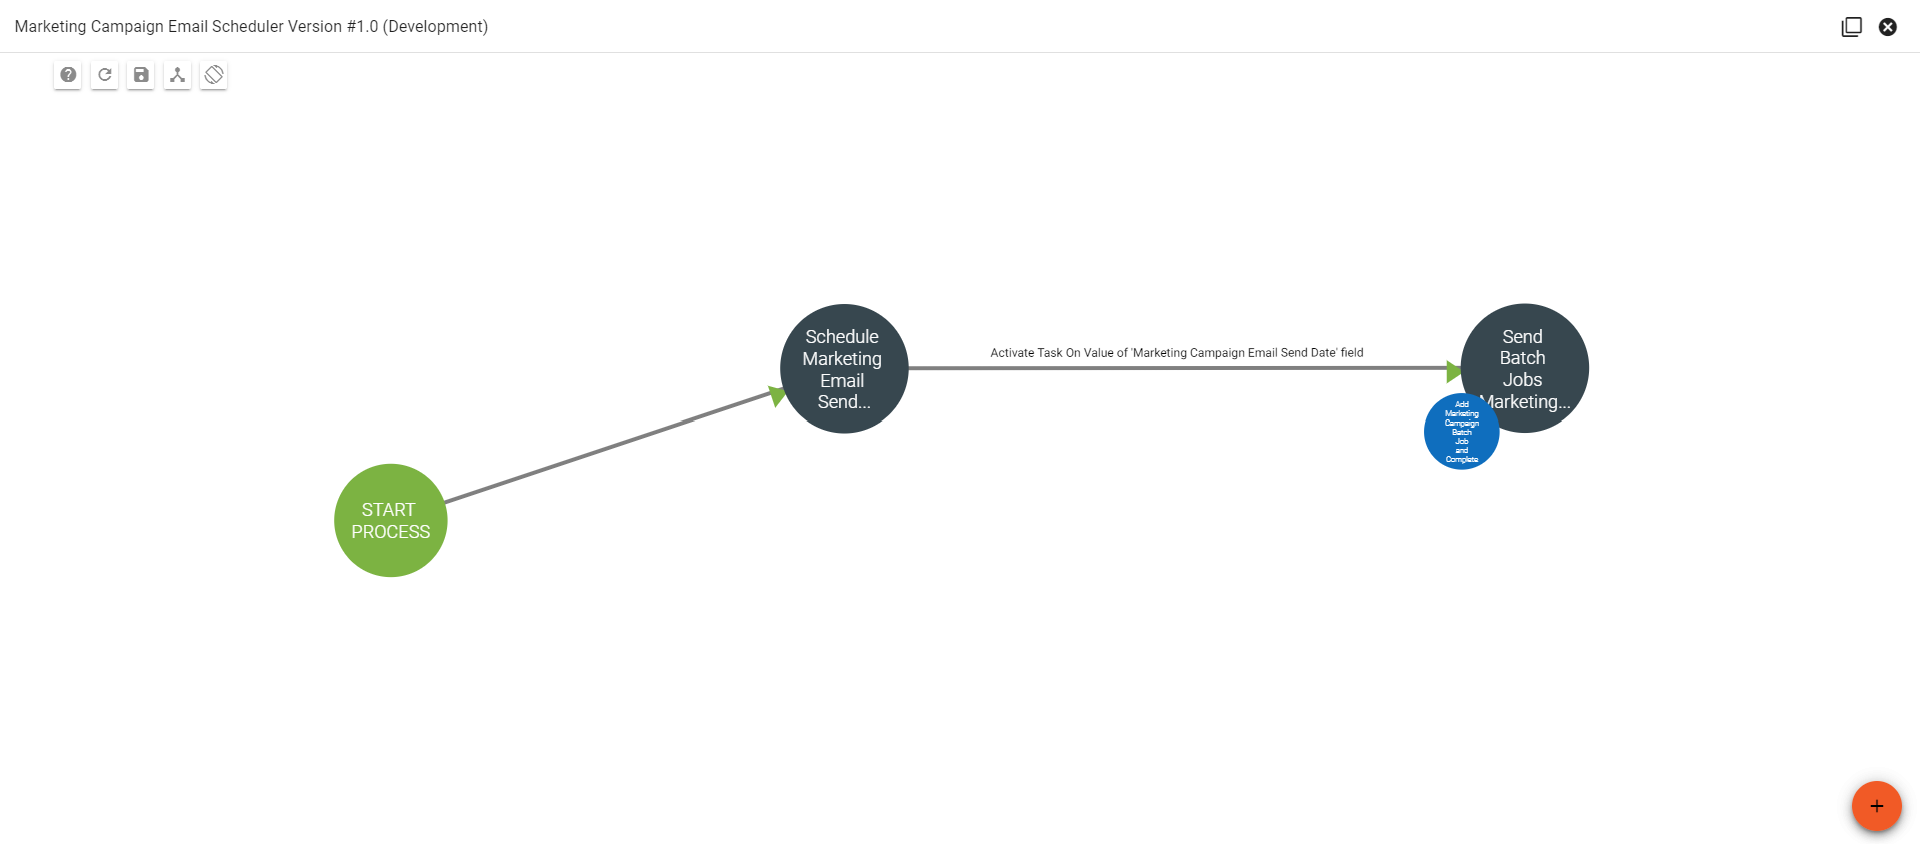
When scheduling an email to be sent out on a scheduled date and time the best way to keep track of the email and if the same email is going to multiple service areas using a workflow is the best way to send out a large amount of emails to subscribers. A simple workflow with the emails send date and send batch email task in the workflow will keep track of the schedule emails being sent out.
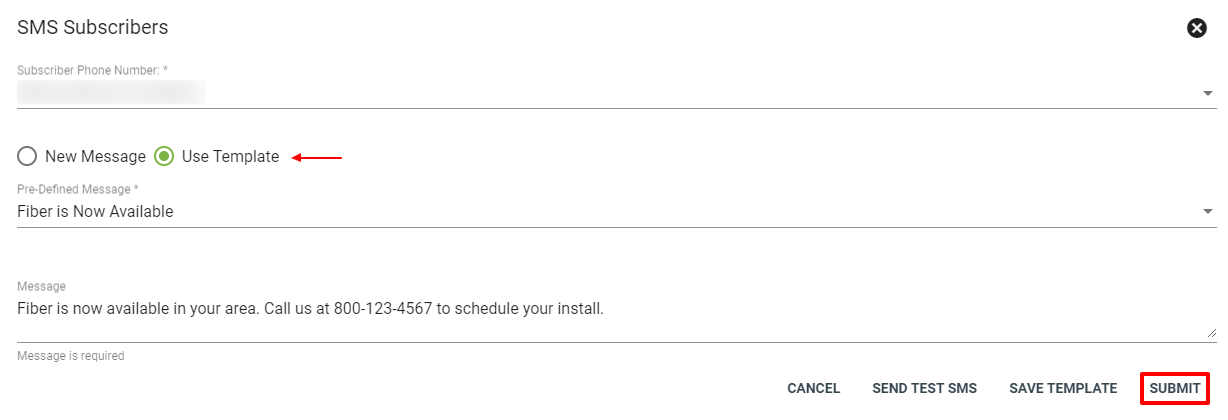
SMS Subscribers
Here you can send an SMS message to associated subscribers. You can either create a new message or use a previously created template. At the bottom you can select you can select cancel, send a test SMS, save as a template, or send the SMS.
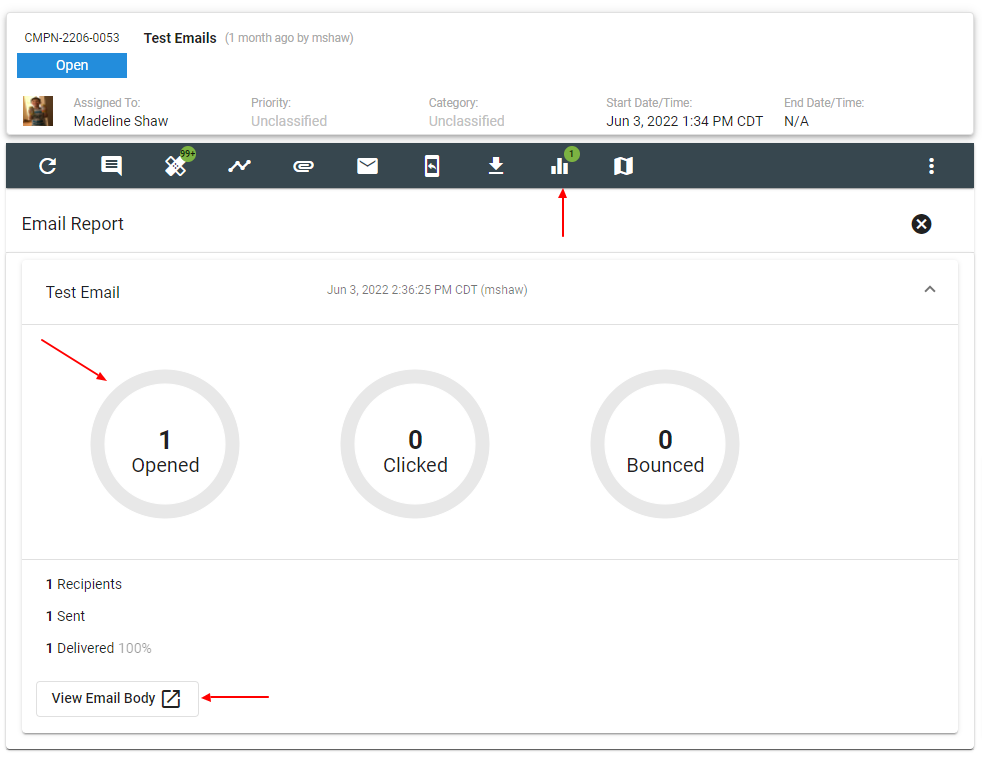
Email Report
Here you can see the Email Reports from a campaign. You can view how many associated subscribers opened and clicked the marketing event email. You can also view how many emails bounced. At the bottom of the page you can view the original email body.
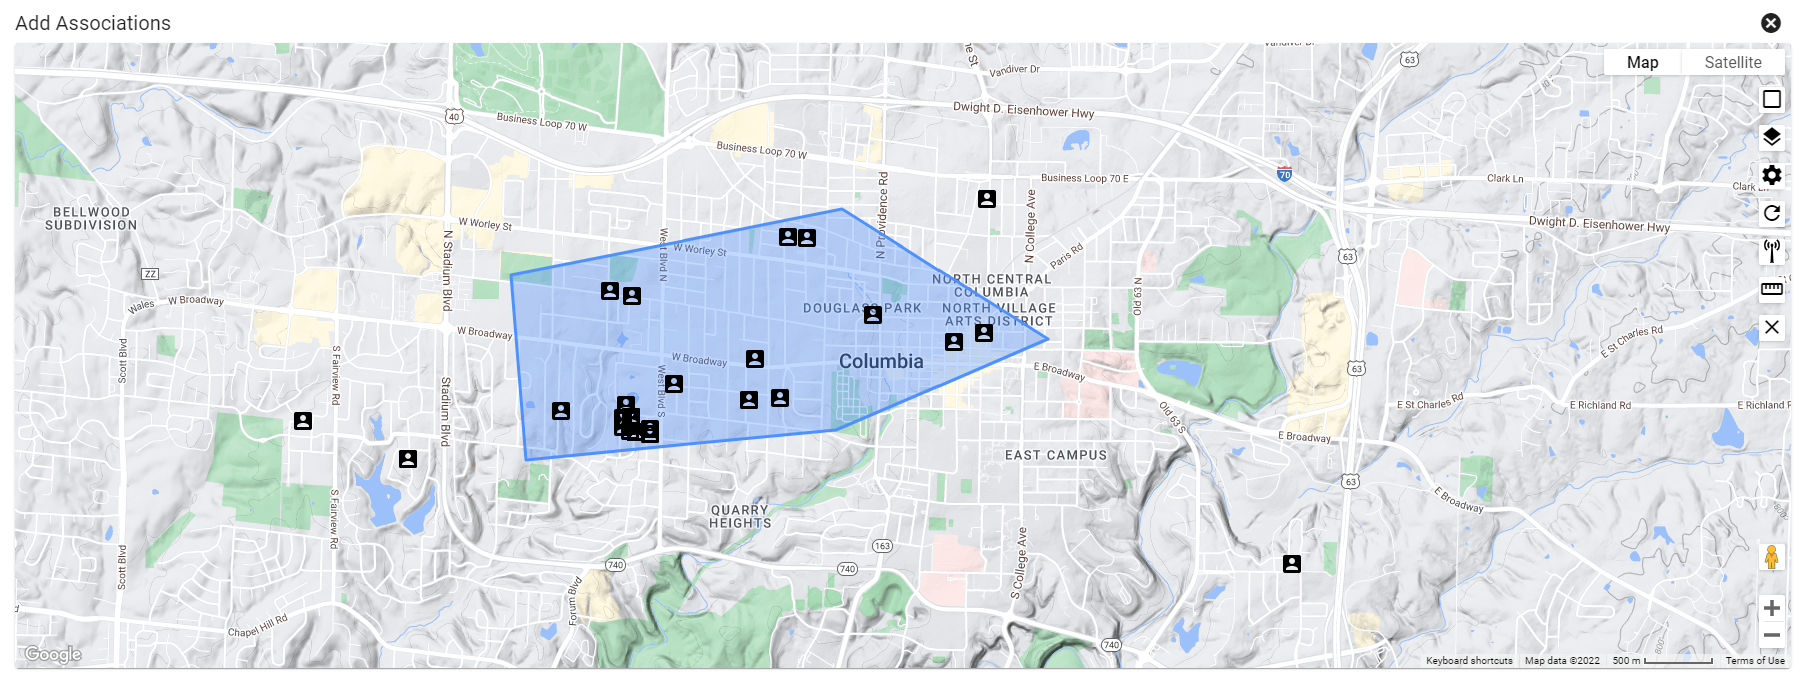
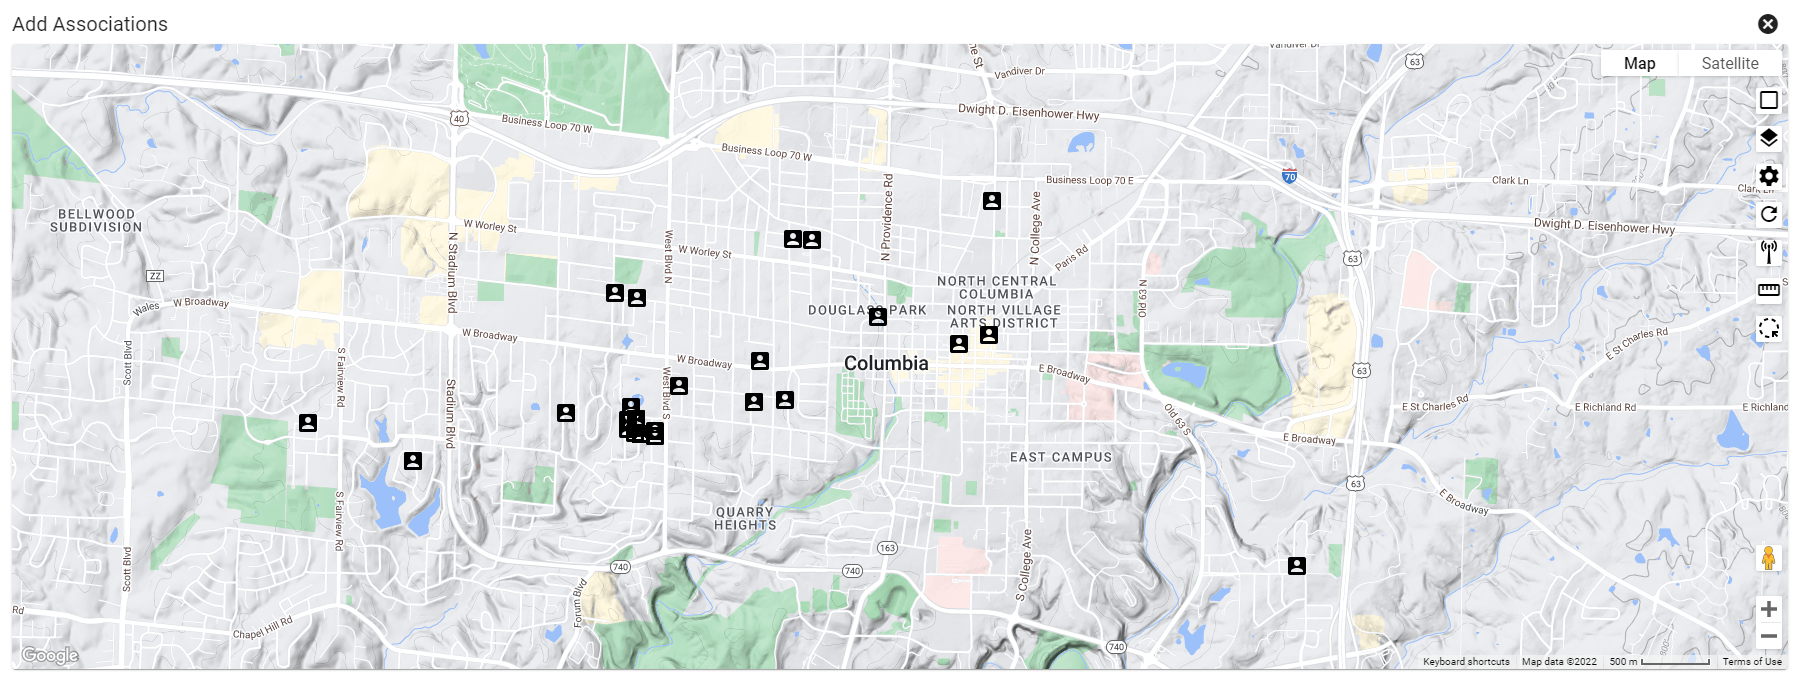
Add Associations From Map
Adding subscribers to a campaign based on a shape on the map is a simple way to make sure you are including the correct service area to a campaign.
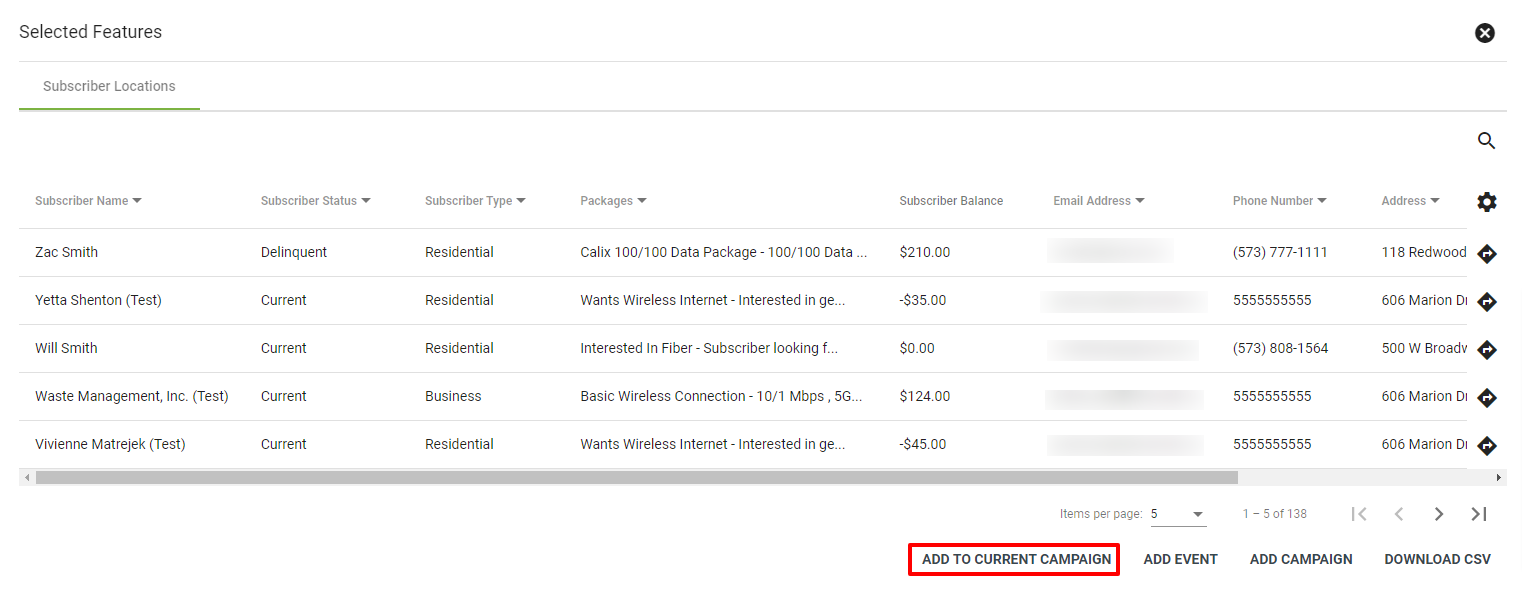
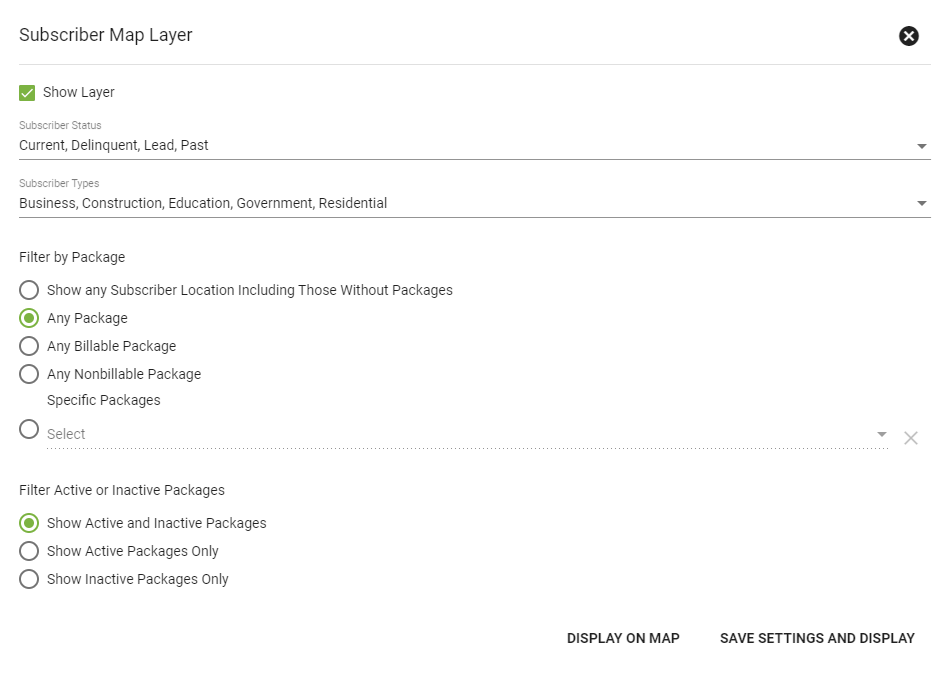
When you are on the specific marketing campaign page, select the Add Associations From Map icon. From the base map, click on the toggle map layers icon and select the subscriber tab from the drop-down menu. Check Show Layer and choose which data to display on the map. Then click DISPLAY ON MAP. The selected subscribers will display on the map. Use the Select Data Objects Tool (lasso tool) to highlight and select addresses within an area. Then, select ADD TO CURRENT CAMPAIGN.
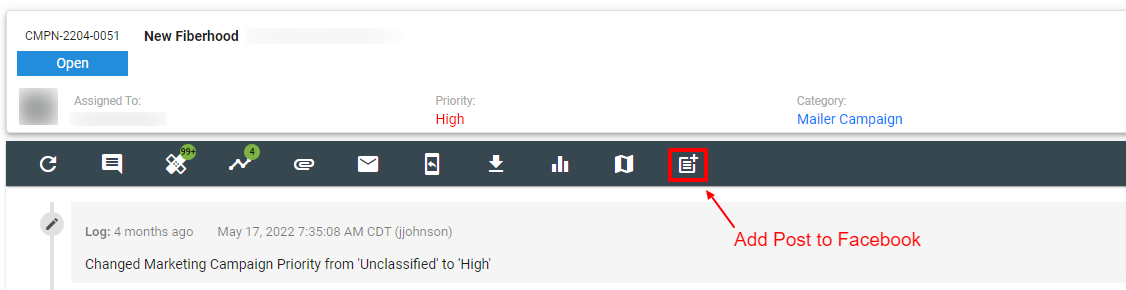
Add Post to Facebook
You can create and publish a Facebook post straight from a specific marketing campaign. From the menu click Operations and then Marketing. From there select the marketing campaign you are working with.
From the marketing campaign selected click on the ![]() icon from the header menu.
icon from the header menu.
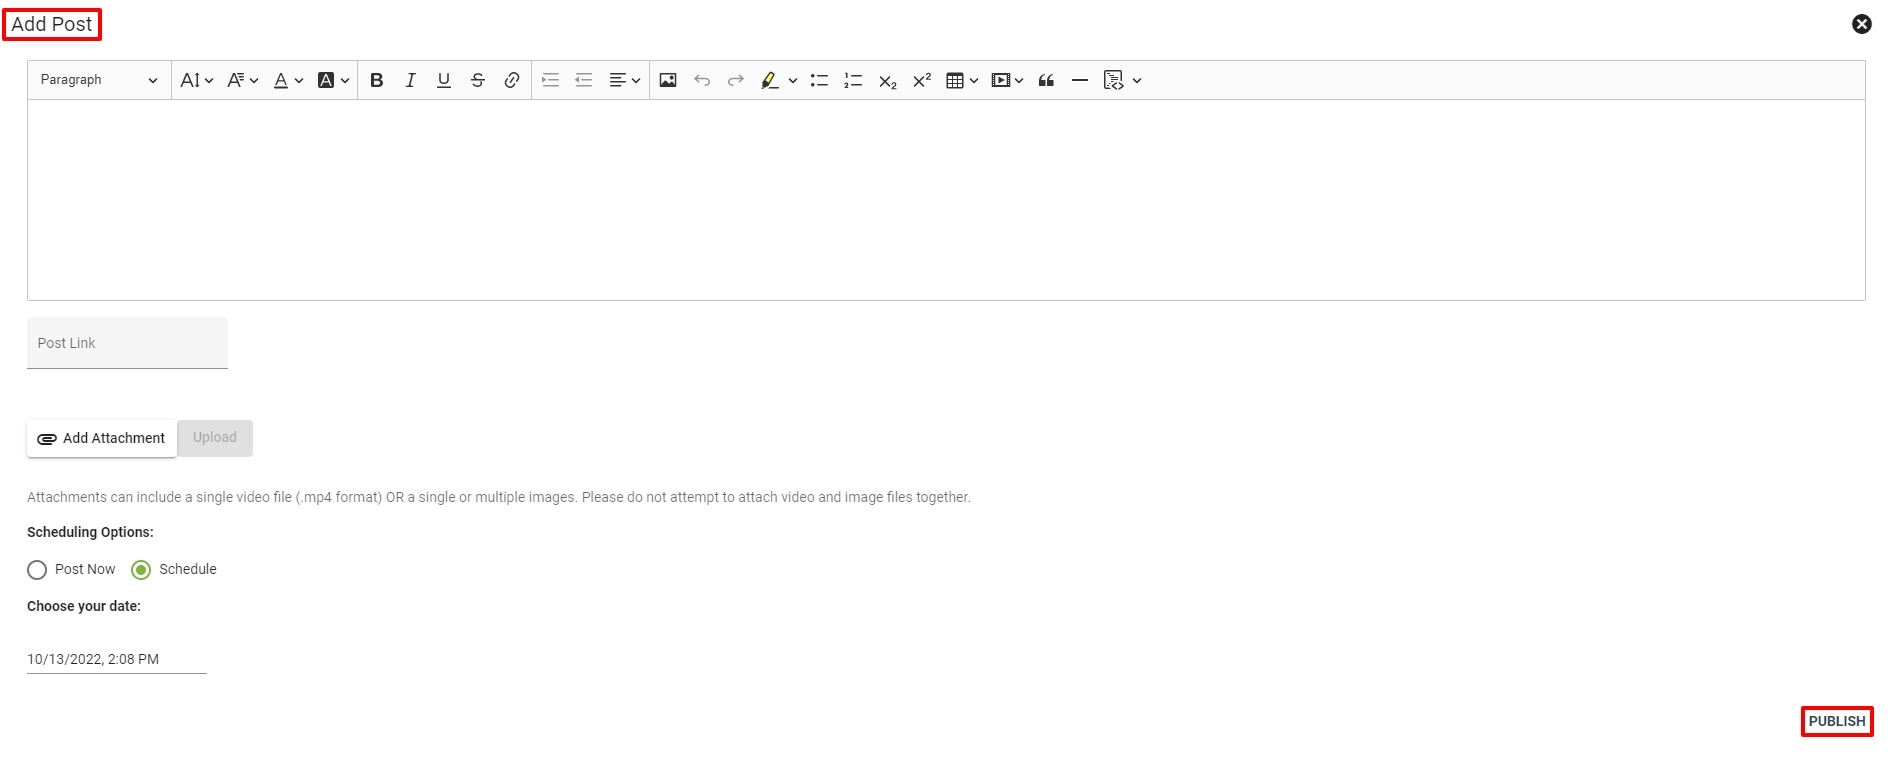
Design your post, include links and/or images. Then PUBLISH your post now or choose to schedule it for a later date.
From the Marketing Campaign page, click the Floating Action Button 
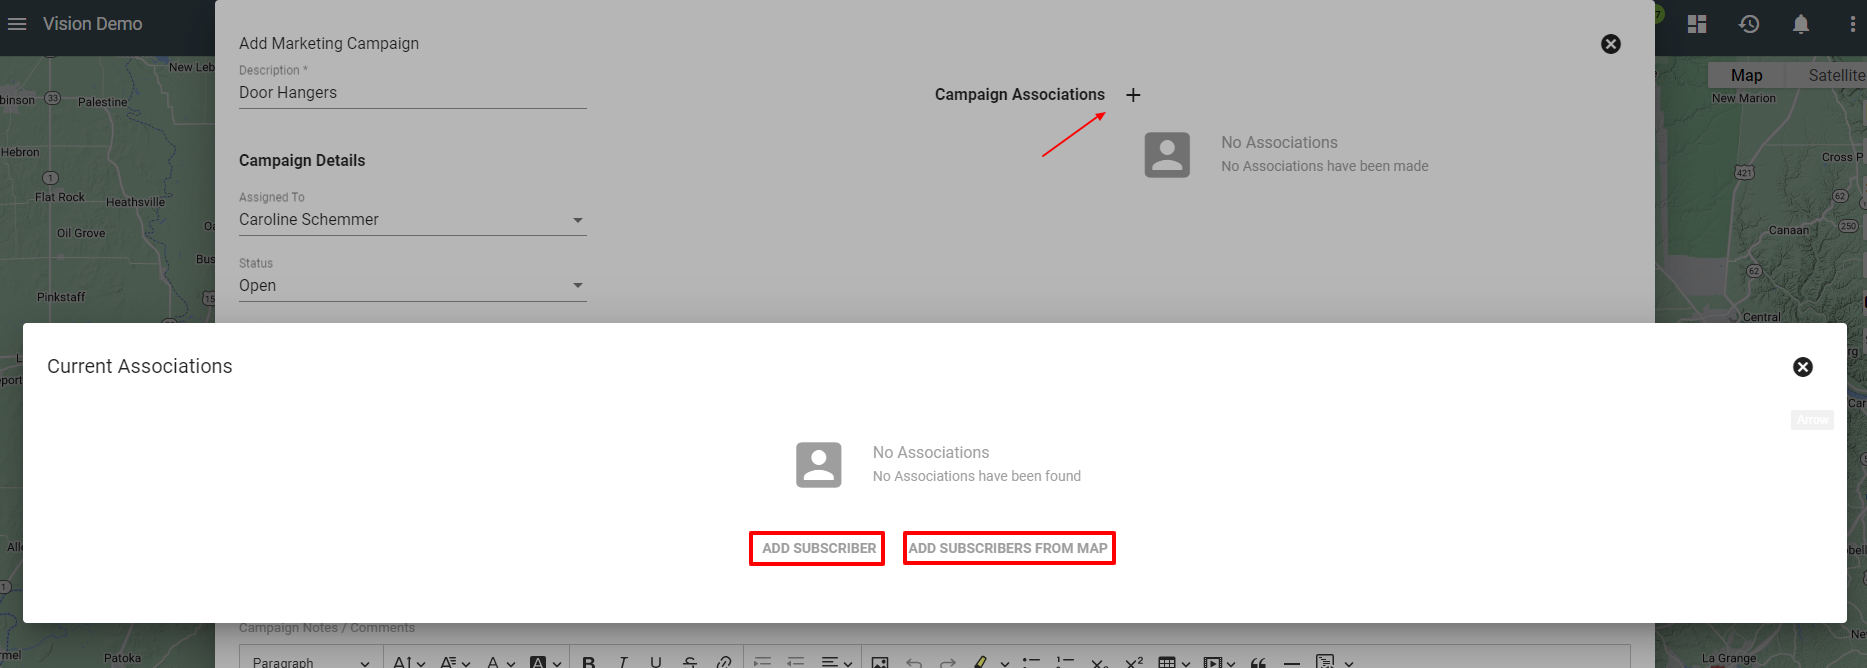
There are a couple of ways to add associations to a campaign. At the top right of the Add Marketing Campaign page click the Campaign Associations 
ADD SUBSCRIBER:

ADD SUBSCRIBER FROM MAP:
From the base map, click on the toggle map layers icon 
The selected subscribers will display on the map.
Use the Select Data Objects tool ![]()
Then, select ADD TO CURRENT CAMPAIGN.
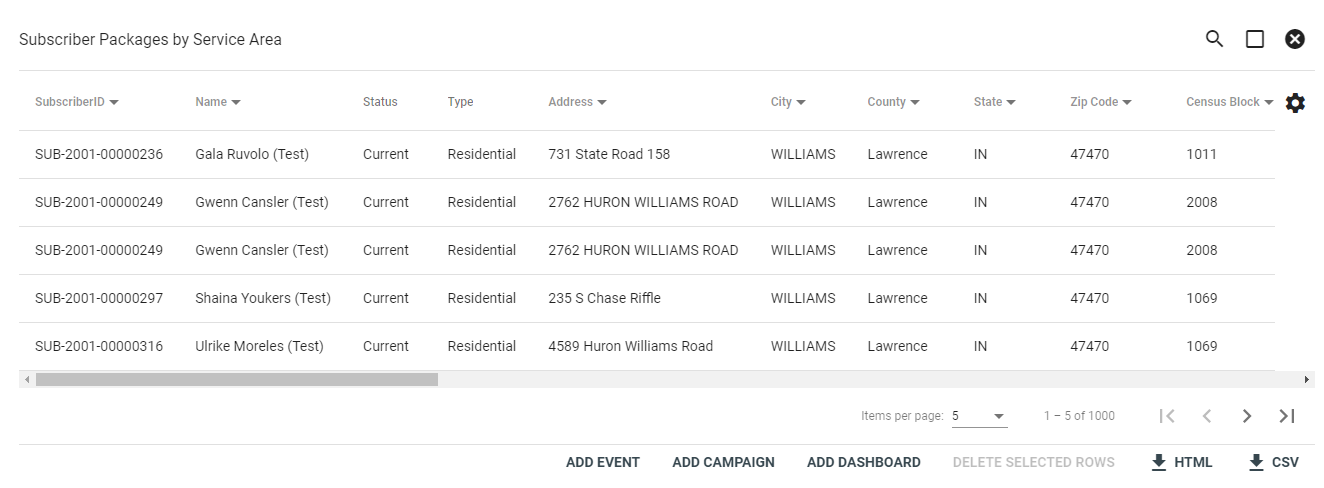
It is also possible to create a marketing campaign from the subscriber report page. Select the applicable subscriber categories to generate a list, then select ADD CAMPAIGN.
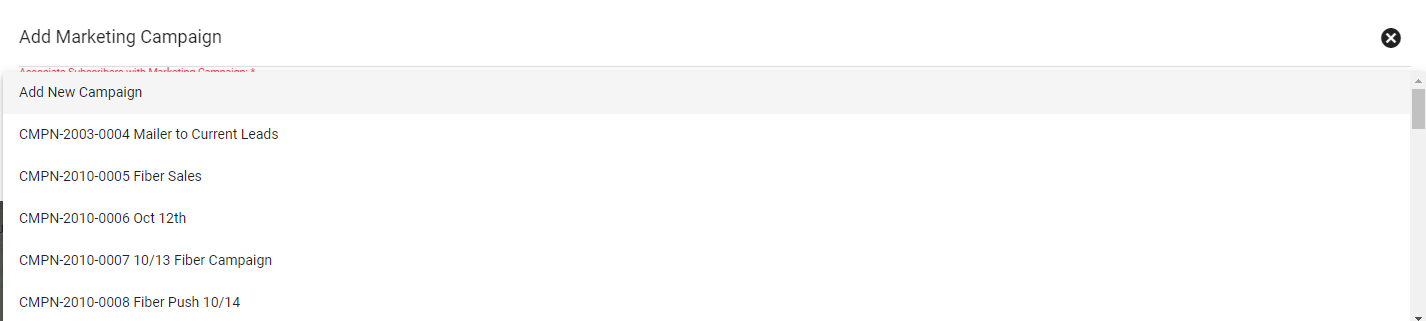
Choose whether to associate the subscribers with a pre-existing marketing campaign, or create a new campaign by selecting Add New Campaign.
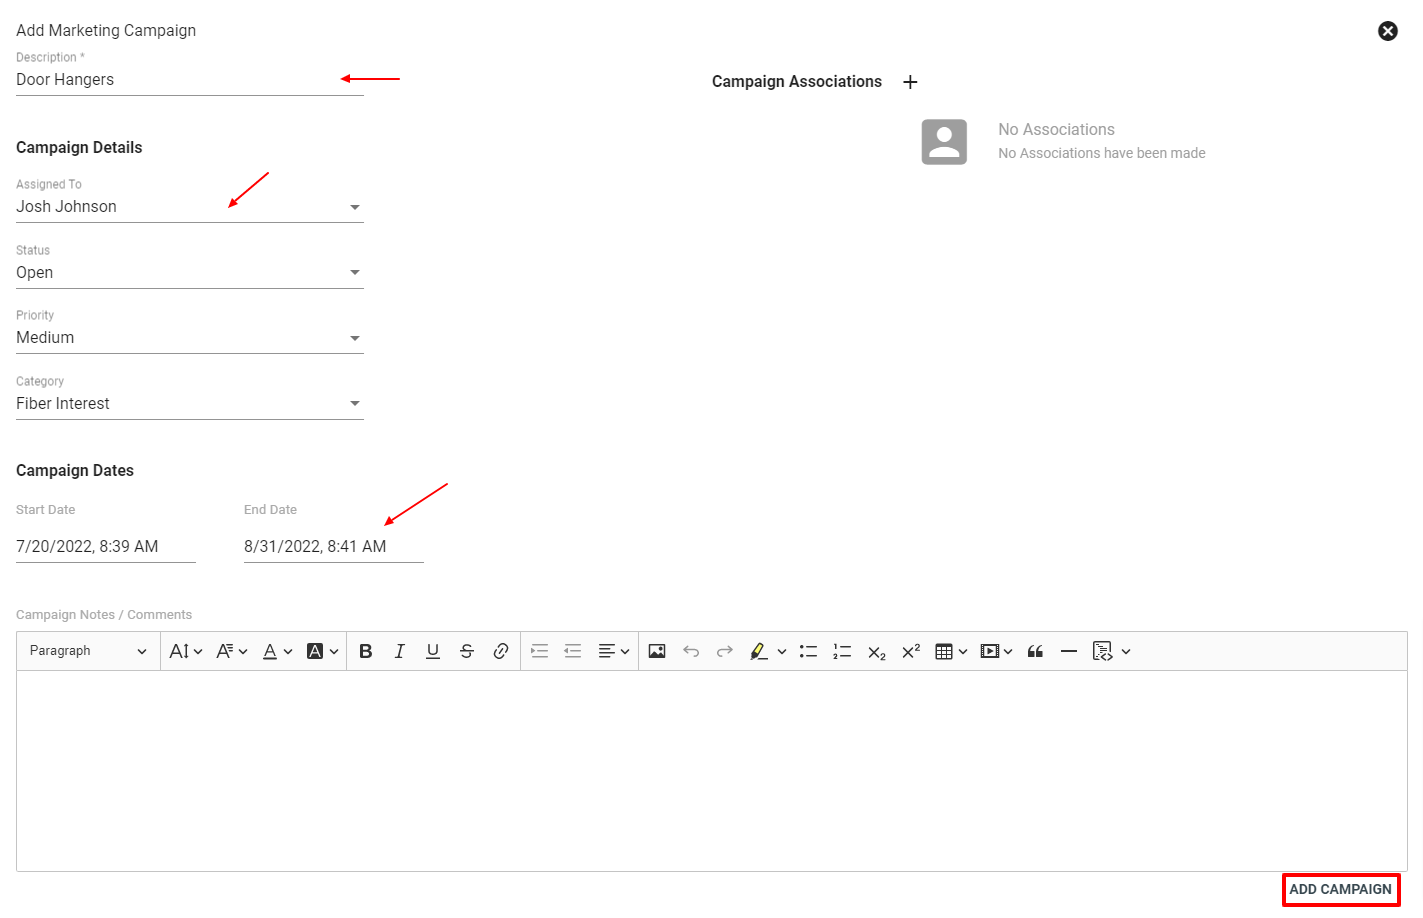
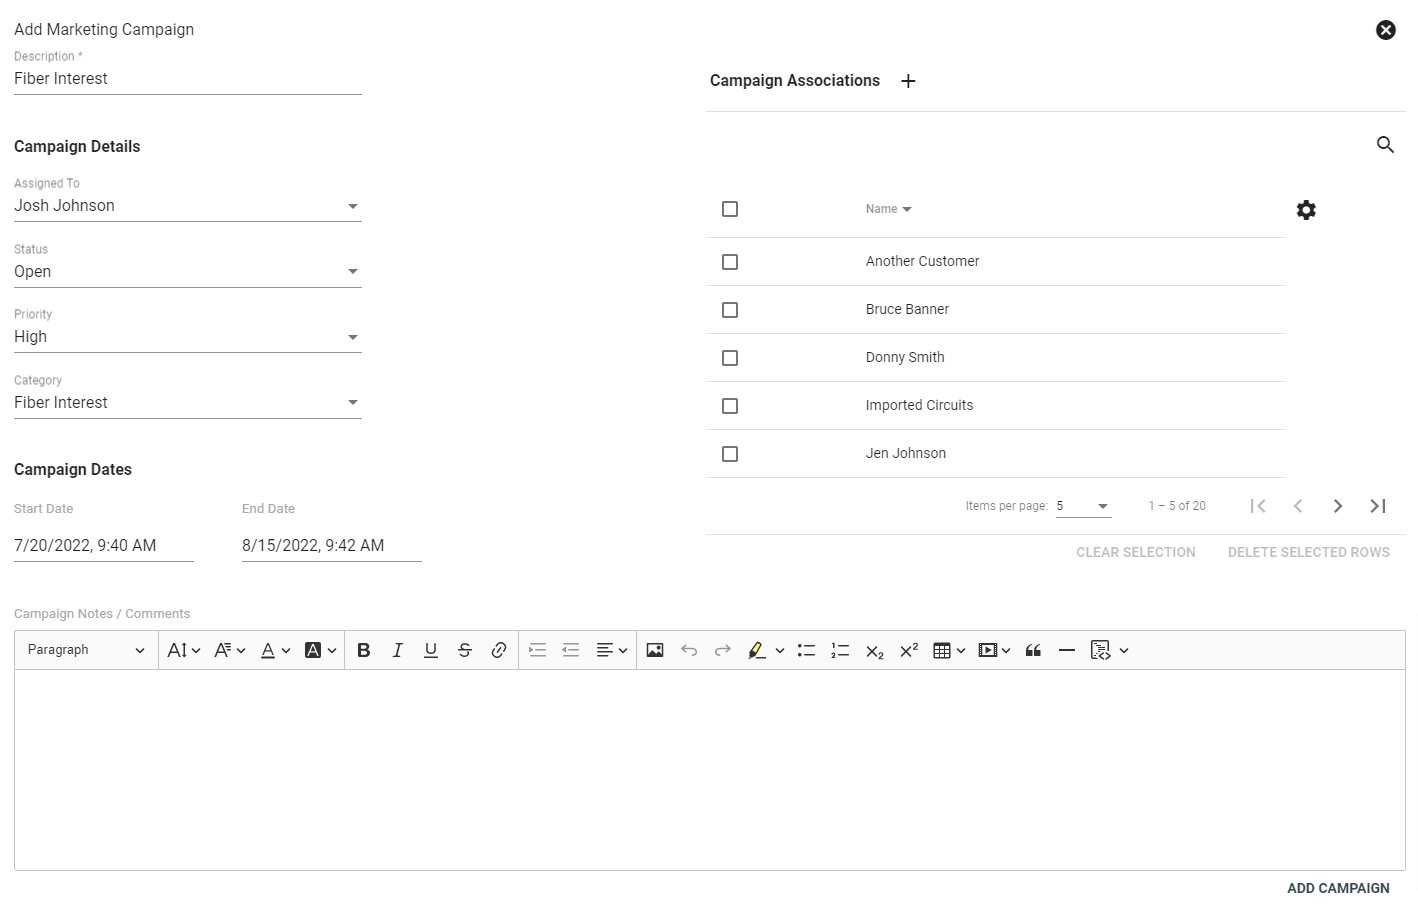
Add a description of the campaign and any applicable notes, then select ADD CAMPAIGN.
Using Functions to Manage Marketing Campaigns
Functions can be used within workflows to automatically manage and update marketing campaigns as they move through the planning and completion process. These functions follow a consistent naming format, such as Change Marketing Campaign ____, making it easier to identify the campaign detail being updated.
Using these functions, you can change the campaign assignment, category, start and end dates, priority, and status. You can also check the marketing campaign category to create workflow branches based on the type of campaign. This allows different actions, assignments, or processes to occur automatically while reducing the need for manual updates.
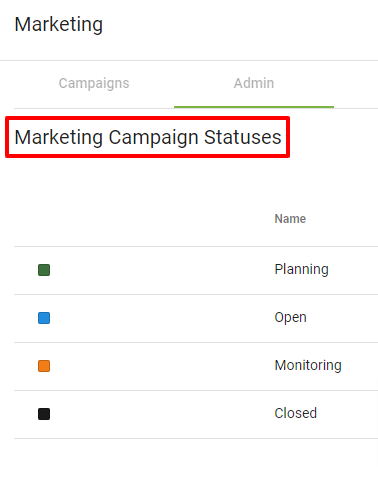
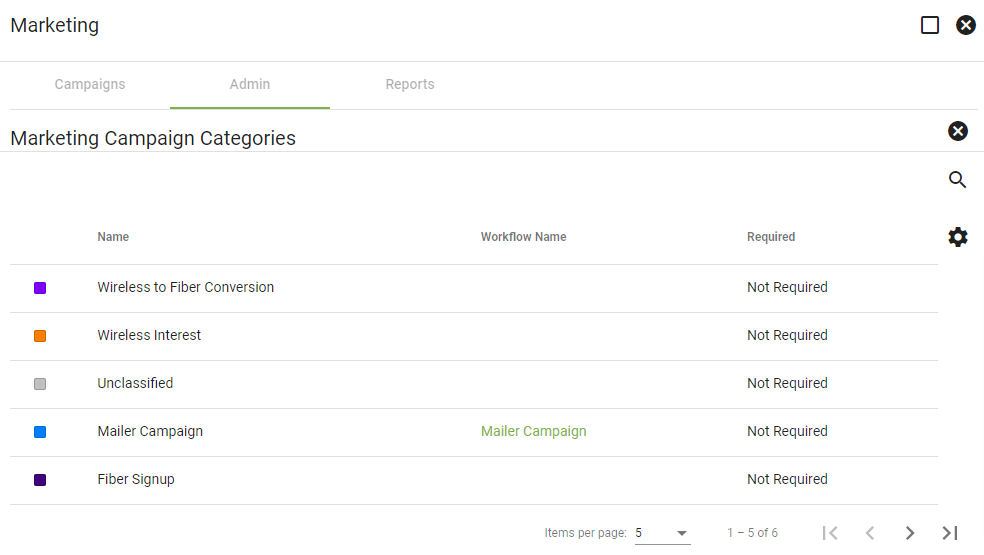
Marketing Campaign Admin
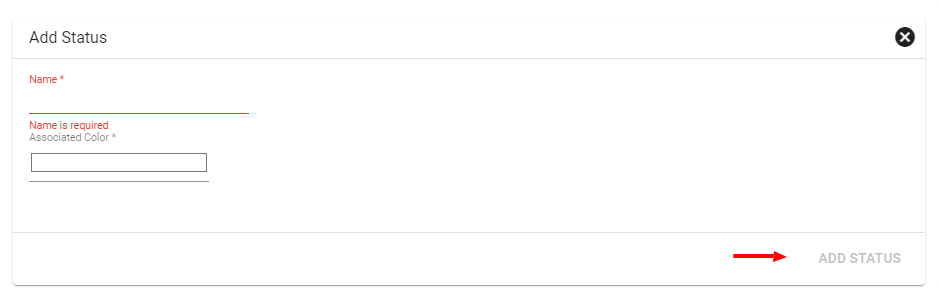
The Admin tab allows you to view and add new campaign statuses, priorities, and categories. Click on the corresponding box to view details. To add a new status, priority, or category click the Floating Action Button
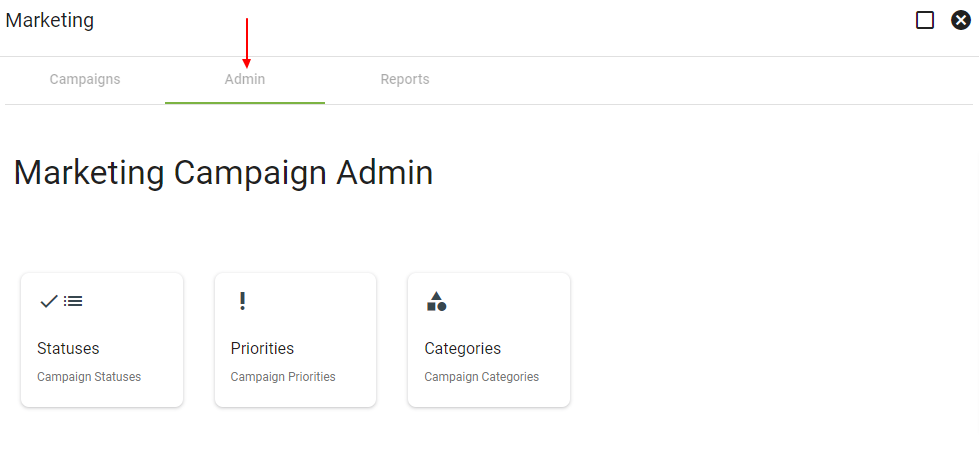
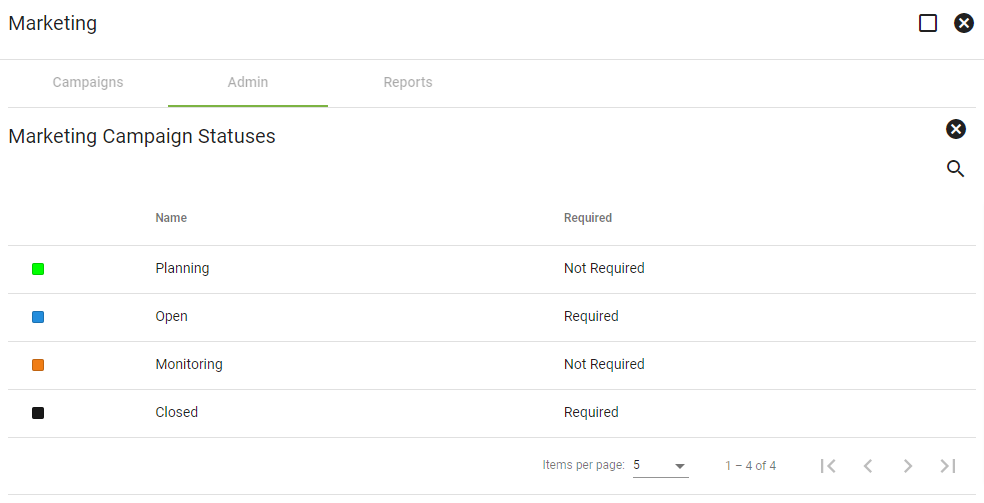
Statuses
Click into a campaign name to edit the associated color or delete the not required statuses.
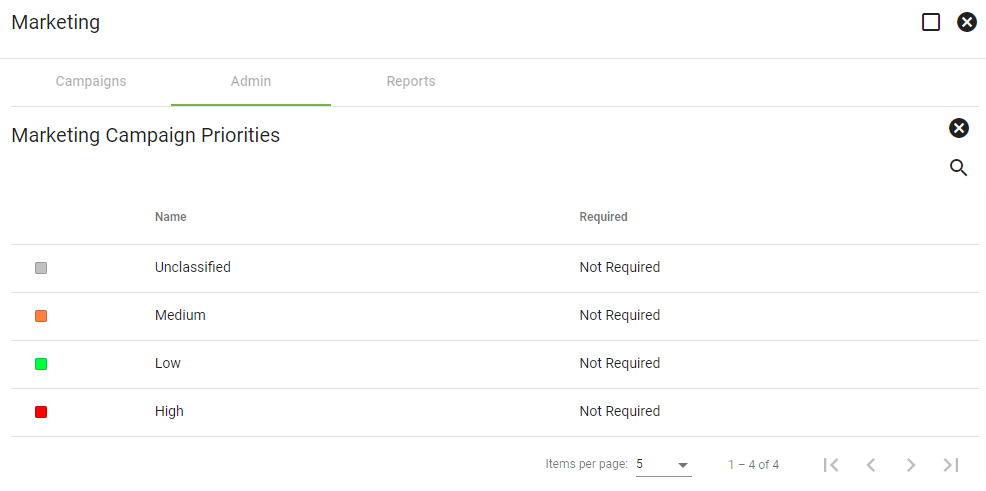
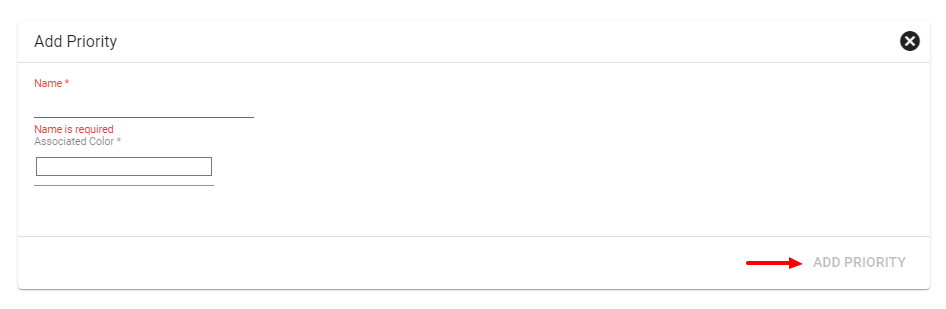
Priorities
Click into a campaign name to edit the associated color or delete the not required statuses.
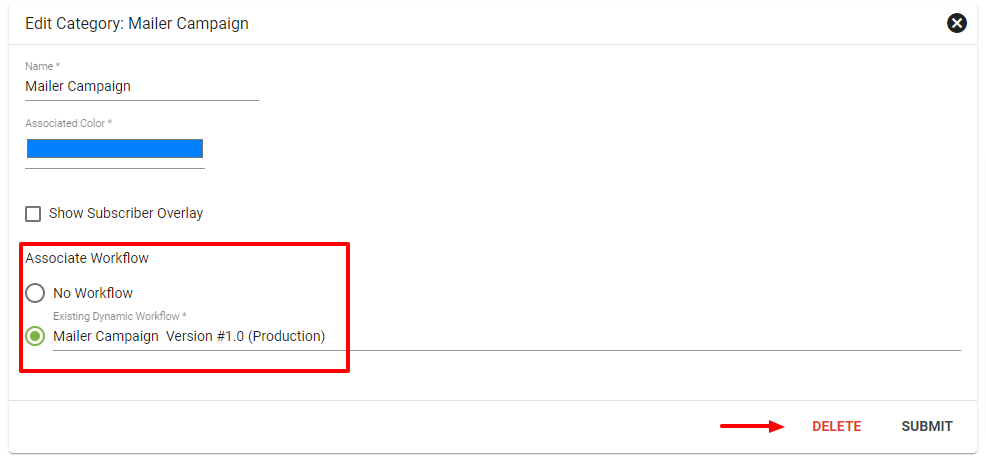
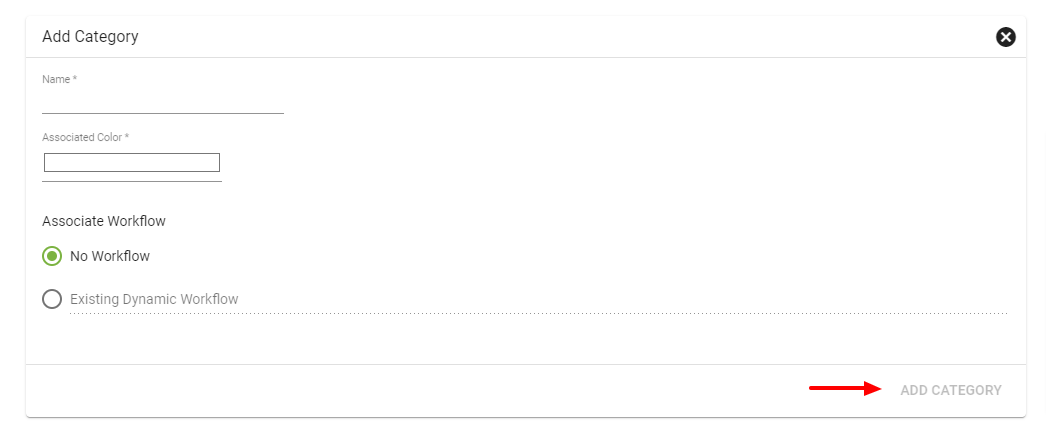
Categories
Click into a campaign name to edit the associated color or delete the not required statuses. You can also select to show subscriber overlay, or associate with a workflow.
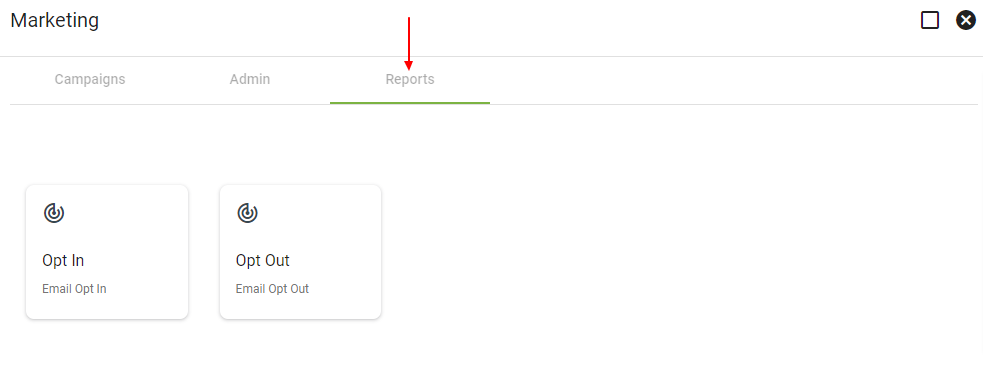
Marketing Campaign Reports
Email Opt In / Email Opt Out
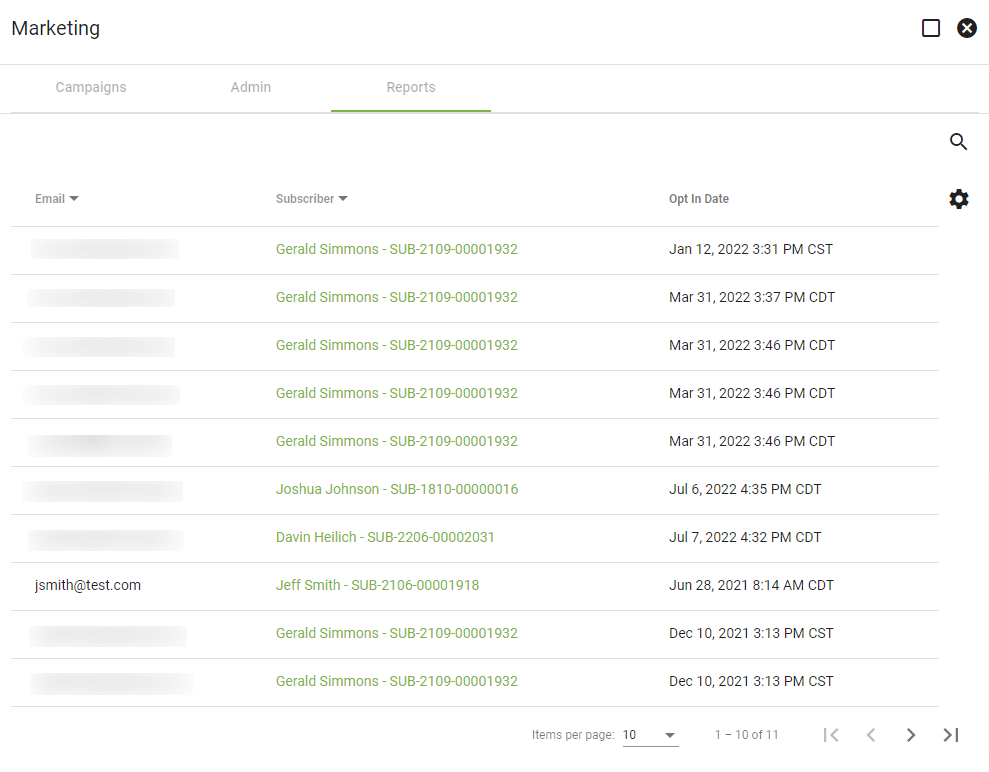
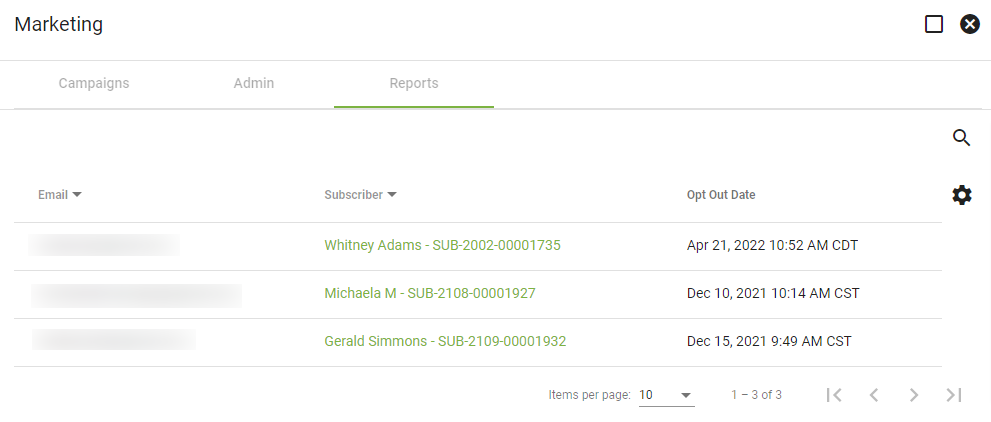
The Email Opt In and Email Opt Out boxes display the users that have opted in or out for marketing communications. Displayed is the subscriber’s email, a link to their account summary page, and the Opt in or Opt out date. A subscriber will not be added to a marketing campaign if they have opted out of marketing emails. The Email Opt In and Email Opt Out boxes only apply for marketing emails, not billing, or network notifications.
Opt In example list.
Opt Out example list.
To view on the Public Shopping Cart Logs, click on the Public Shopping Cart Logs tab.
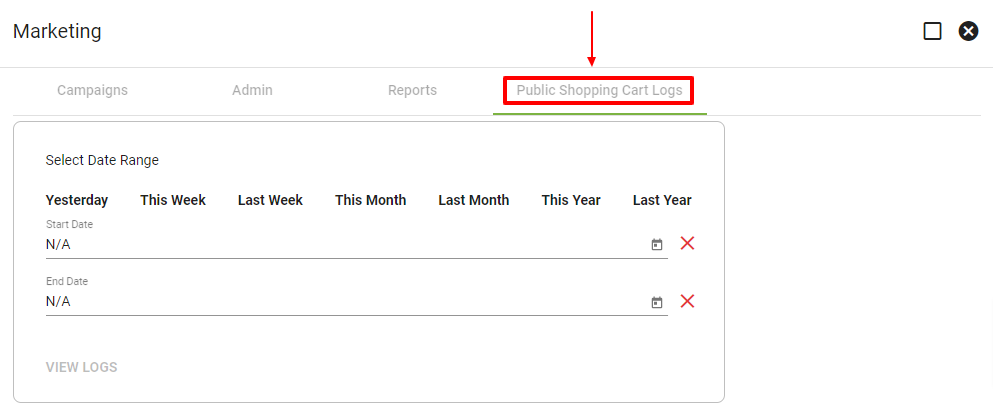
Select a Date Range by either selecting “This Week” “Last Week” etc. Then click VIEW LOGS.
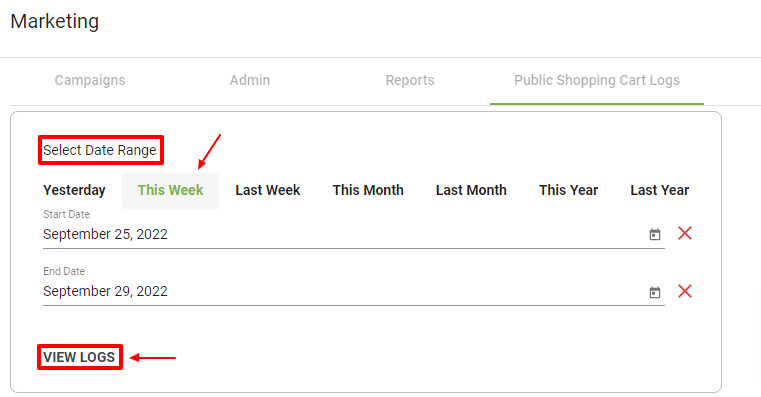
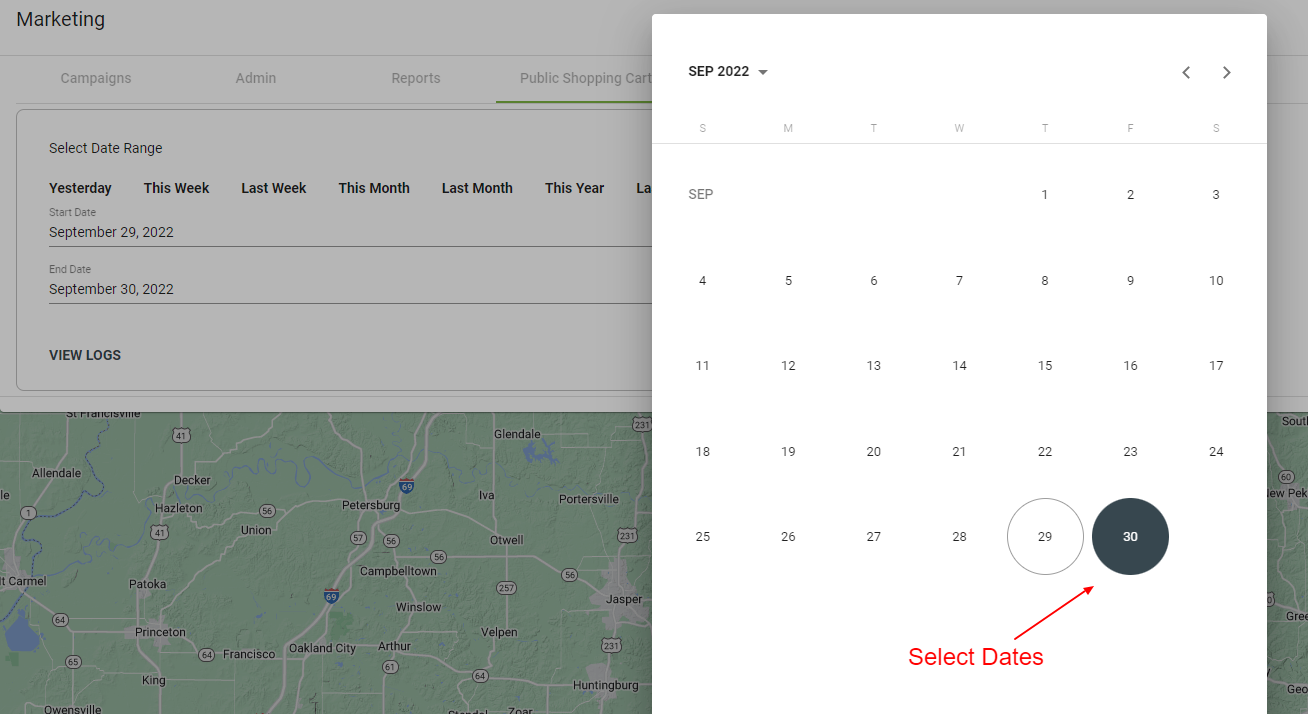
Or select a Date Range by selecting a start and end date. Then click VIEW LOGS.
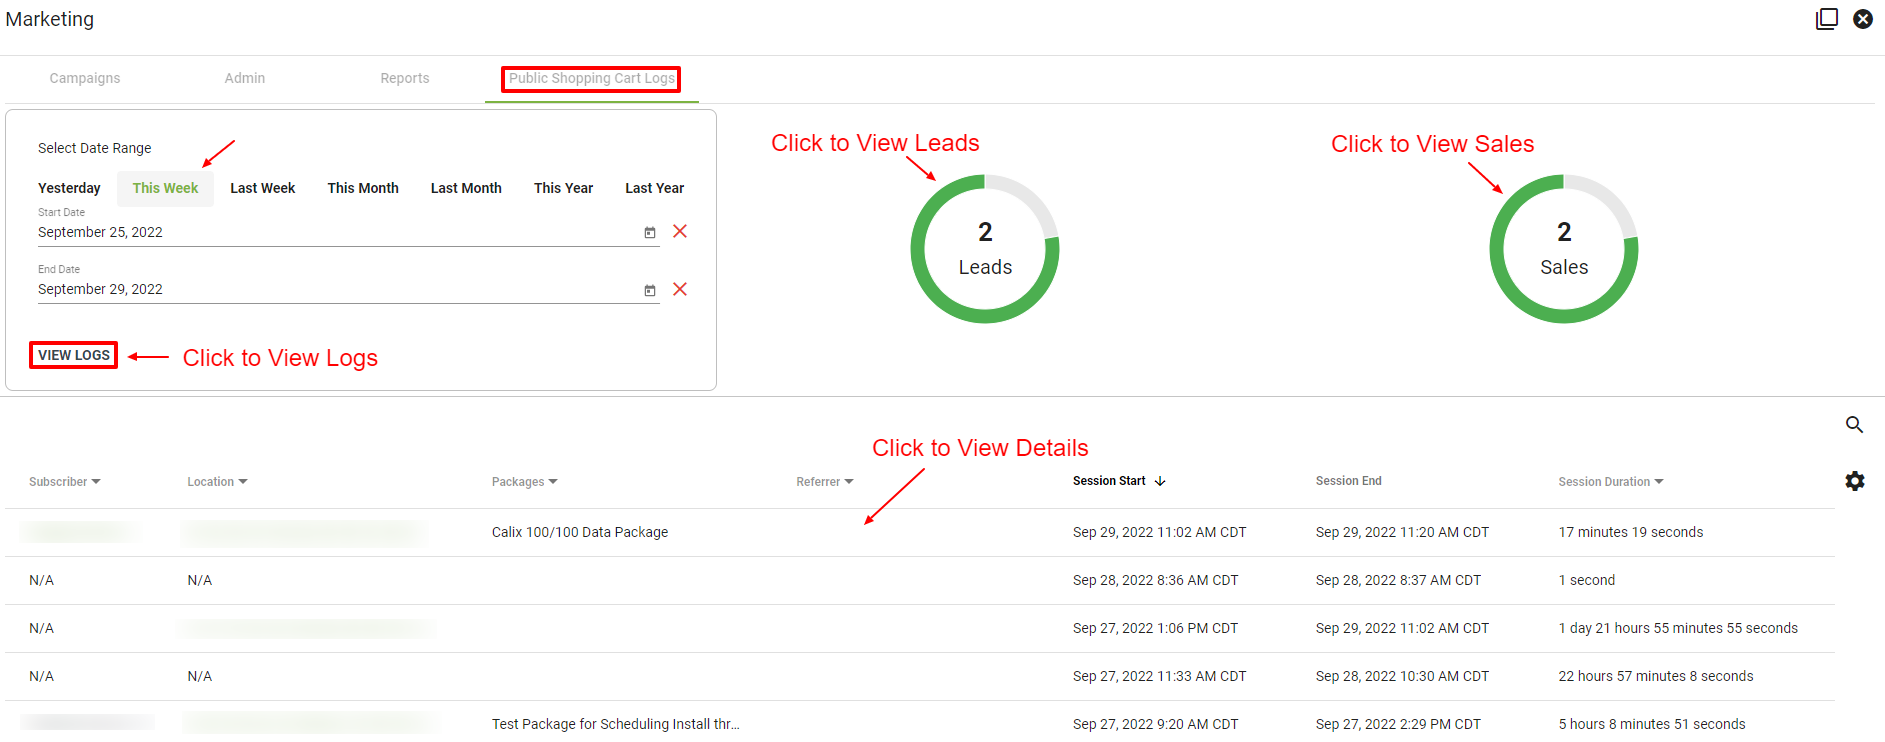
Easily view Leads and Sales. Click into a line item to view more details about a visitor log.
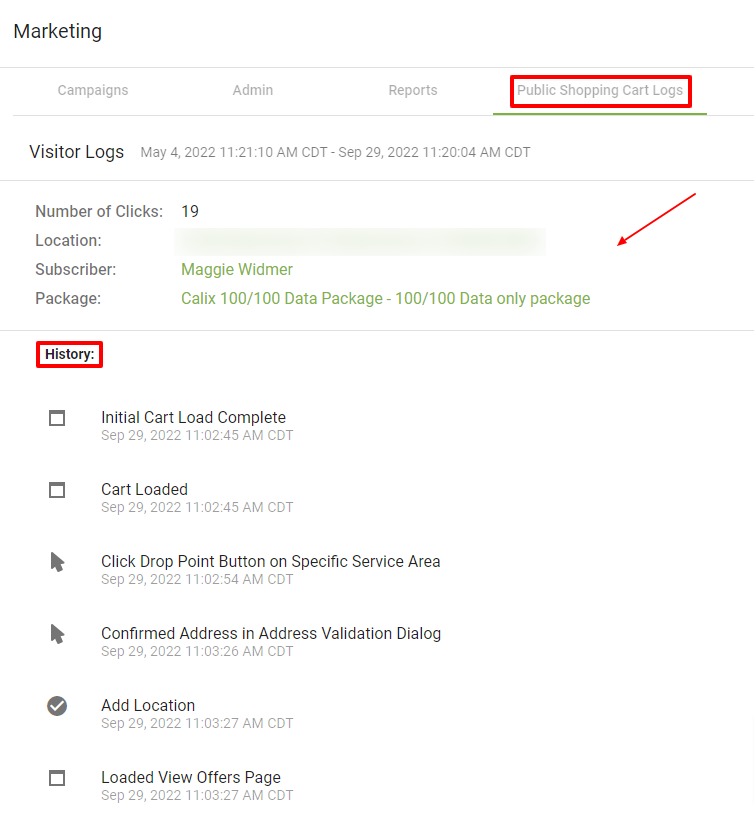
View the Visitor Log. View their location, when they visited the shopping cart, the number of clicks they made, the Subscriber’s name, and the package they selected.
View their history, such as when they confirmed offer and when they entered their email.
Postcards
Tracking
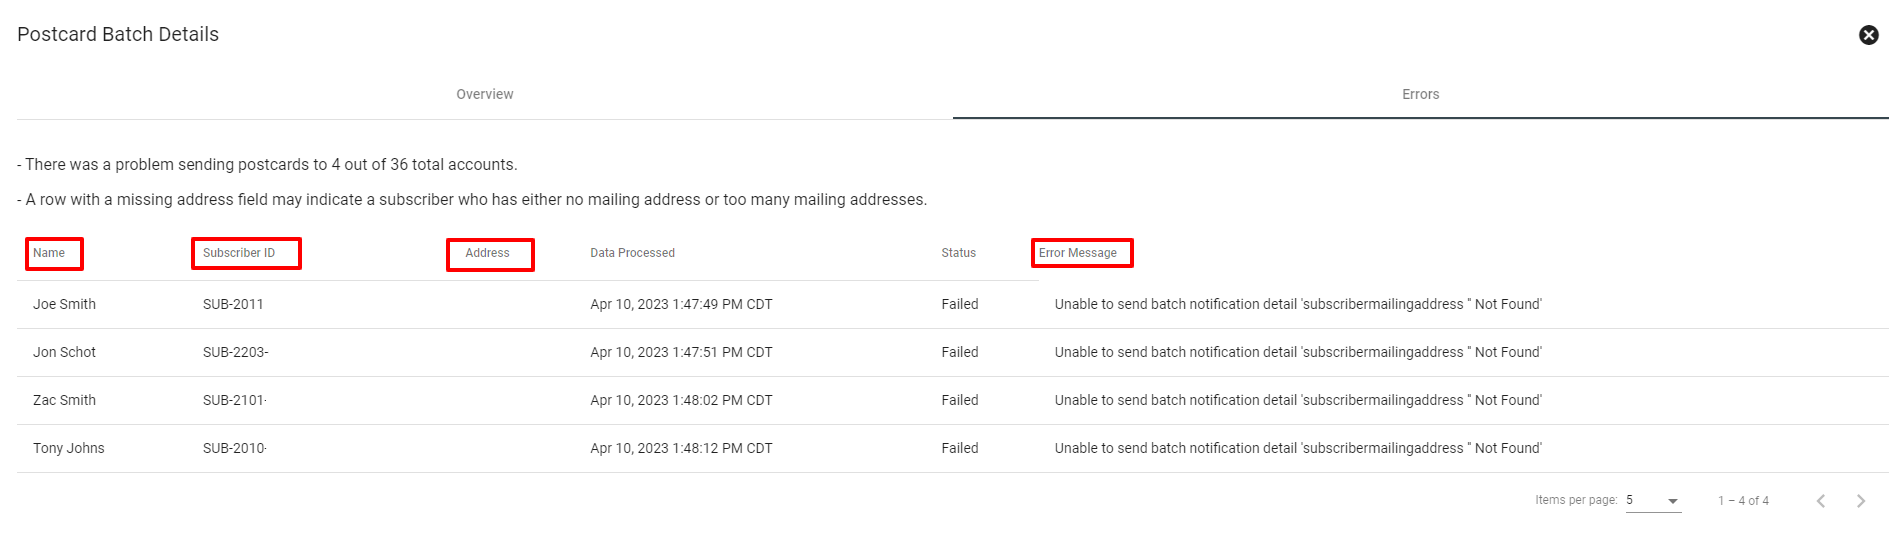
Vision integrates with Postgrid to send out postcards and mailed documents to subscribers. Postgrid helps with marketing campaigns by creating a report in Vision with quantity of postcards that were sent out and the results of the postcards with how many failed and how many that were successfully sent to subscribers.

If there are postcards that failed due to a number of reasons, invaild address or duplicate address, the names, address, and subscribers ID will all be in the error section of the report with the type of error that cause the postcard to fail to send.
Attach Postcard to Template
After designing a postcard to send out to subscribers the next step is to attach a postcard to a postcard template. To do this the first step is to have the post card in PDF format then go to Operations 

![]() of any of the generic templates to upload the PDF file of the postcard that you would like to use for this campaign.
of any of the generic templates to upload the PDF file of the postcard that you would like to use for this campaign.

Once the postcard is connected to a template the next step is to go to the marketing campaign with subscribers or address that are in the status of Marketing. After the finishing touches are set up for the marketing campaign is to push the postcard template to Postgrid, which can be done through the marketing campaign page by clicking 
![]()