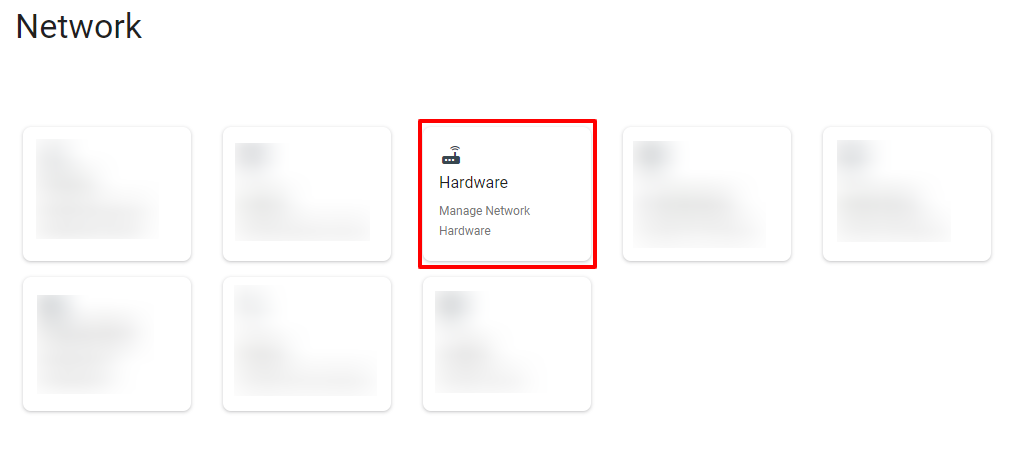
Hardware
Vision Hardware management allows users to quickly and easily view all information pertaining to a particular piece of Hardware. View Locations, associated Subscribers, Purchase Order information, and more. Use the PON view to more easily understand how your Hardware fits into your Network. Tying everything together allows users to more quickly resolve issues and limit downtime for your Subscribers.
View Hardware
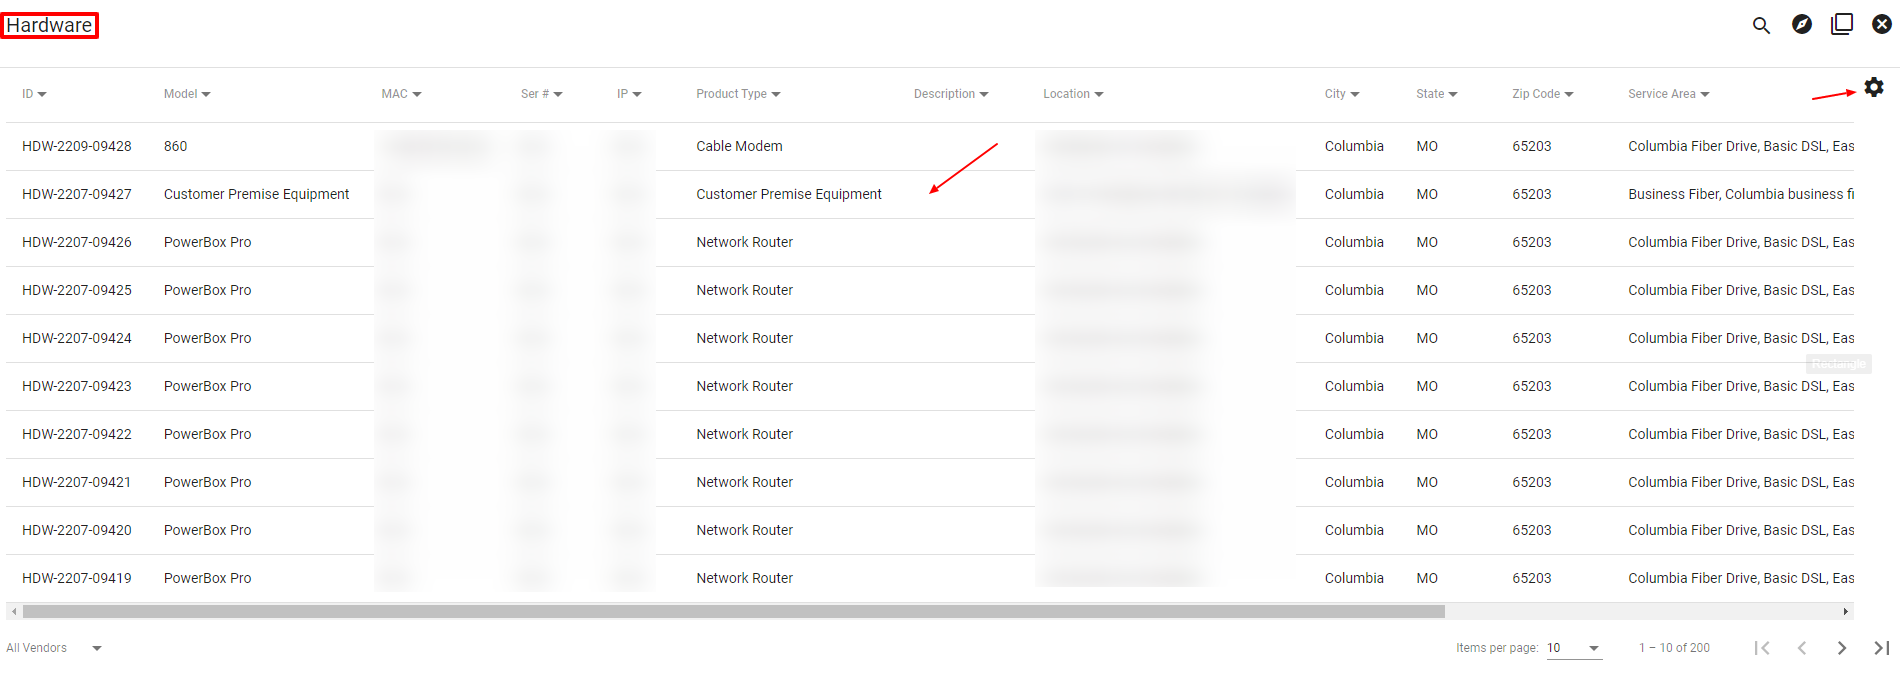
The Hardware page shows all items within your Network. Use the search tools to find specific items or click on an item to be taken to the hardware view page.
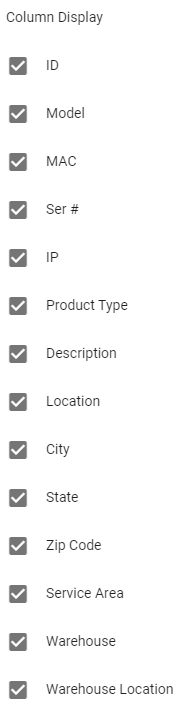
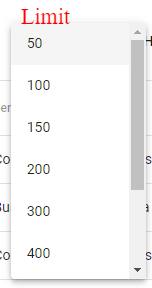
Filter, sort, and search to find and view specific pieces of hardware. Change the order with which the information is displayed by clicking on the column title and selecting from the drop-down menu.
Click on the 

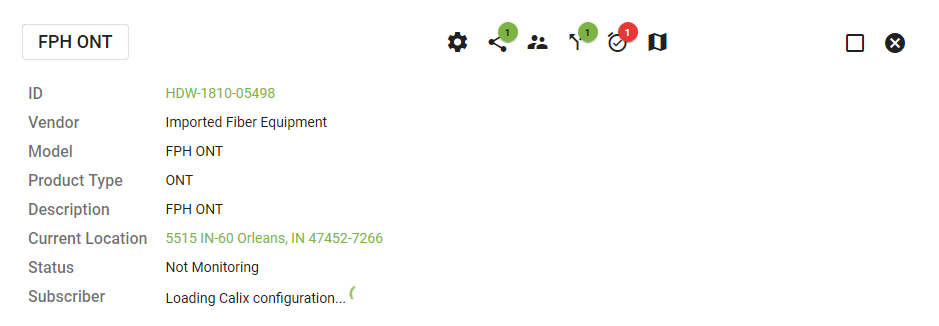
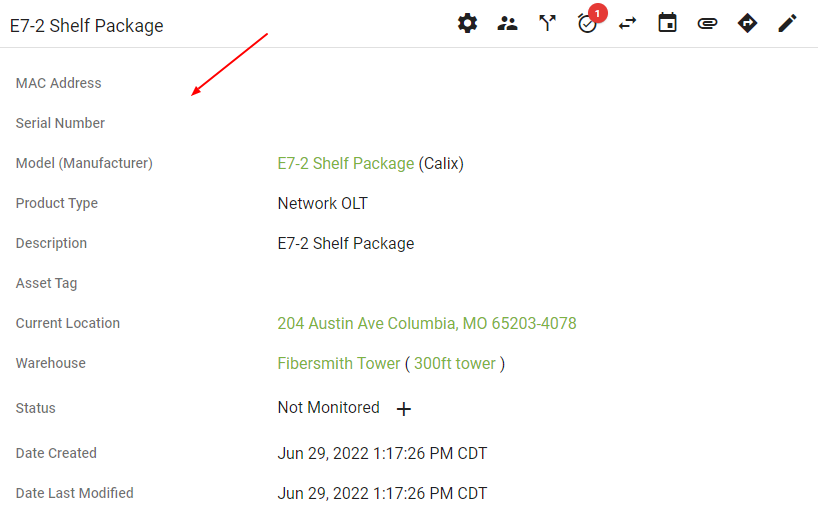
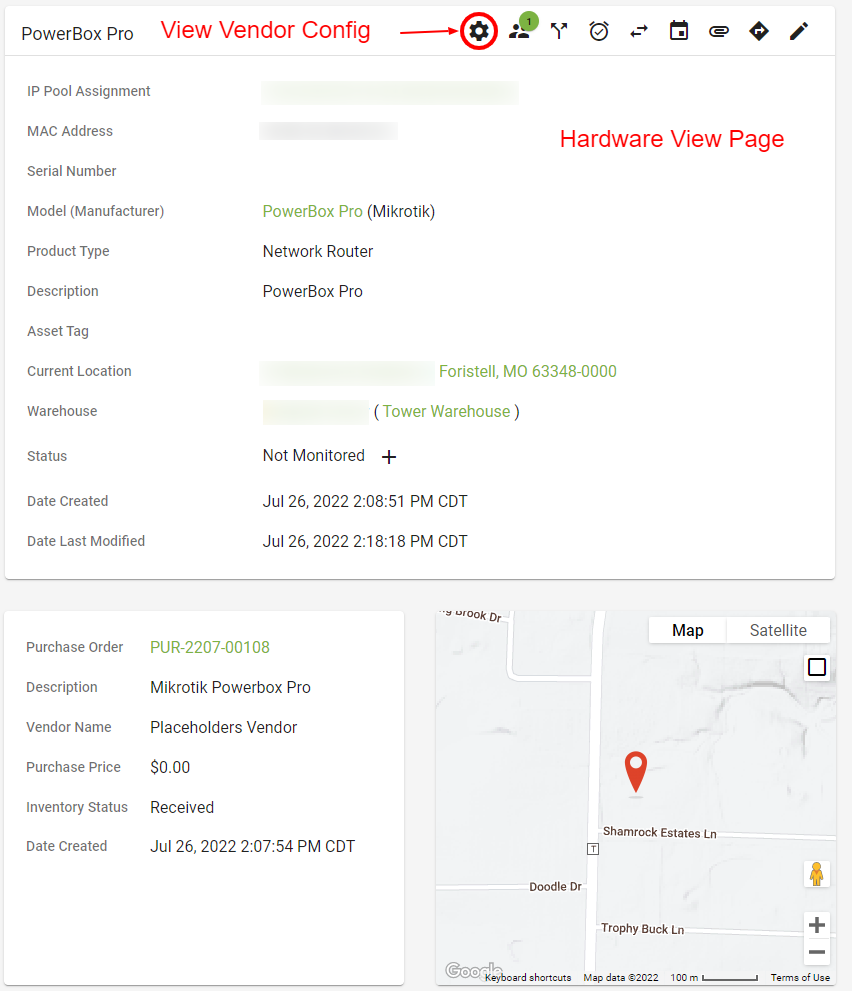
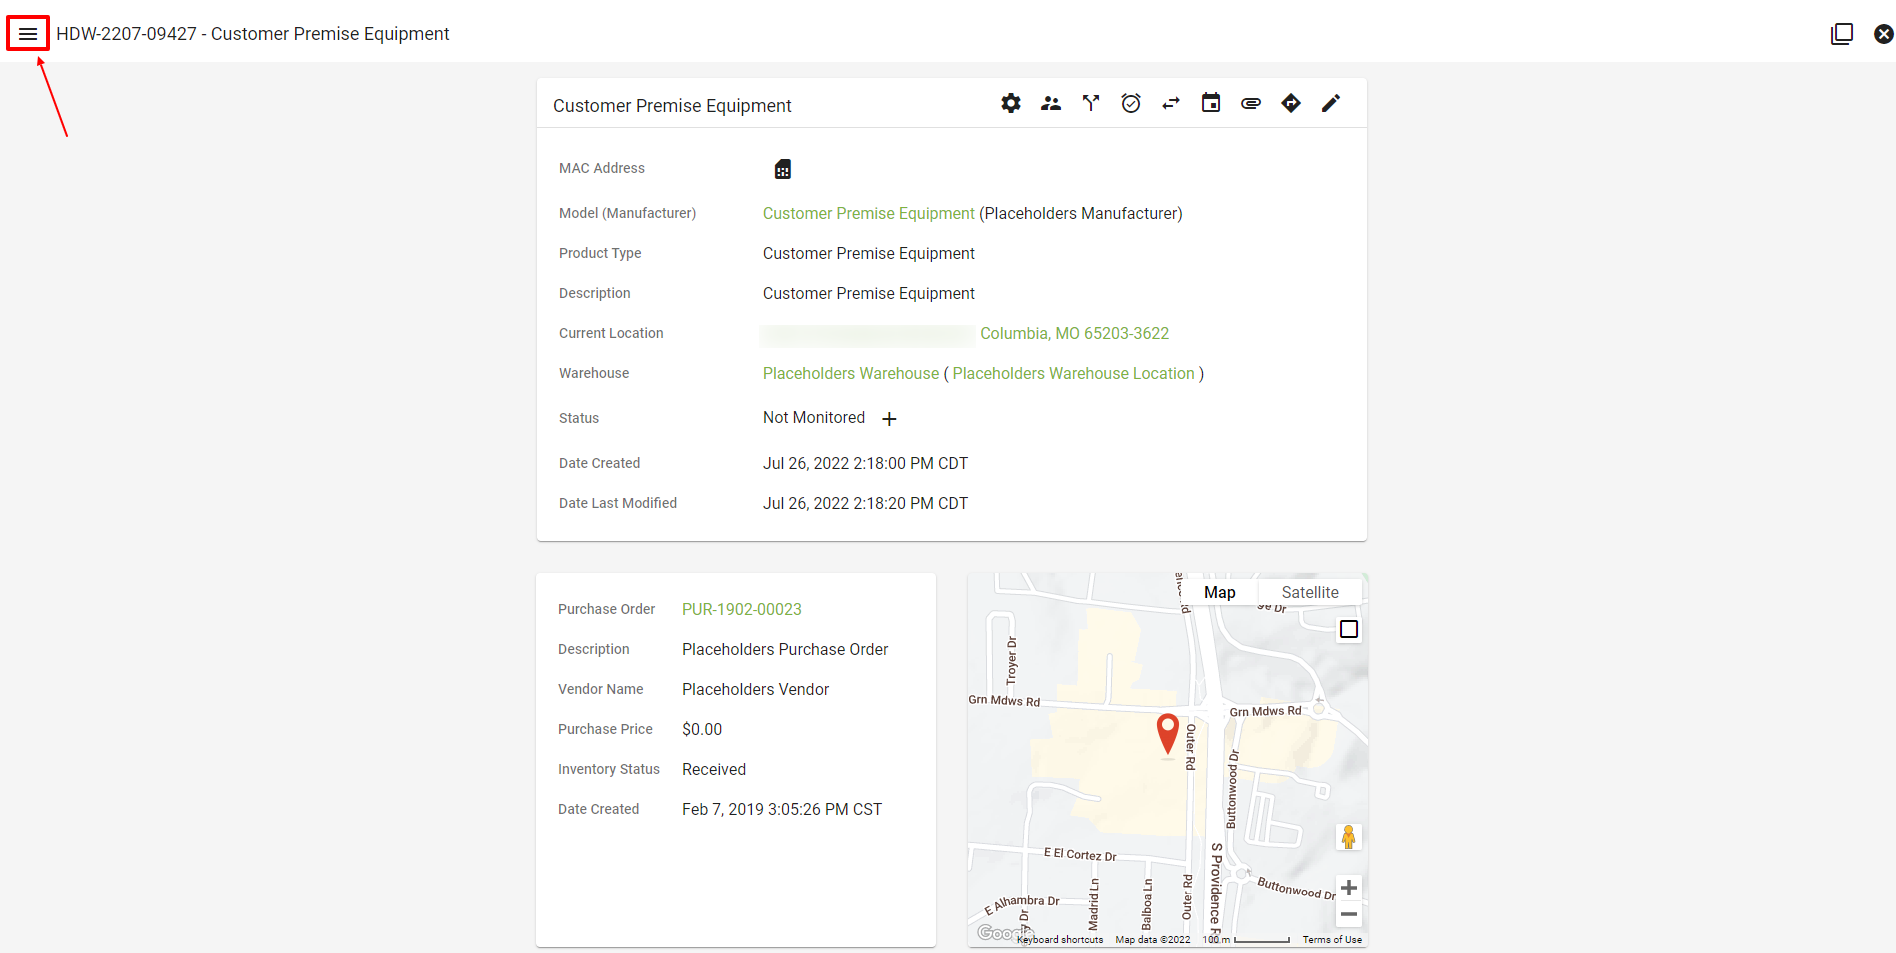
Click into the specific piece of hardware you want to view. Then you will be brought to the hardware view page. The hardware view is broken down into attributes (MAC Address, location, product type, etc.), Purchase Order information, and a map view of the Location.

At the top of the hardware view page, the attributes box will display the following options:


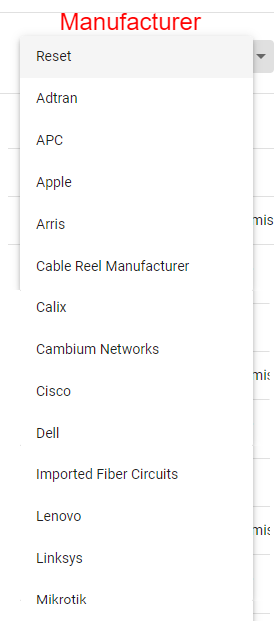
There are links for the IP Address, the Model on the Manufacturer page, the current Location and the associated Warehouse.
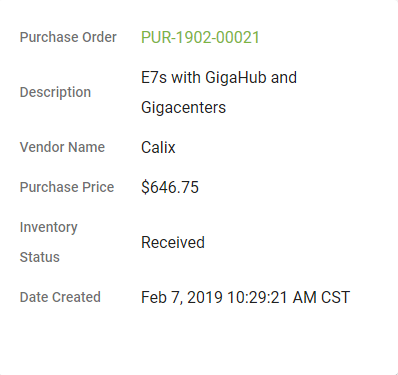
The Purchase Order box will show you all the information from when this piece of Hardware was purchased. Click the Purchase Order number to be taken to that PO.
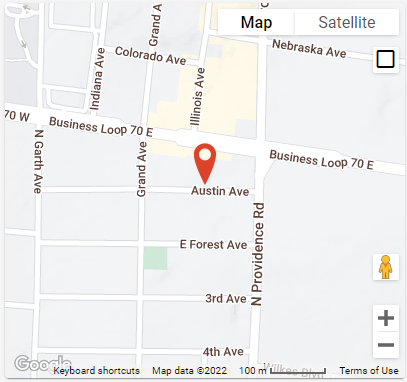
The Map View box will display the location pin on the map.
Advanced Search
Click on the advanced search 


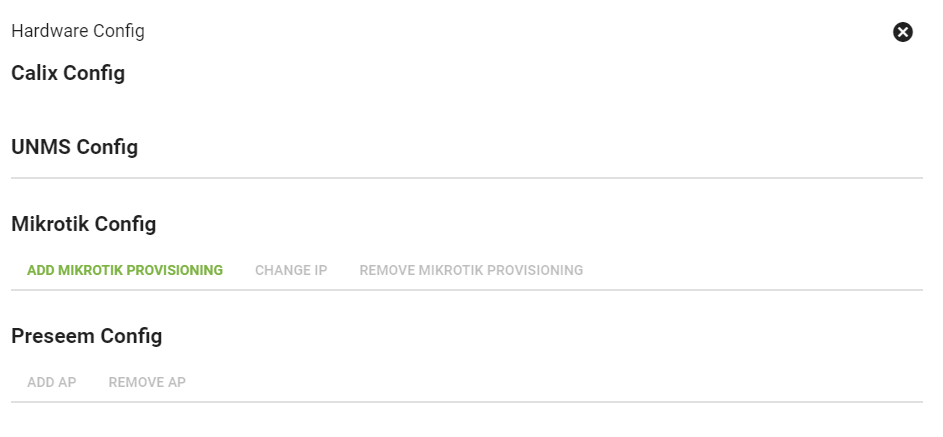
Vendor Configuration

Example 1:
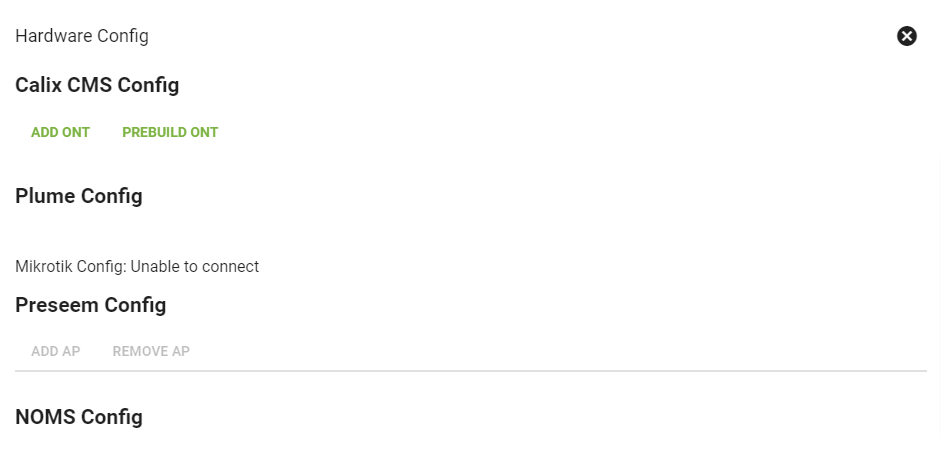
Example 2:
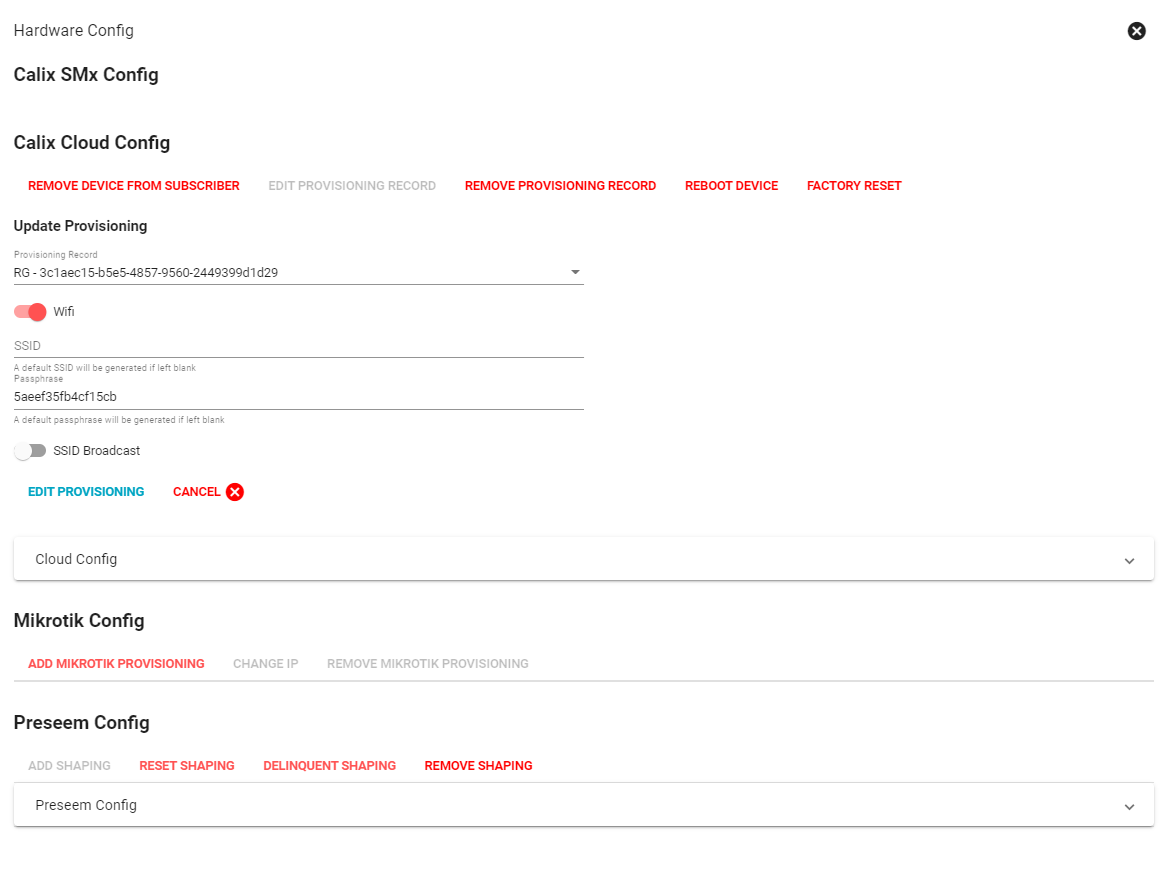
Example 3:
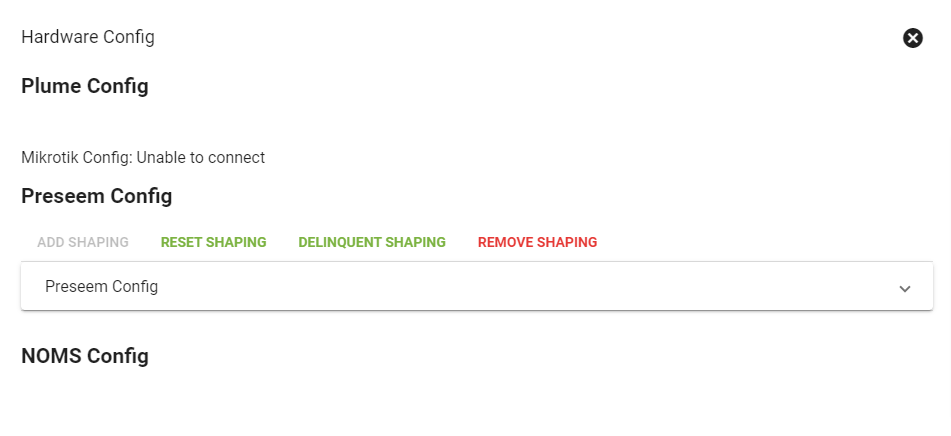
For applicable devices, the Calix Support Cloud function is available from the hardware config tab.
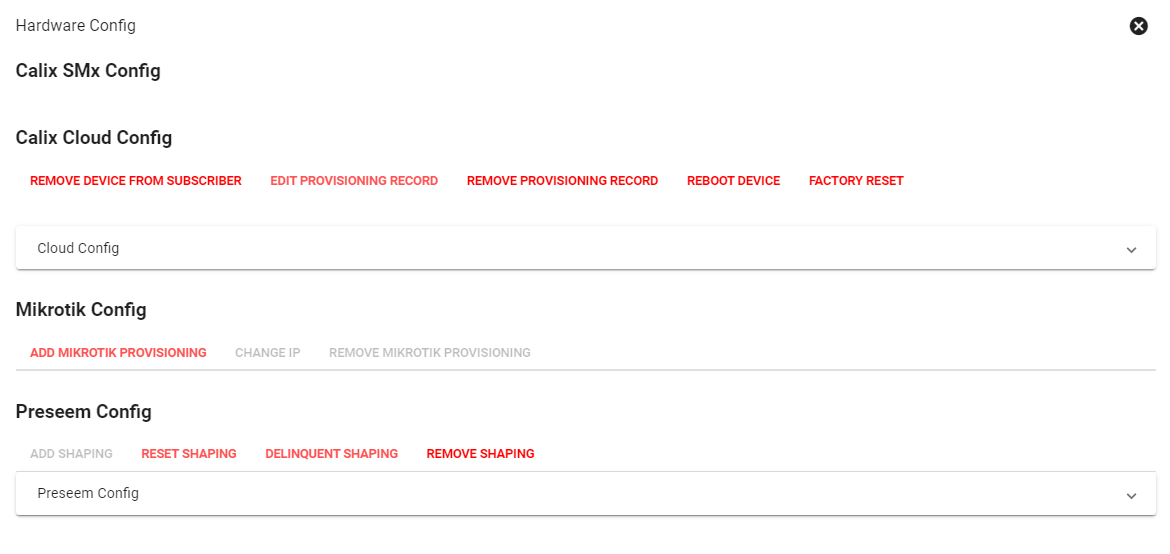
The ability to edit the provisioning record is available from the Calix Cloud Config tab.
View Associated Subscribers
Click the View Subscriber
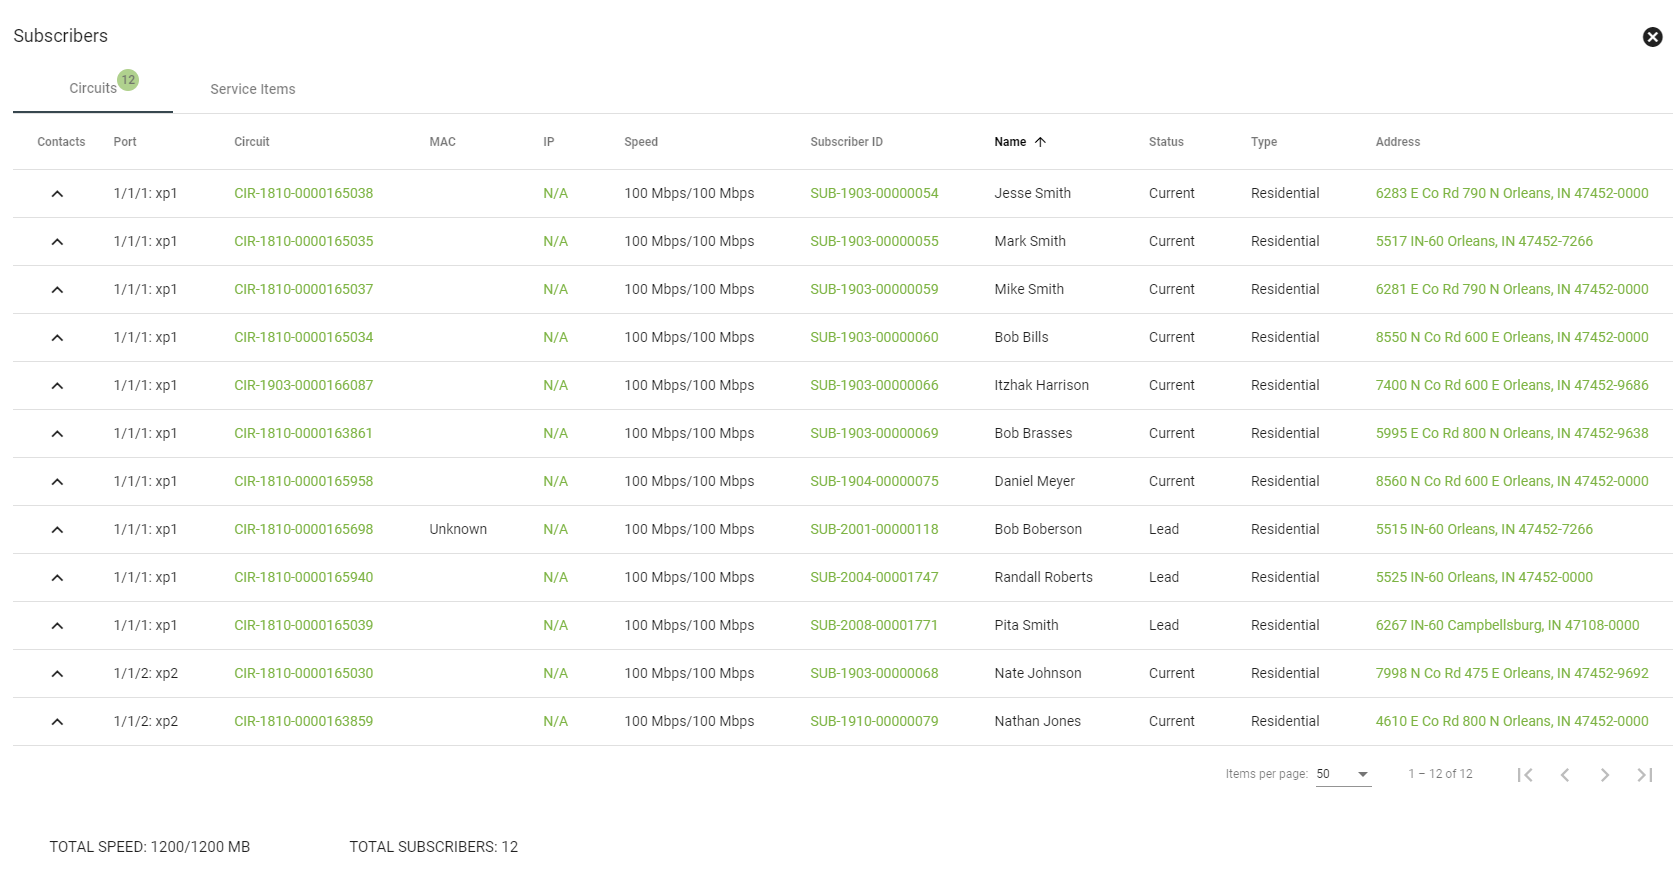
The Service Items tab displays Service Items associated with the Hardware.

View Usage
Click the View Usage

View Alarms
Click the View Alarms


Connect/Swap Device
Click the Connect/Swap Device
Here you can swap Hardware and move the old device to a different Warehouse. Click
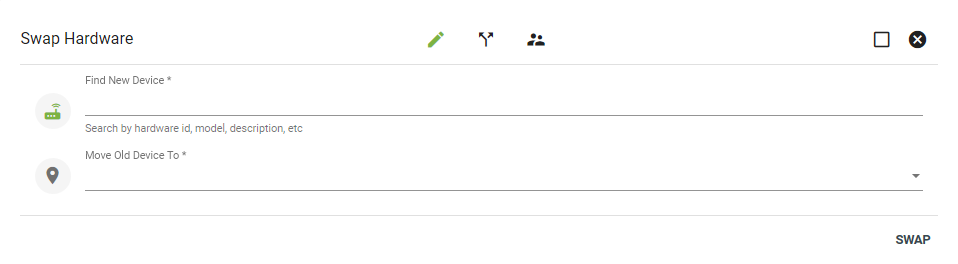
The hardware swap function will move:
- Old inventory item from the current location to the specified new location
- New inventory item to the location of the old item
- Circuits tracked in Vision from the old item to a compatible port on the new item
- IP address from the old item to the new item
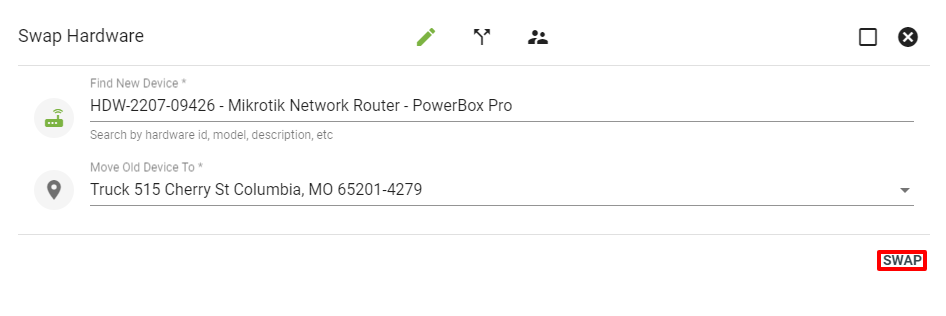
If there is an error, the system will display an error message. For example, the new device already has circuits attached.
Service Item tieback updated. Integrated software platforms will need to be updated, that is done through the vendor config cog.
Search for the new device under Find New Device, then select a location where the old device will be moved from the drop-down menu. Select SWAP to switch the devices.
View Network Events
Click the Network Events

Attachments
Click the Manage Attachments

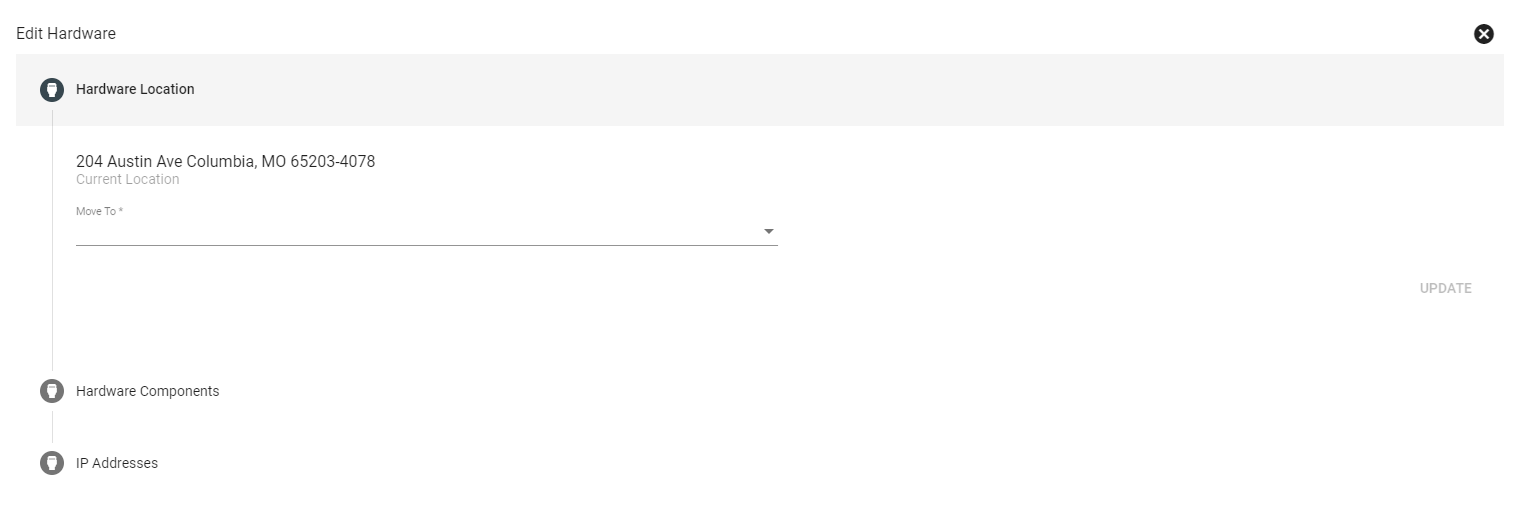
Edit Hardware
Click the Edit Hardware
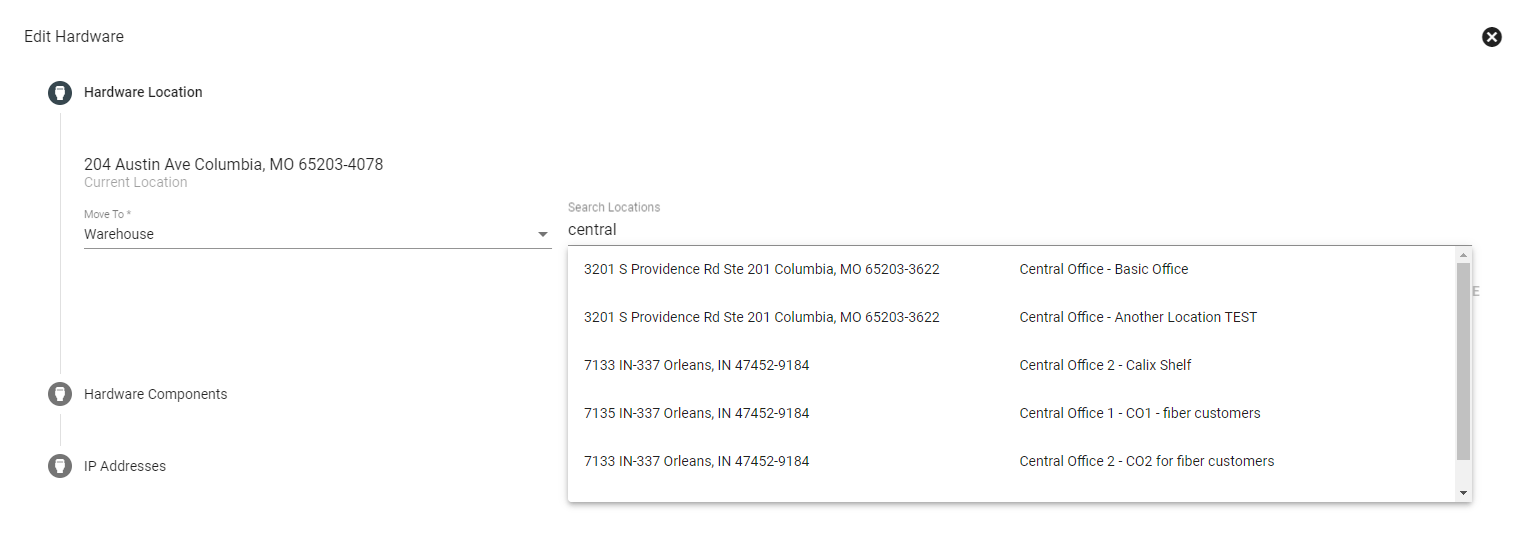
This function makes it possible to associate a device with its specific spatial location, as well as associate it with the service item and subscriber.
Click on the drop-down menu to move the hardware to a warehouse or a subscriber location.
Search for the specific warehouse or subscriber location.
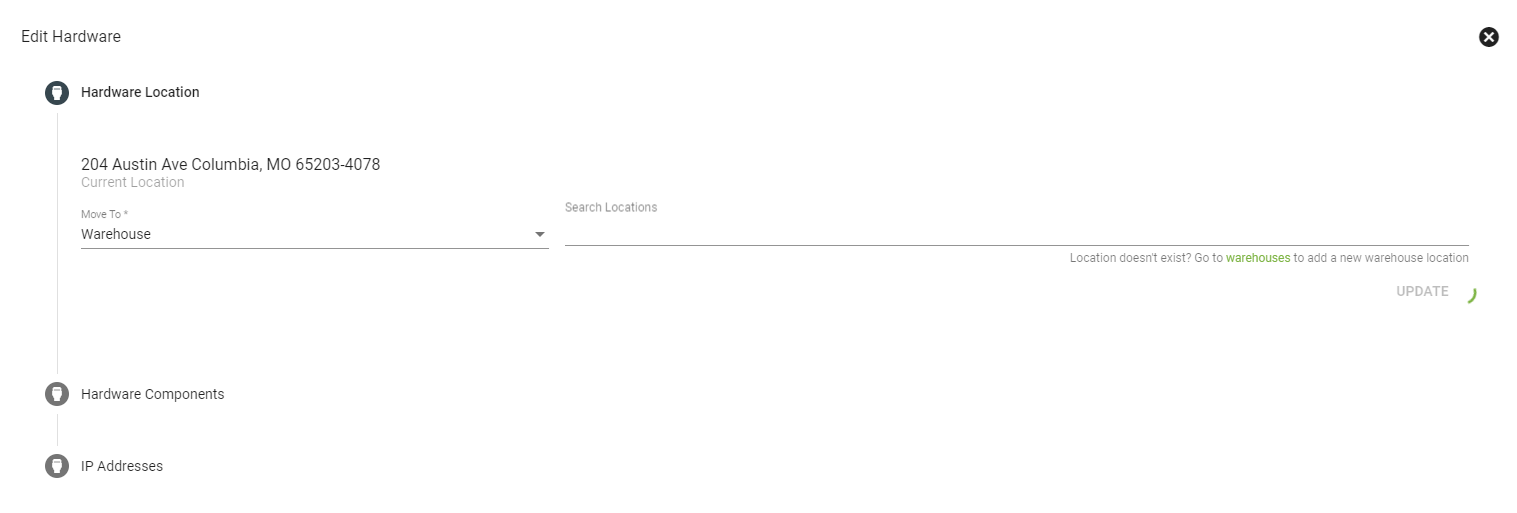
The search field will populate matches to the search. Select an option, then click UPDATE to save changes.
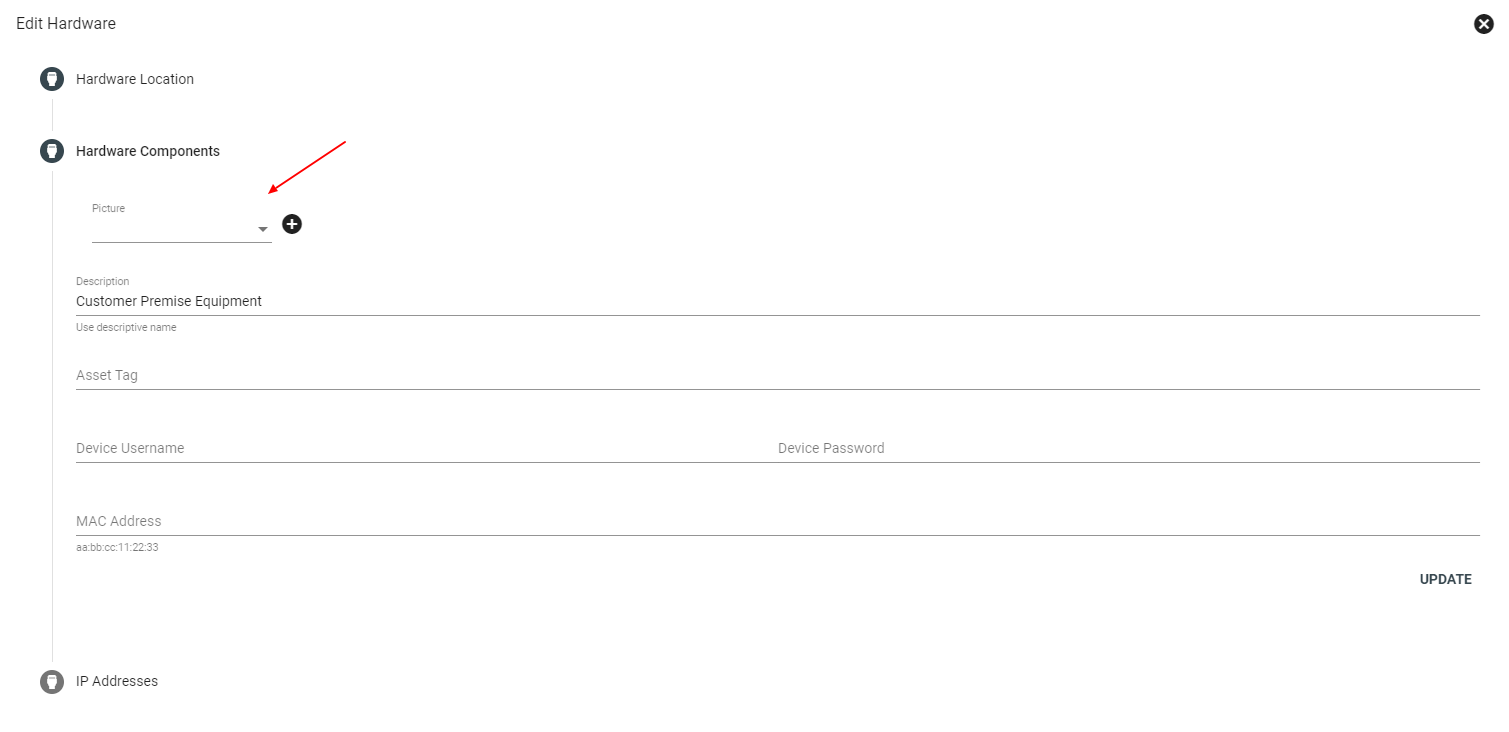
Under Hardware Components you can edit the description, MAC address, serial number and more.
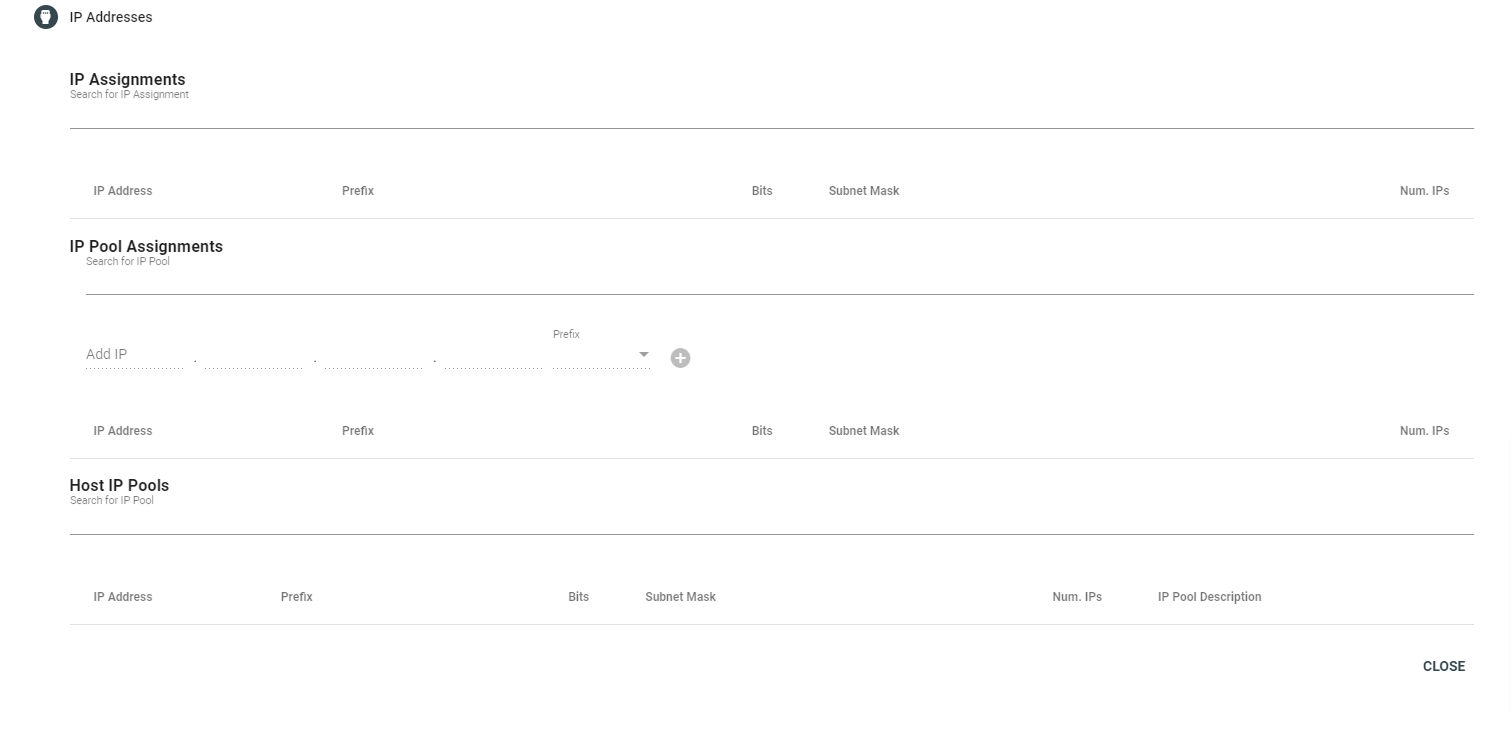
Under IP Addresses you can view, search, and add IP Address information associated with the Hardware.
Hardware Monitoring
From the hardware page click a specific piece of hardware to view the Monitoring Status.
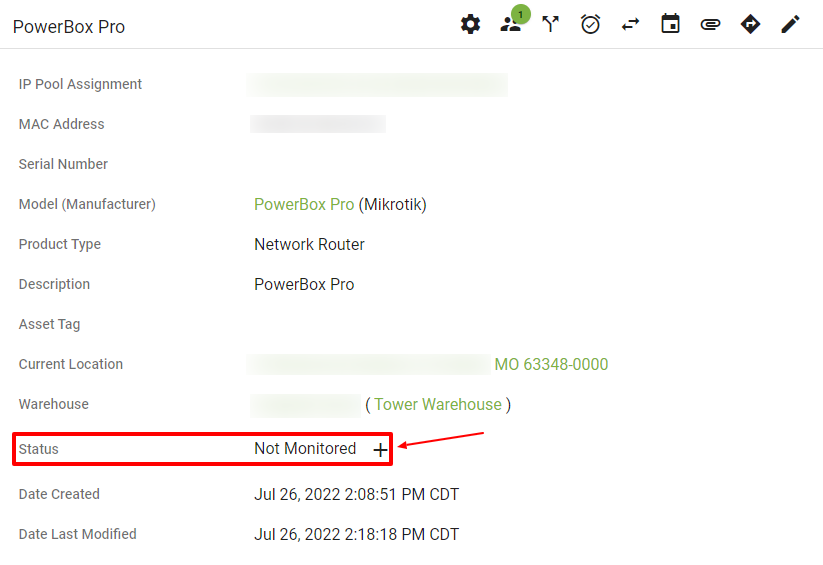
The status will indicate whether the Hardware is Monitored. Click the 
Select an existing Monitoring host (if applicable) from the dropdown menu. Click TIE HARDWARE TO HOST to create a connection between that piece of Hardware and the host.
To add a new host, input a description, monitoring type and the IP or DNS name to Monitor. Select a template from the dropdown menu and enter the SNMP Community String.
When finished, click ADD NEW HOST to save the details.

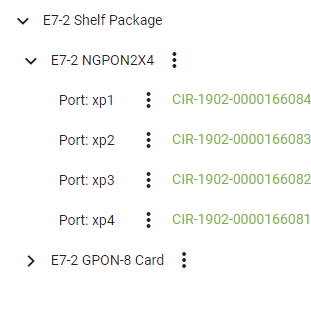
View Hardware Ports
From the hardware page click a specific piece of hardware to view the hardware ports. Then click the menu icon next to the Hardware name in the upper left-hand corner.
Click the drop down arrow next to each slot for a piece of hardware to view the ports. Click the 3-Dot Menu
Click on the
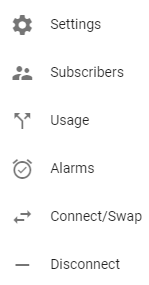
The settings icon
Click on the subscribers icon
The usage icon
Click on the alarm icon
Select the connect/swap icon
Click on the disconnect icon to disconnect the hardware device.
Click on the
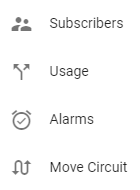
Select the subscriber icon
The usage icon
Select the alarm icon
Click on the move circuit 
The hardware port view is a visual representation of your network, showing the path of Circuits from start to finish. Each node in this view designates a different piece of hardware. Click on a node to view more information about that piece of hardware. Lines between a node designate a circuit.
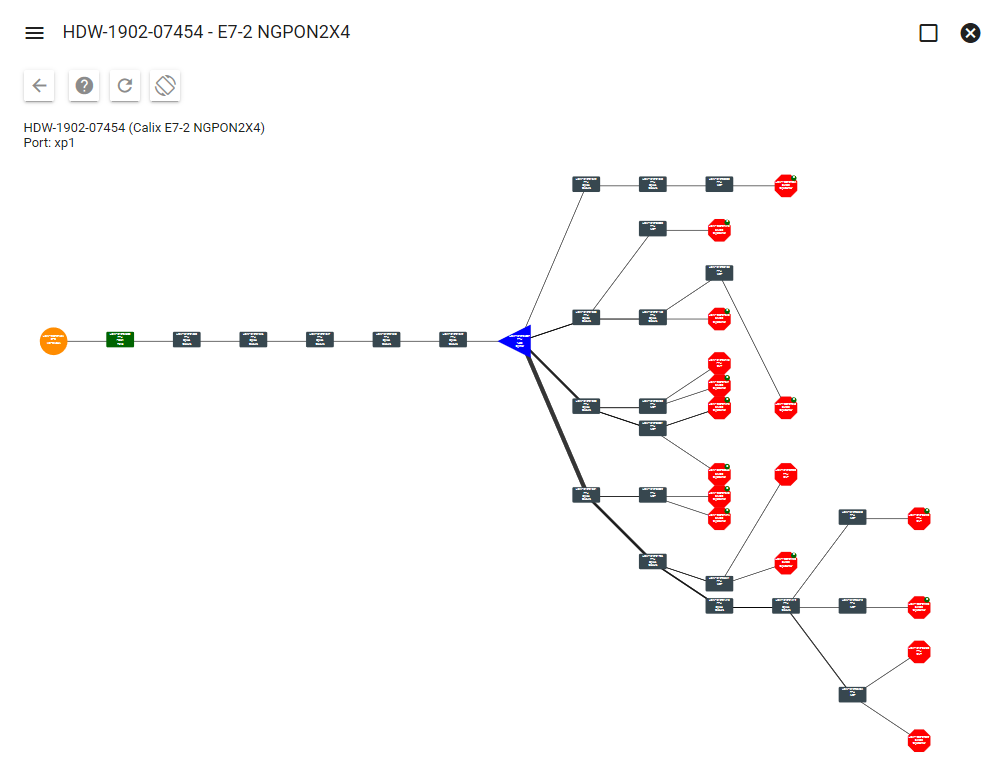
Click on a Line to highlight the Parent Circuit path.
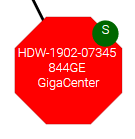
Click on an ONT node to bring up more information about that specific piece of Hardware. The small "S" node attached to this ONT designates a Subscriber.
Here you can view Vendor Configuration, the Parent Circuit, the Subscriber, Usage, Alarms, and its location.