Mobile App Workflow Processes
This section covers the workflow-related pages available in the Vision Mobile App, including workflow processes, service packages, and service items. Use the pages below to learn how field users can review process details, view package information, and access service item details from the app.
Quick Links
Workflows
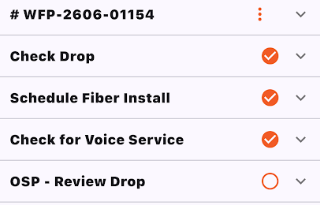
You can access a workflow page via an event page, the "Assigned to You" page, a subscriber's services tab, and via tickets with workflows.
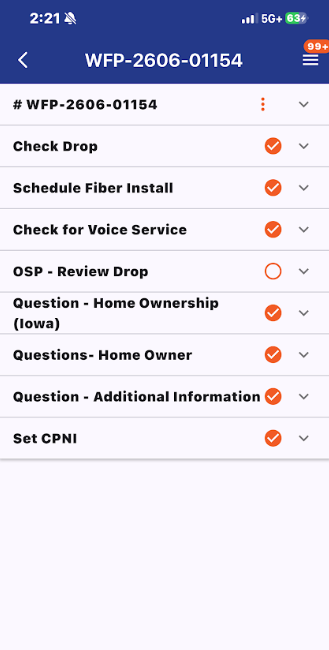
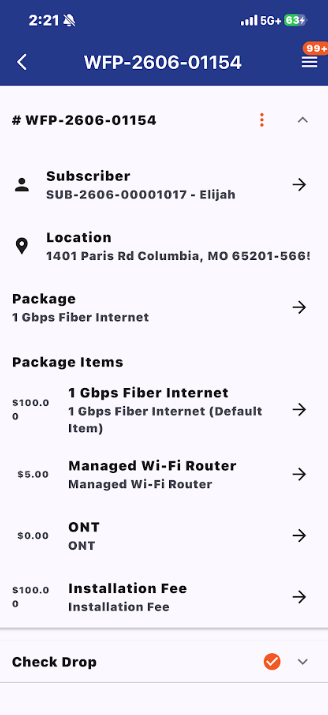
At the top of the workflow is the workflow number, a three dot icon, and an expansion arrow. The three dot icon will open a pop up that allows you to refresh the workflow.
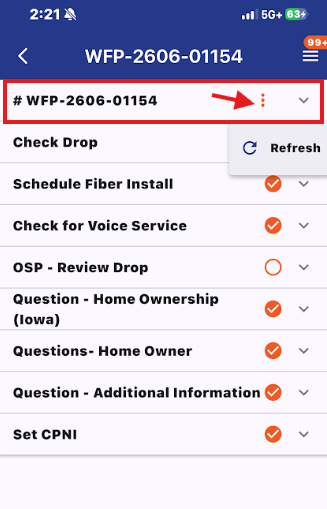
Once you expand this top bar, you can see the details of the workflow. This will show you the subscriber info with a link to the subscriber page, the location associated with the subscriber, the package name with a link to the service package page, and a list of all of the items in the package which link to their service item pages.
Tasks
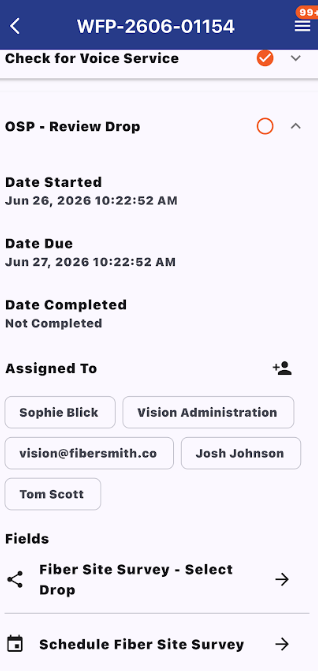
Every task on the workflow has an expansion arrow icon. Once clicked you can see the details of the task. These include the task name, start date, date due, date completed (if applicable), who the task is assigned to, and then any task functions or fields. If you are assigned to a task, you can interact with the tasks like filling out fields, leaving task notes, or completing the task.
Task Field Examples
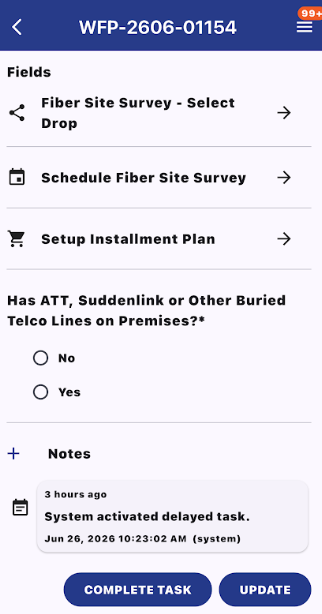
Some examples of task fields include radio buttons, choosing a spot for a fiber drop, scheduling an event, or setting up a payment plan. Those are the examples listed below but most tickets will also have fields where you submit photos of a job to show the status.
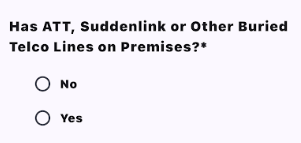
Radio Buttons- simply click one to input your answer
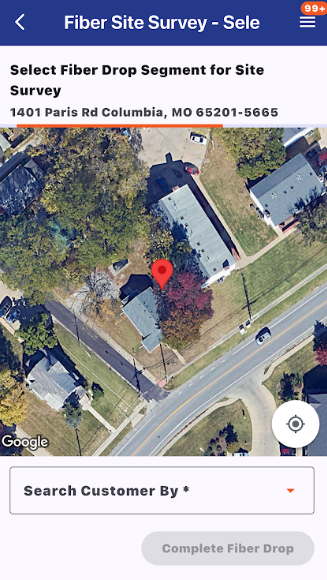
Fiber Drop Survey- Go on the map and find a line (segment of fiber) that you desire the fiber drop to go.
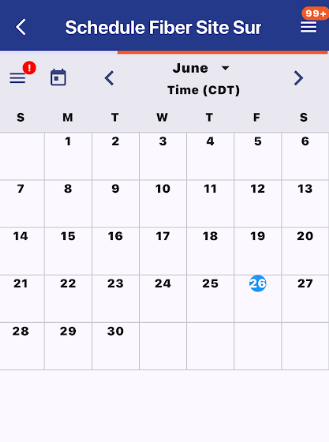
Schedule an Event- a calendar will open up and you click a day, and then a segment of time on the daily view. Then if it needs more information, a screen will be prompted.
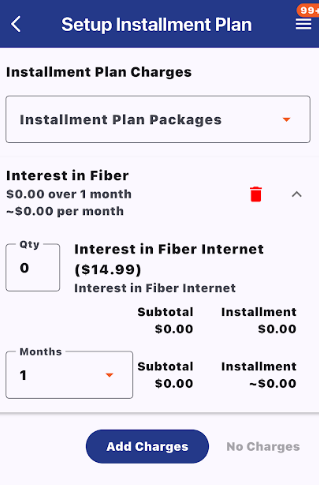
Setup Installment Plan- Fields like this allow you to view packages of a certain type, like installment plans, and add those charges/services to the subscriber's account.
Service Packages
You can view service packages via its associated workflow page. A service package page will have two tabs, the attributes tab and the items tab. The attributes tab has important information like the package name, description, term, status, if it has workflows, install time, if it allows quantity editing, and if payment is required at time of sale. There is also a refresh button in the bottom right corner to refresh the information at any time.
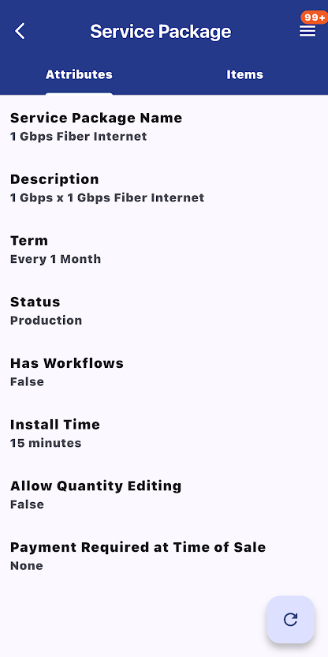
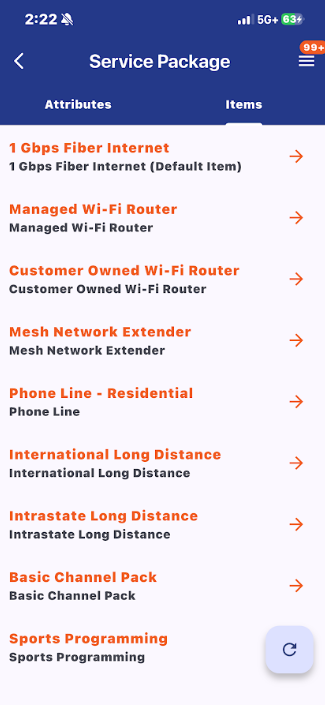
The items tab shows all items that are within the package. This is how you click into a service item page.
Service Items
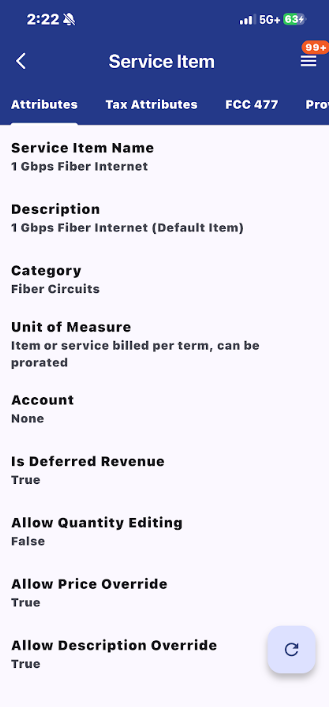
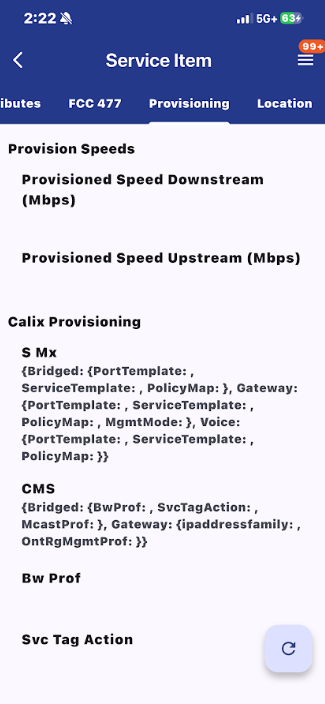
You can reach a service item page by going to a workflow that is associated with a package containing the item or by going to the subscriber services page and clicking on the parent package of the item. A service item page has several tabs: attributes, tax attributes, FCC 47, provisioning, and location. The attributes tab has basic information of the item like the name, description, category, unit of measure, account, if revenue is deferred, if quantity editing is allowed, if price override is allowed, and if description override is allowed on the item. Just like the service package page, you can refresh the information at any time with the refresh button in the bottom right.
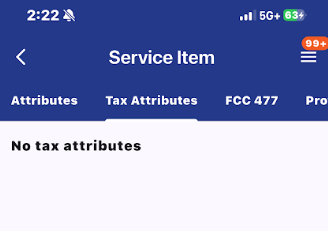
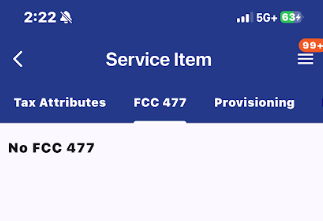
Tax Attributes and FCC 477 tabs showcase the legal information for the item if it was given to the item.
The provisioning tab shows provisioning information for the item if applicable and if set for the item.
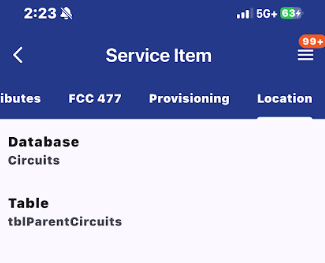
Finally, the location tab shows what database and table the item is located in.